** This article is for Medication Rx/Client Order Users**
A new Psych/ Medical Note template has been created for medical staff. The highlights of this note template are:
- Ability to push from certain sections of the previous “Psychiatric Note” template.
- Ability to retain previous note’s information so that authors can review what was written previously and push important medical information without having to retype.
- Pull real-time objective data such as vitals, allergies, labs and medications/orders.
- Keyphrase functionality can be leveraged to create custom text template within the textbox fields to create.
- Flexibly select relevant sections pertinent to the visit and document efficiently via customized text templates by individual or clinic/unit.
- Allow for documentation of medication consent.
How to Get to the Psych/Medical Note
- With an active client selected, click the Search icon.
- Type Services/ into the search bar.
- Click to select Services/Notes (Client). The Service Note screen opens.

- Click the New icon.

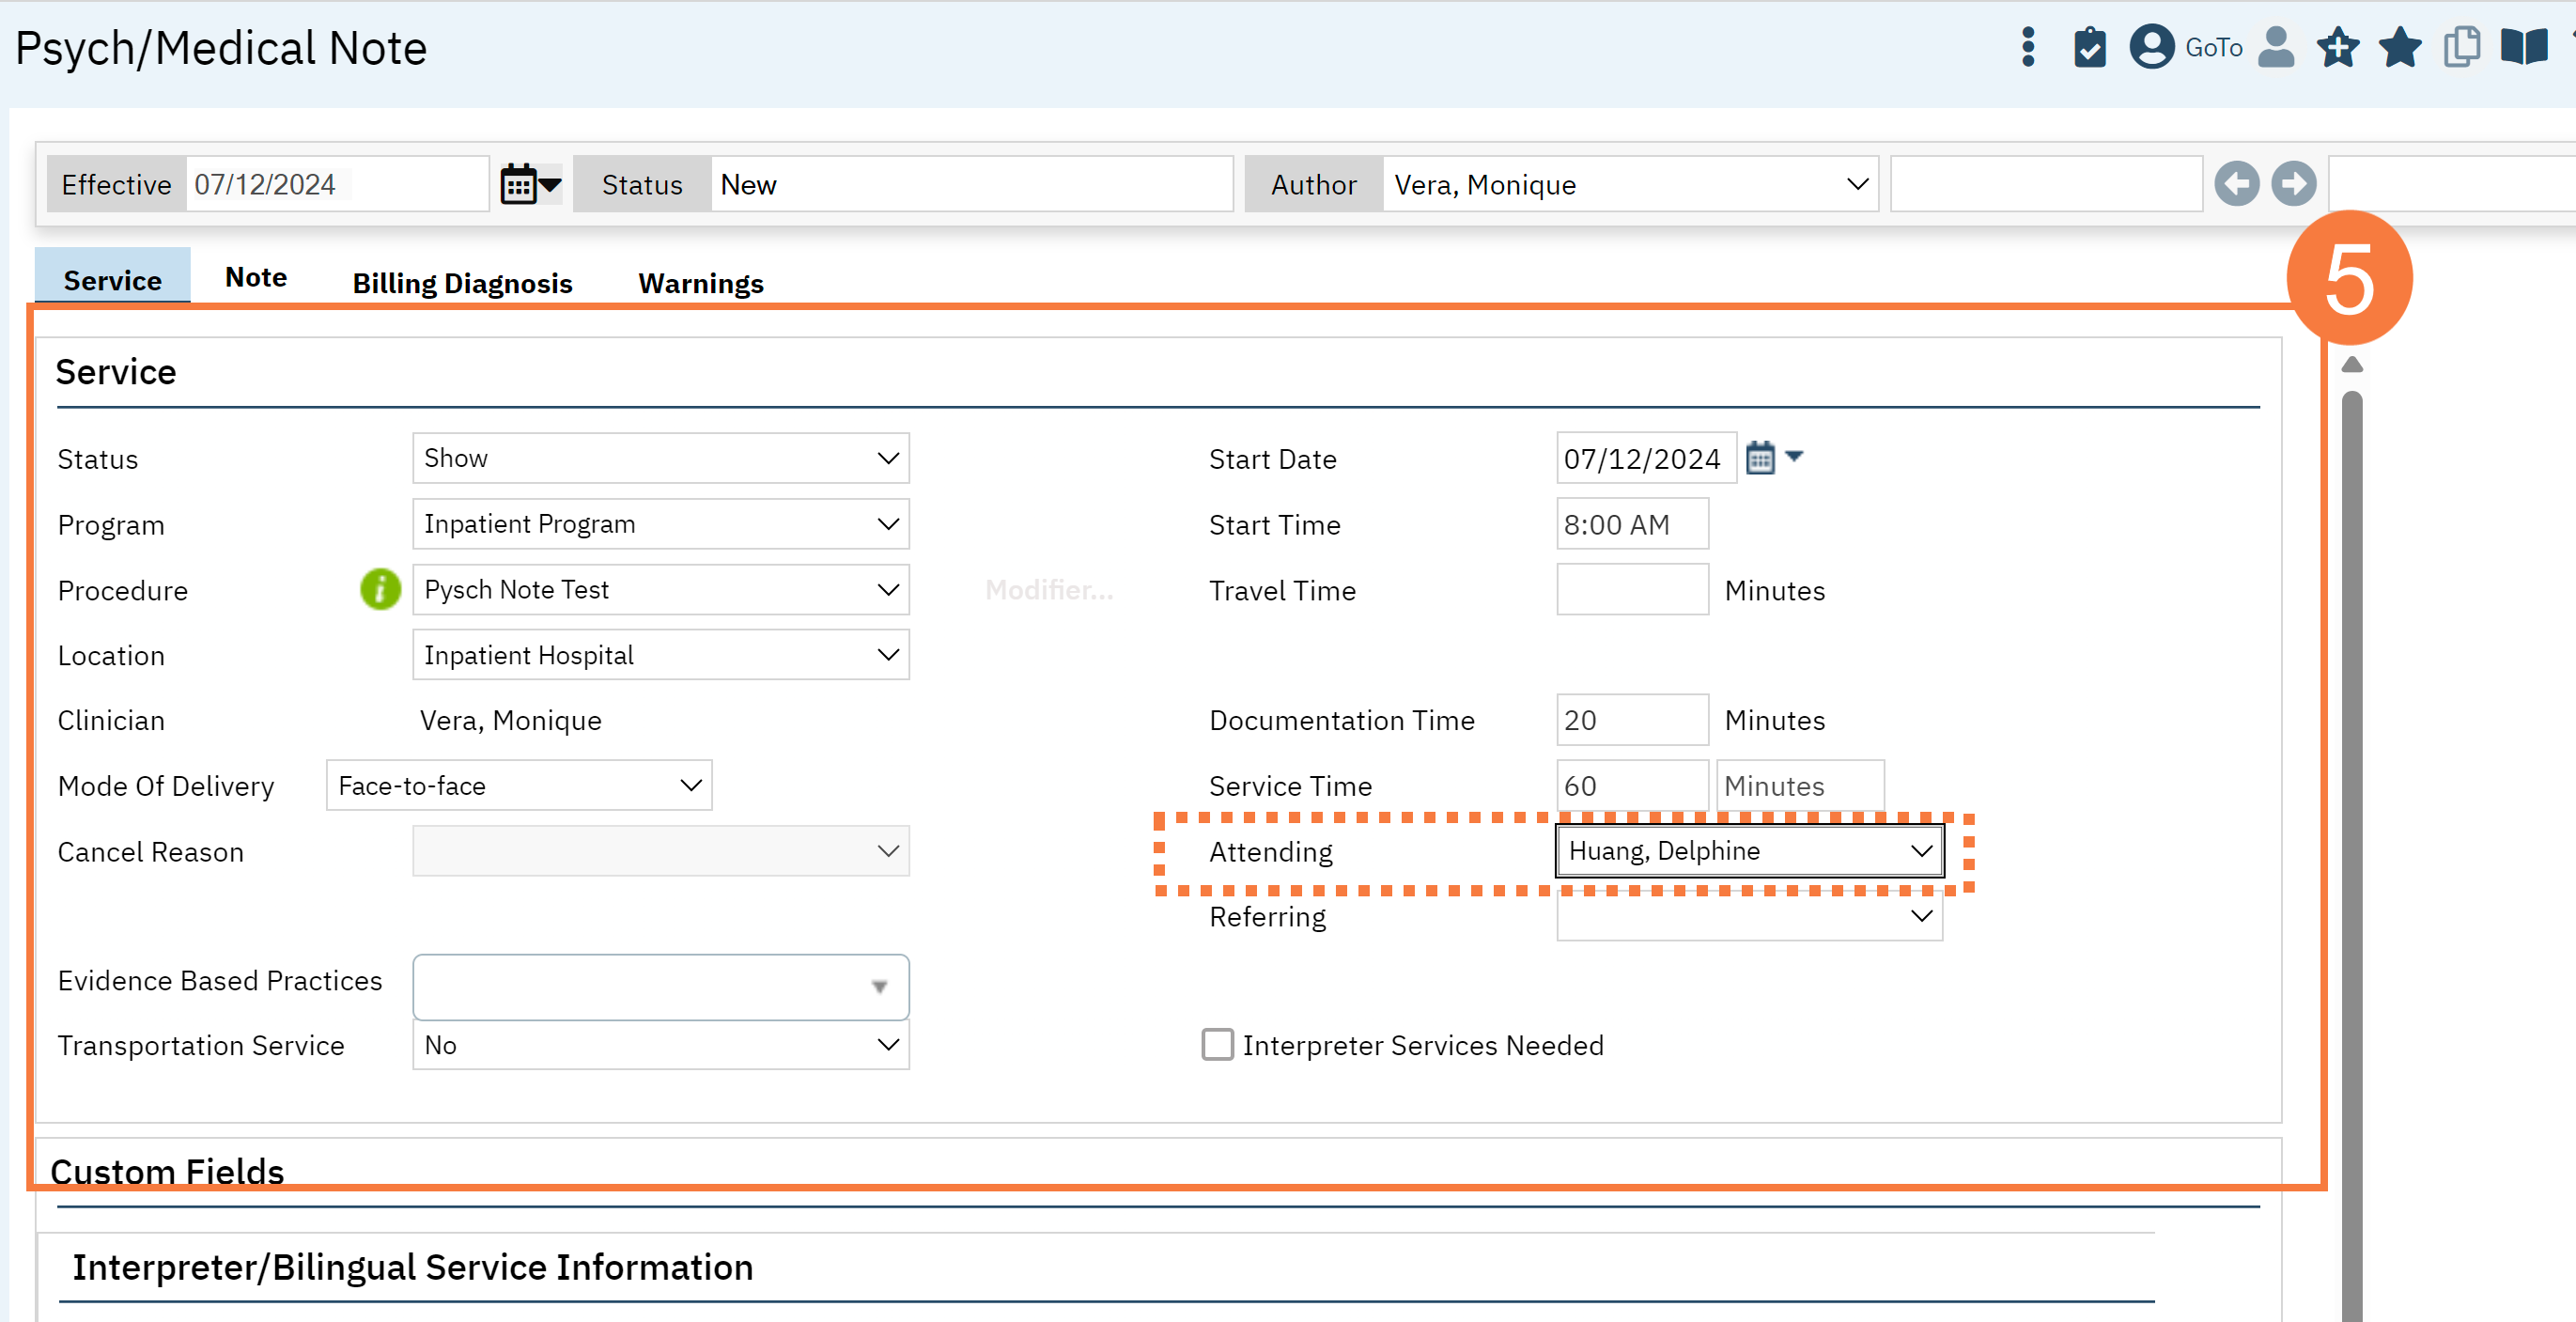
- This will take you to the Service Note screen. Complete the Services tab.
Note: fields with an asterisk * will show up on your final PDF.
- Status*
- Program*
- Procedure*
- Location*
- Mode of Delivery
- StartDate*
- Start Time*
- Travel Time (if needed)
- Documentation Time
- Service Time*
- Attending (if needed)*
Note: The same requirements will apply for marking Status, Program, Procedure, Location, Mode of Delivery, Start Date, Start Time, and Face to Face Time.
A new feature is allowing for a supervisor’s name to be selected as “Attending,” and this will show on the final pdf. If there needs to be other co-signers, then please follow instructions to assign co-signers. CLICK HERE for the article.
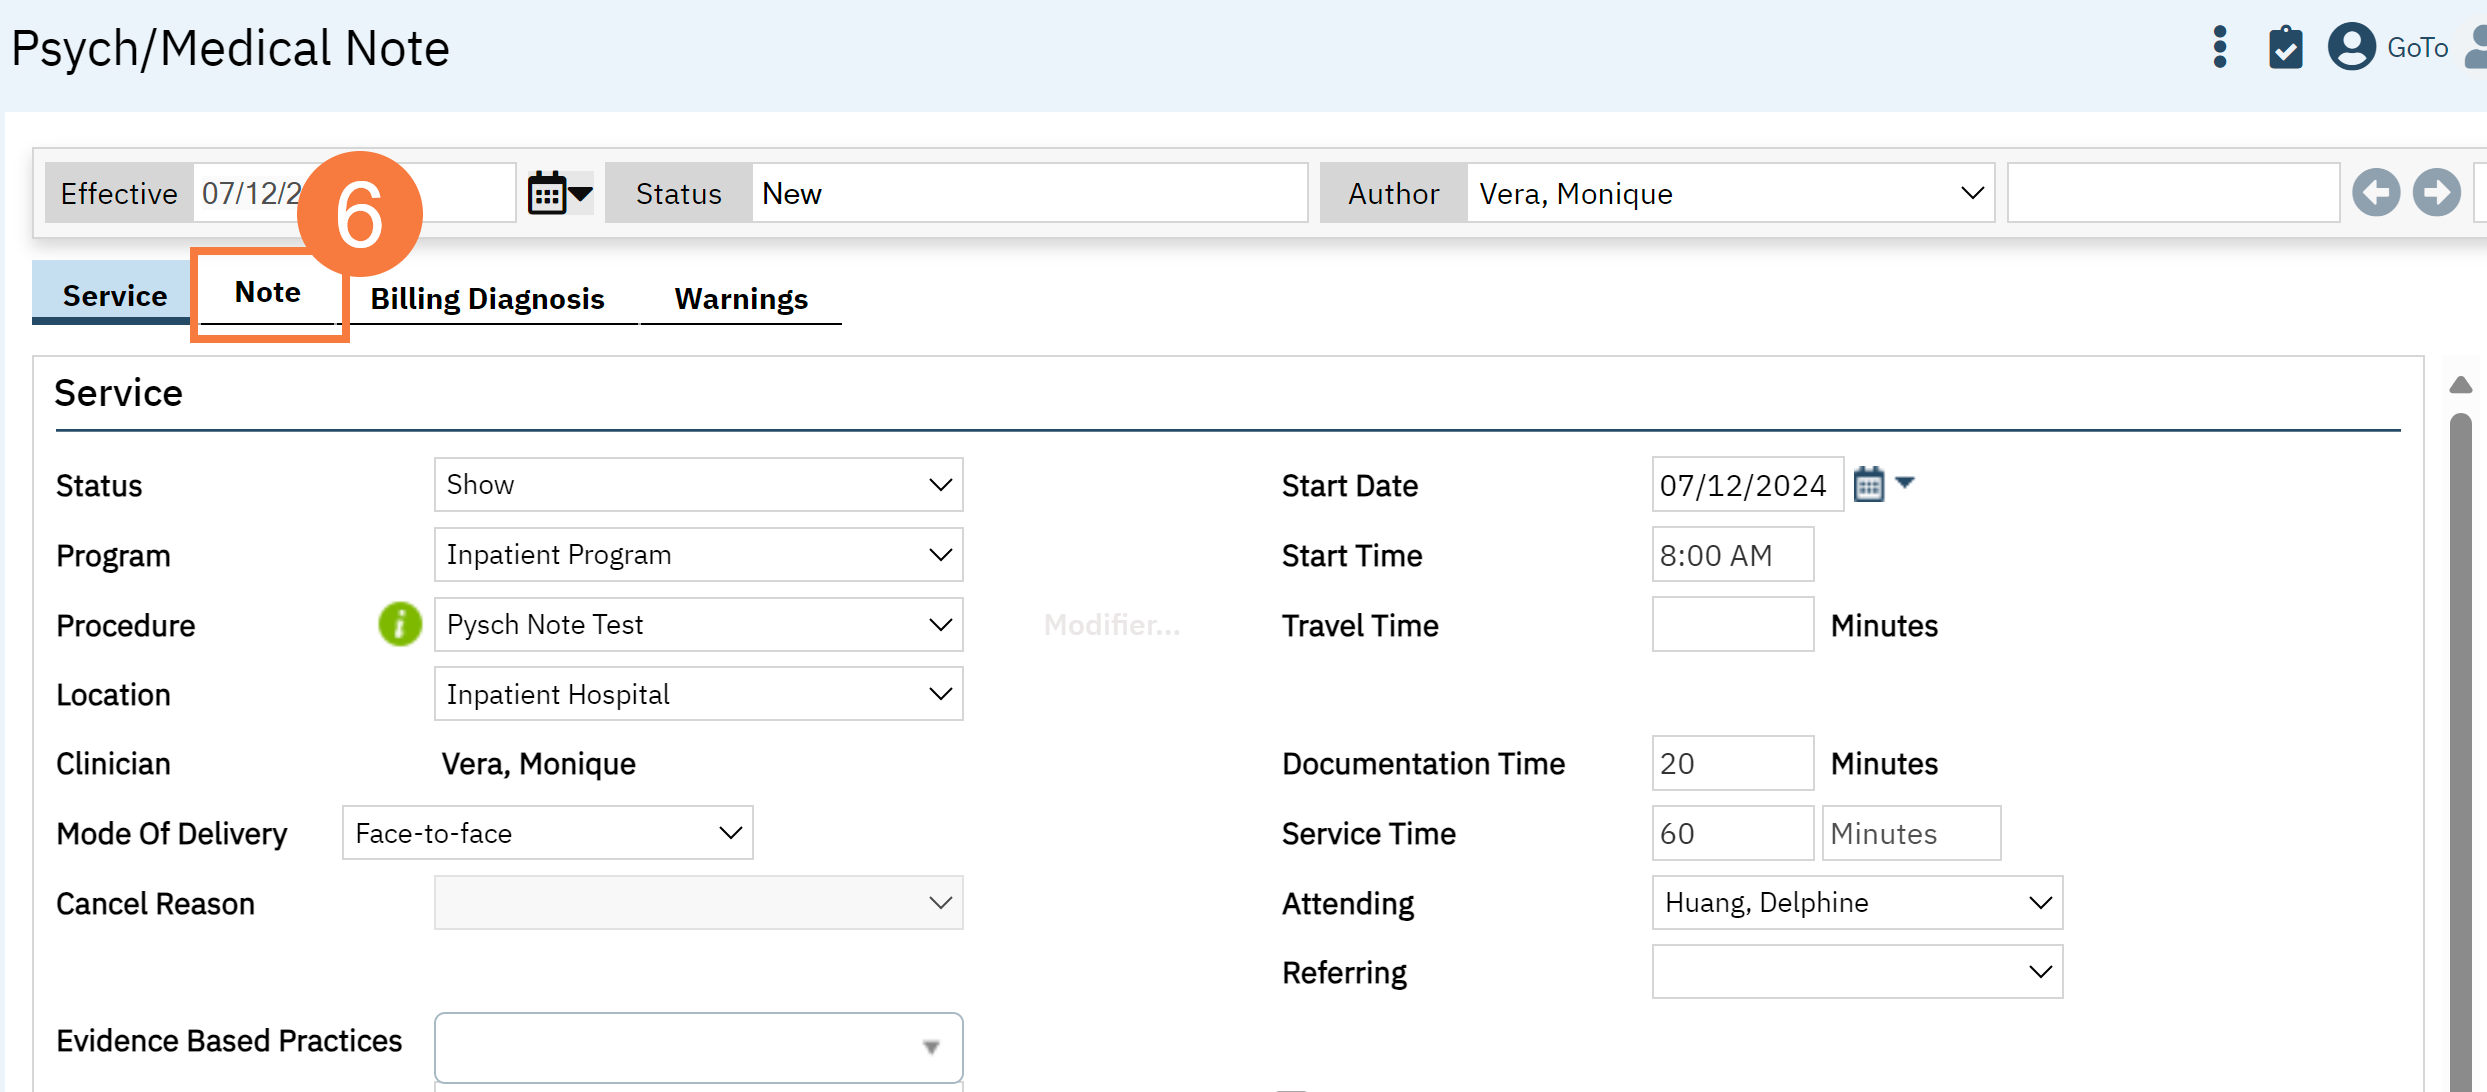
- Click the Note Tab.
General Note Template Functionality
To see what procedure codes are defaulted to be associated to the new Psych/Medical Note template CLICK HERE. You will need to be permissioned and licensed to use these procedure codes.
Required fields:
- There are only two fields required in the template, which are the “Subjective/CC/HPI/Notes” and “Assessment and Plan.” These sections are denoted with a red asterisks (*). You will get a validation error and not be able to sign if these are not filled out (for example, if you do not want to add any additional info, you can write “N/A”. This is intentionally designed because these two text boxes have data that may be used in other documents/ reports/ services within the EHR (e.g. Abbreviated Notes Report).
How data from this template is stored and pushed to subsequent notes:
-
For counties that are moving from old Psychiatric Note template to the new Psych/Medical Note, please CLICK HERE for information.
-
With this new template, every textbox section will pull the most recent data that has been saved (even in draft form) or signed as a final PDF. It will push that information to the subsequent note as long as it is the same client, same author, and program.
-
Subsequent notes will initialize the textbox field data if you click “Save” or “Sign” and did NOT have a checkbox mark for “Delete from the Note.” It will indicate when this data was last updated in case you need to reference back to a p “Sign” and did NOT have a checkbox mark for “Do not include in PDF/Delete from the Note.” It will indicate when this data was last updated in case you need to reference back to a particular note.
- If a different procedure code is used and the Psych/Medical Note template is used for those codes, the information will still carry over.
- Objective data/tables will follow CDAG rules, except where CDAG does not apply within SmartCare already (e.g. medications, allergies)


"Delete From Note" Functionality
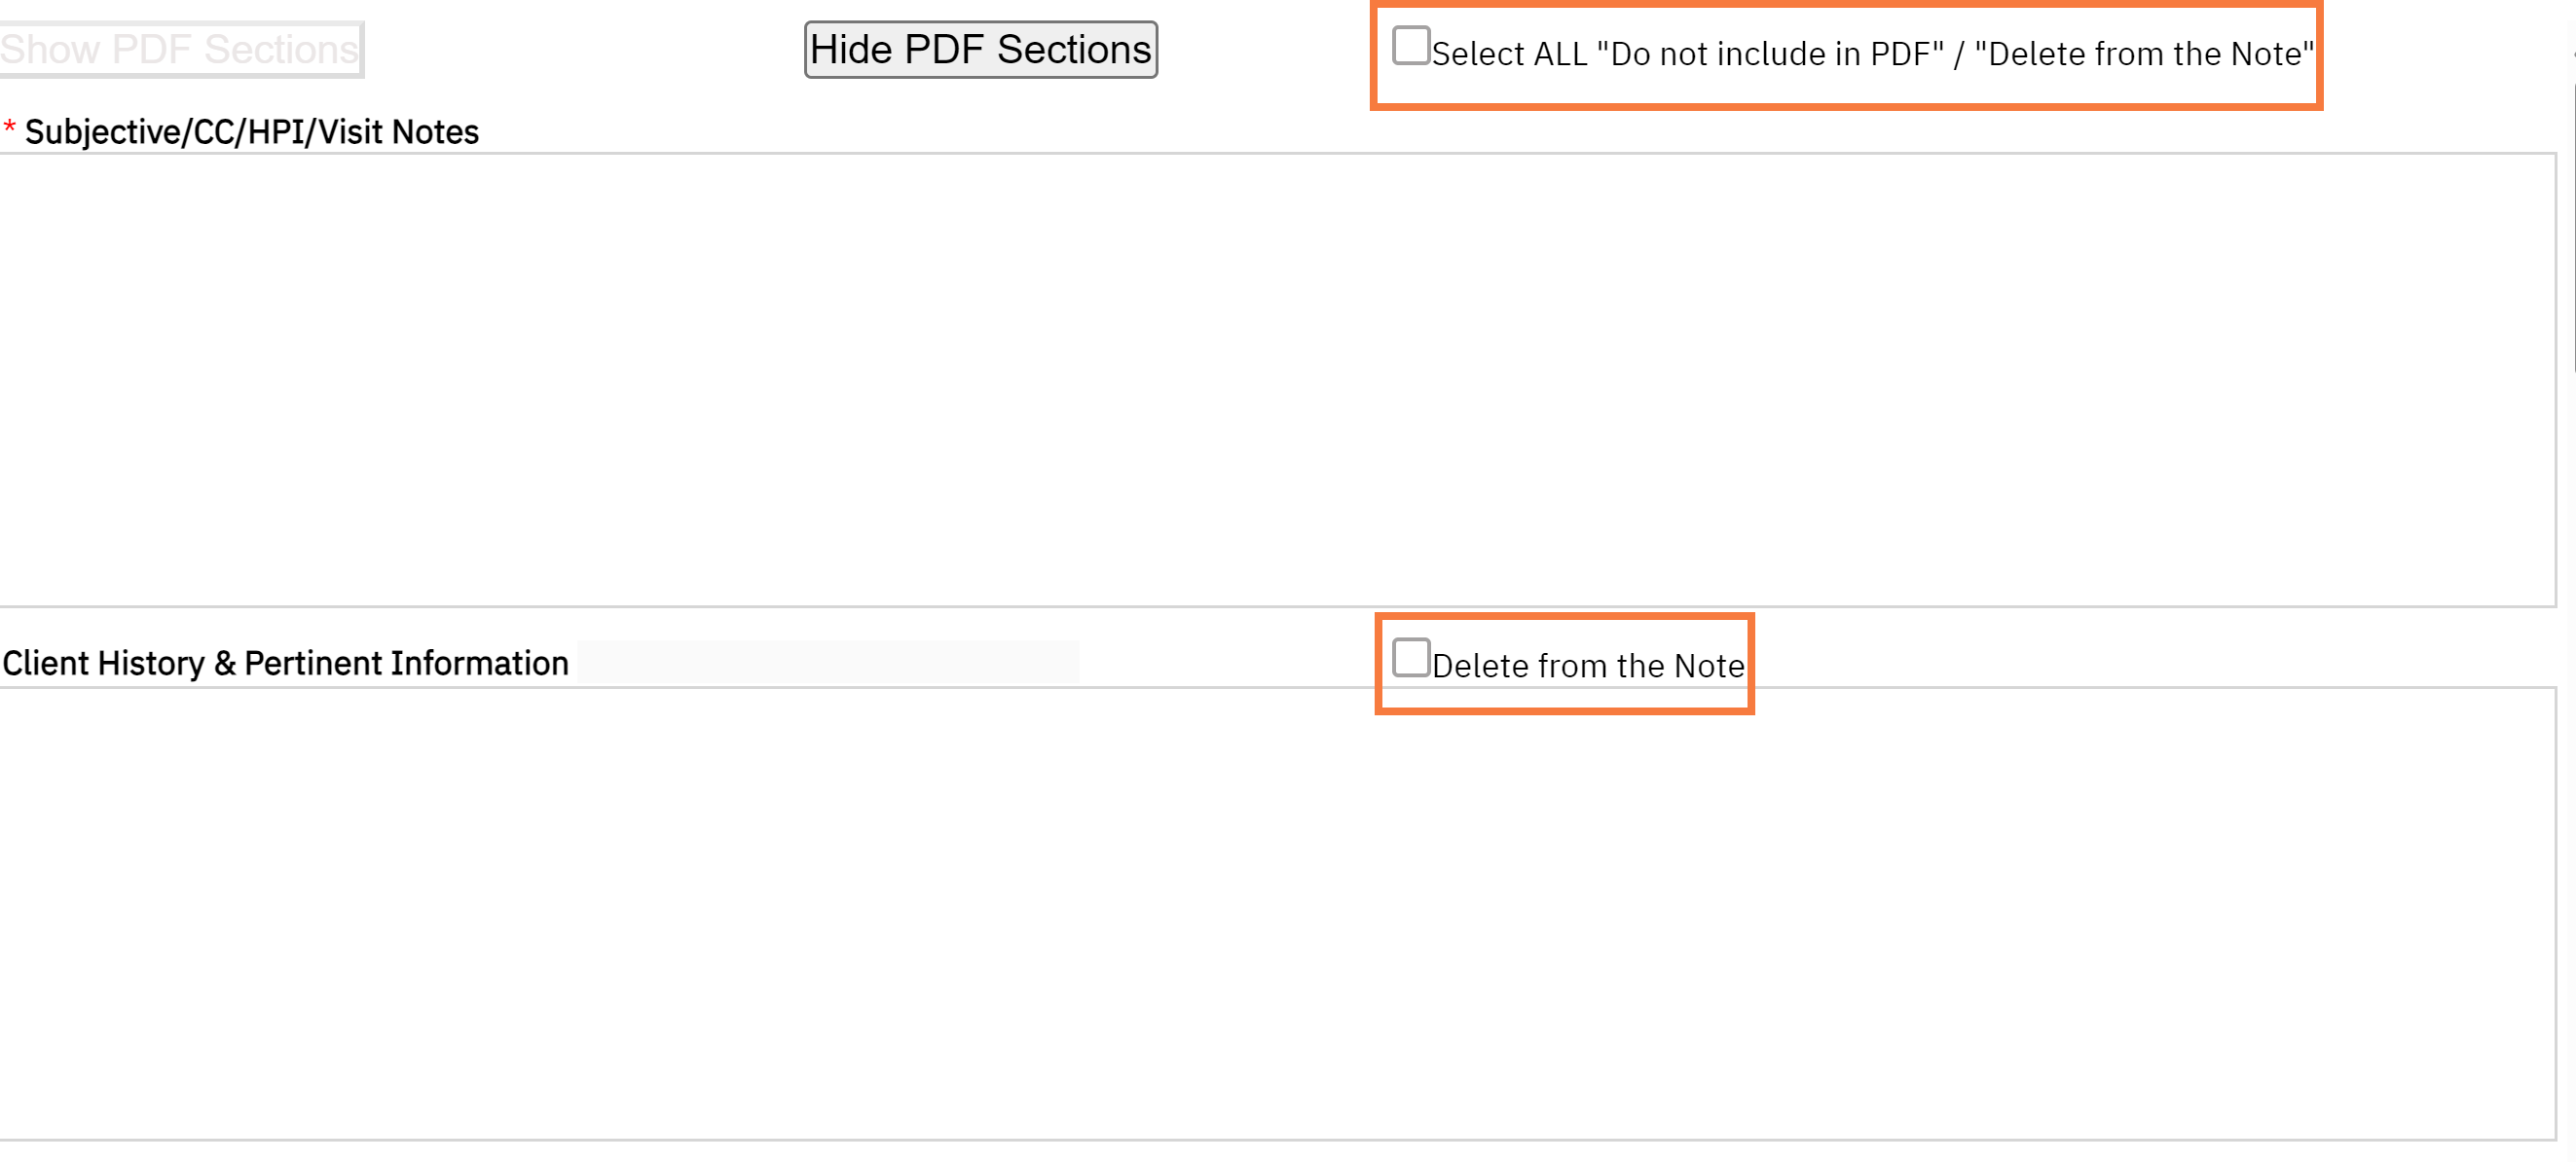
- This functionality was created to allow you to select only the sections relevant to the note and maintain a preview of information that may be historically important. This is done with the goal to avoid “chart bloat.”
- If “Delete from the Note” is selected for specific section, then that data will not show up on the signed PDF. If you would like to preview the note, click on “Hide PDF Sections.” If you would like to view all sections, then click “Show PDF Sections.” There is a checkbox called “Select ALL Do Not Include in PDF/Delete from the Note,” which will allow removal of all sections except for the required sections “Subjective/CC/HPI/Notes” and “Assessment and Plan.”
- If “Delete from the Note” is selected, then the textbox sections will NOT save once signed. If saving is desired, then you MUST REMEMBER to remove the checkmark. Checkmarks will be retained for subsequent notes.

Refresh of Data and Tables
- While we recommend saving drafts often, the objective data will refresh every time you go to a different SmartCare screen. For example, if you go to enter a new Diagnosis Document, then this information will push into the note, when you return to screen even if the note has not yet been saved.
- If for some reason the data is not refreshing (this will happen when in an external separate window is open such as Medication Rx), then you will have to go to a different screen. With that in mind, if there are new medications that are not showing up in the draft version of the psych medical note template, the data will pull in the final PDF. Note: CalMHSA is planning on a manual refresh option in the future.
Subjective/CC/HPI/Notes Section
This section can be used to capture the subjective part of a patient visit. This is mandatory to fill out. It can also be used to record chief complaints and if you choose not to document using any other sections, you can store the history of present illness and/or other notes here.

Client History and Pertinent Information
This section can be used to capture the patient’s history such as their previous psychiatric, medical, medication, or program history. It can also be used to capture any social, substance use, family history, pertinent tests. The “Do Not Include in PDF” functionality can be utilized.

Recent Labs/Tests
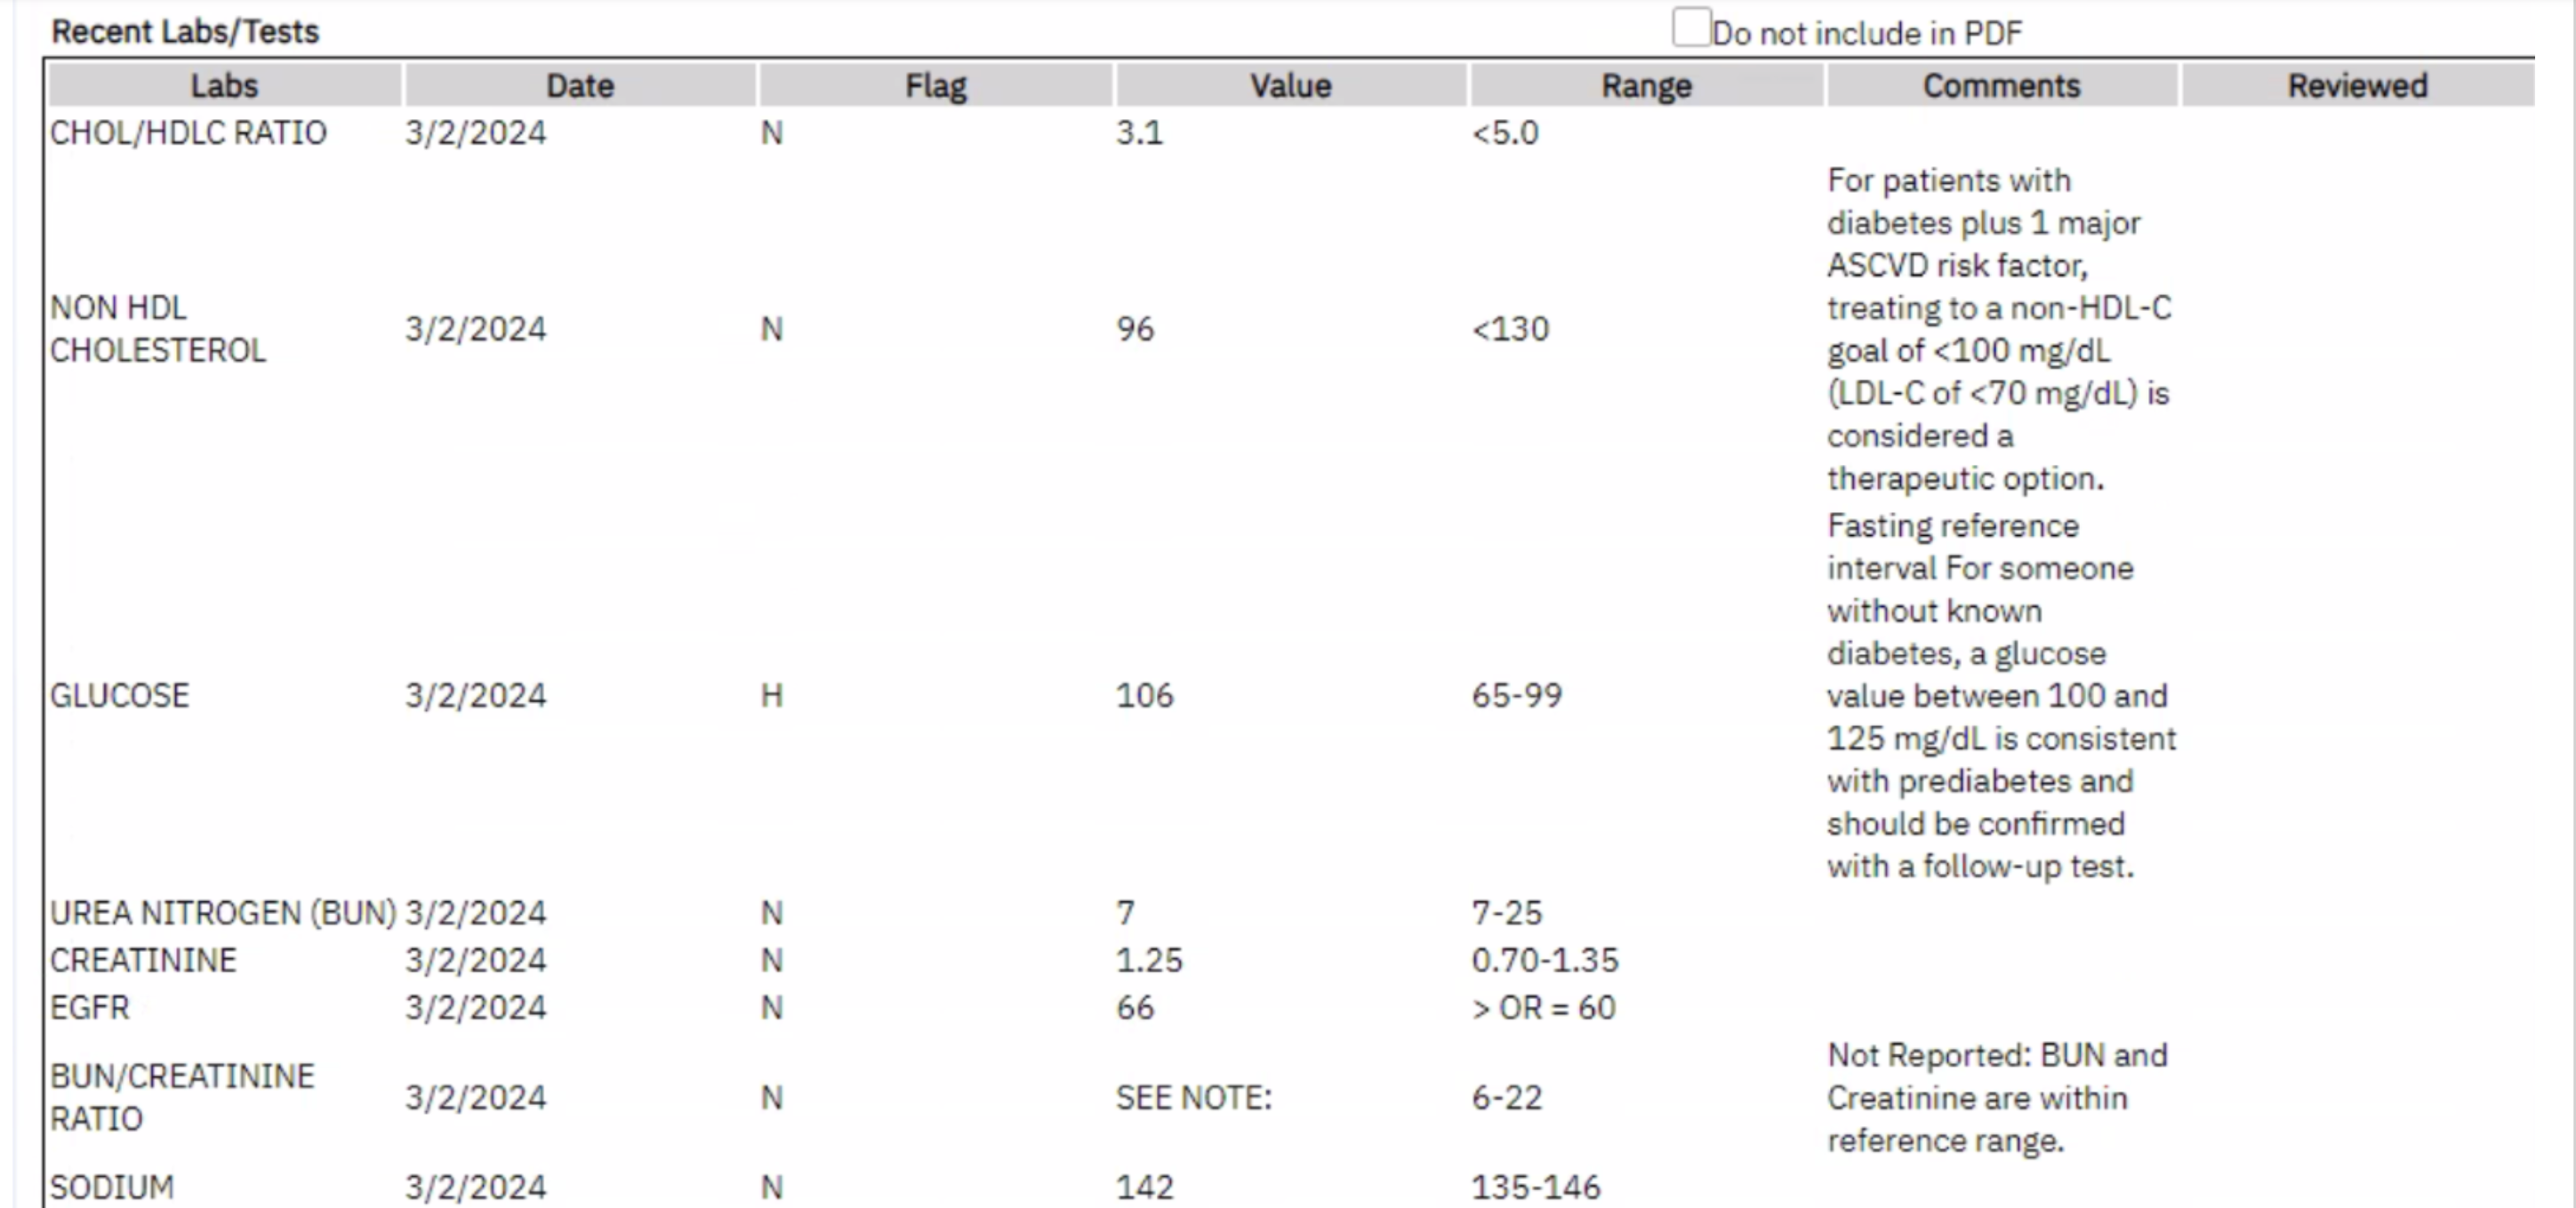
This section pushes two months of lab data into the note. It includes the lab name, result date, if any abnormality (H = high, L= low, N=Normal), the lab value, the range, lab comments, and if it has been reviewed by staff. The “Do Not Include in PDF” functionality can be utilized. If you do not wish to view comprehensive labs trends, then we recommend using the Comprehensive Lab Flowsheet Report. The “Do Not Include in PDF” functionality can be utilized.
Allergies/Intolerances/Failed Trials
You can input or edit from the Allergies, Intolerance and Failed Trials from Medication Rx and/or the Allergies screen. This information may not refresh since this Medications Rx operates in a separate window, but if you go to a different screen, it will refresh. Even if the data does not refresh, any data that is new and/or modified in the Rx module will appear in the final PDF. It will list the severity, reactions and comments. The Do Not Include in PDF” functionality can be utilized.

Current Medications
This section will pull medications from Medication Rx module. It will only display medications that are active, and the end date has not expired within 1 year. It will include the number of refills and who prescribed the medications. This information may not refresh automatically since the Rx module operates in a separate window, but if you “Save” and go to a different screen it will refresh. Even if the data does not refresh, any data that is new and/or modified in Rx module will appear in the final PDF. CalMHSA is aware of this issue and is working on creating a real-time refresh mechanism. The “Do Not Include in PDF” functionality can be utilized.

Note Regarding Medication Consent:
In most situations, a separate, signed “Medication Consent” document is no longer required. Consents for medications can be captured/documented in the prescriber’s progress note. These recommendations are specific to consents for medications and not general informed consent/consent to treat.
To review the CalMHSA protocol and memo by Manatt, click here. You can also find the vetted templates and suggested use cases.
To use CalMHSA’s medication consent template, click here for more information.
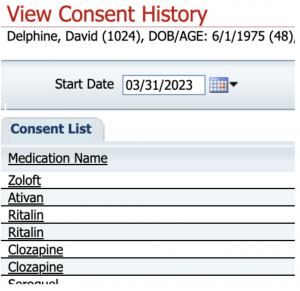
If verbal or written consent is captured for certain medications (for example: antipsychotics, controlled substances, you can checkbox next to the medication name. (Ensure that the medication has been ordered in Medication Rx to pull into the note). This will generate a document automatically when the checkmark is placed (whenever the document has been “Save” or “Signed”). This will save in Documents (Client) titled “Medication Consent – [Drug Name]. There is no need to sign this blank document but is simply a Date/Time Stamp.
This will change the icon for that specific medication within Medication Rx from a yellow warning to a green checkmark and add to the Medication Consent History.
Example of what happens in Medication Rx:
To learn more about Medication Consent Keyphrases, click here.

This will change the icon for that specific medication within Medication Rx from a yellow warning to a green checkmark and add to the Medication Consent History.
Example of what happens in Medication Rx:

Current Self-Reported Medications
This section will push medication from Medication Rx module’s “Add Medication” section. It will only display medications that are active and the end date has not expired. It will include “Comments” and “Source”. The initiated date is displayed here. This information may not refresh since this Medications Rx operates on a separate window, but if you go to a different screen, it will refresh. Even if the data does not refresh, any data that is new and/or modified in Rx will appear in the final PDF. The “Do Not Include in PDF” functionality can be utilized.

Vitals
This section will pull the last 3 vitals within a CDAG from the “Vitals/Meaningful Use” Flowsheet or “Enter Vitals”. This information will refresh the note automatically with any added information. The “Do Not Include in PDF” functionality can be utilized.

MSE/PE
This is a section that can be used to document the Mental Status Exam or Physical Exam. Key Phrases can be customized to create MSE templates to improve efficiency. The “Delete from the Note” functionality can be utilized.
AIMS Completed During Visit
- There is also a checkbox to indicate that the AIMS has been completed and this information will be displayed on the Client Medical Facesheet as an efficient way to see when it was last completed and by whom. The actual data collection should be completed in the AIMS Assessment Document. This checkmark will NOT be retained for the subsequent note.

Assessment & Plan
Documentation of CURES being reviewed can be checked. This information will be displayed on the Client Medical Facesheet as an efficient way to see when it was last completed and by whom. This checkmark will NOT be retained for the subsequent note.
Add to Shared Care Plan: This is optional as we are still building out a future-state Shared Care Plan to be more collaborative and efficient in data collecting and data sharing. The goal is that for facilities that use a shared care plan or treatment plan, individual’s plans can feed into the document to reduce the need for double entry. For now, if the box is checked, this saves to the Shared Care Plan Report which is a compilation of individual’s psych medical note’s plans. This checkmark will NOT be retained for the subsequent note. Click Here for more information.

Active Diagnoses and Problem List within Programs
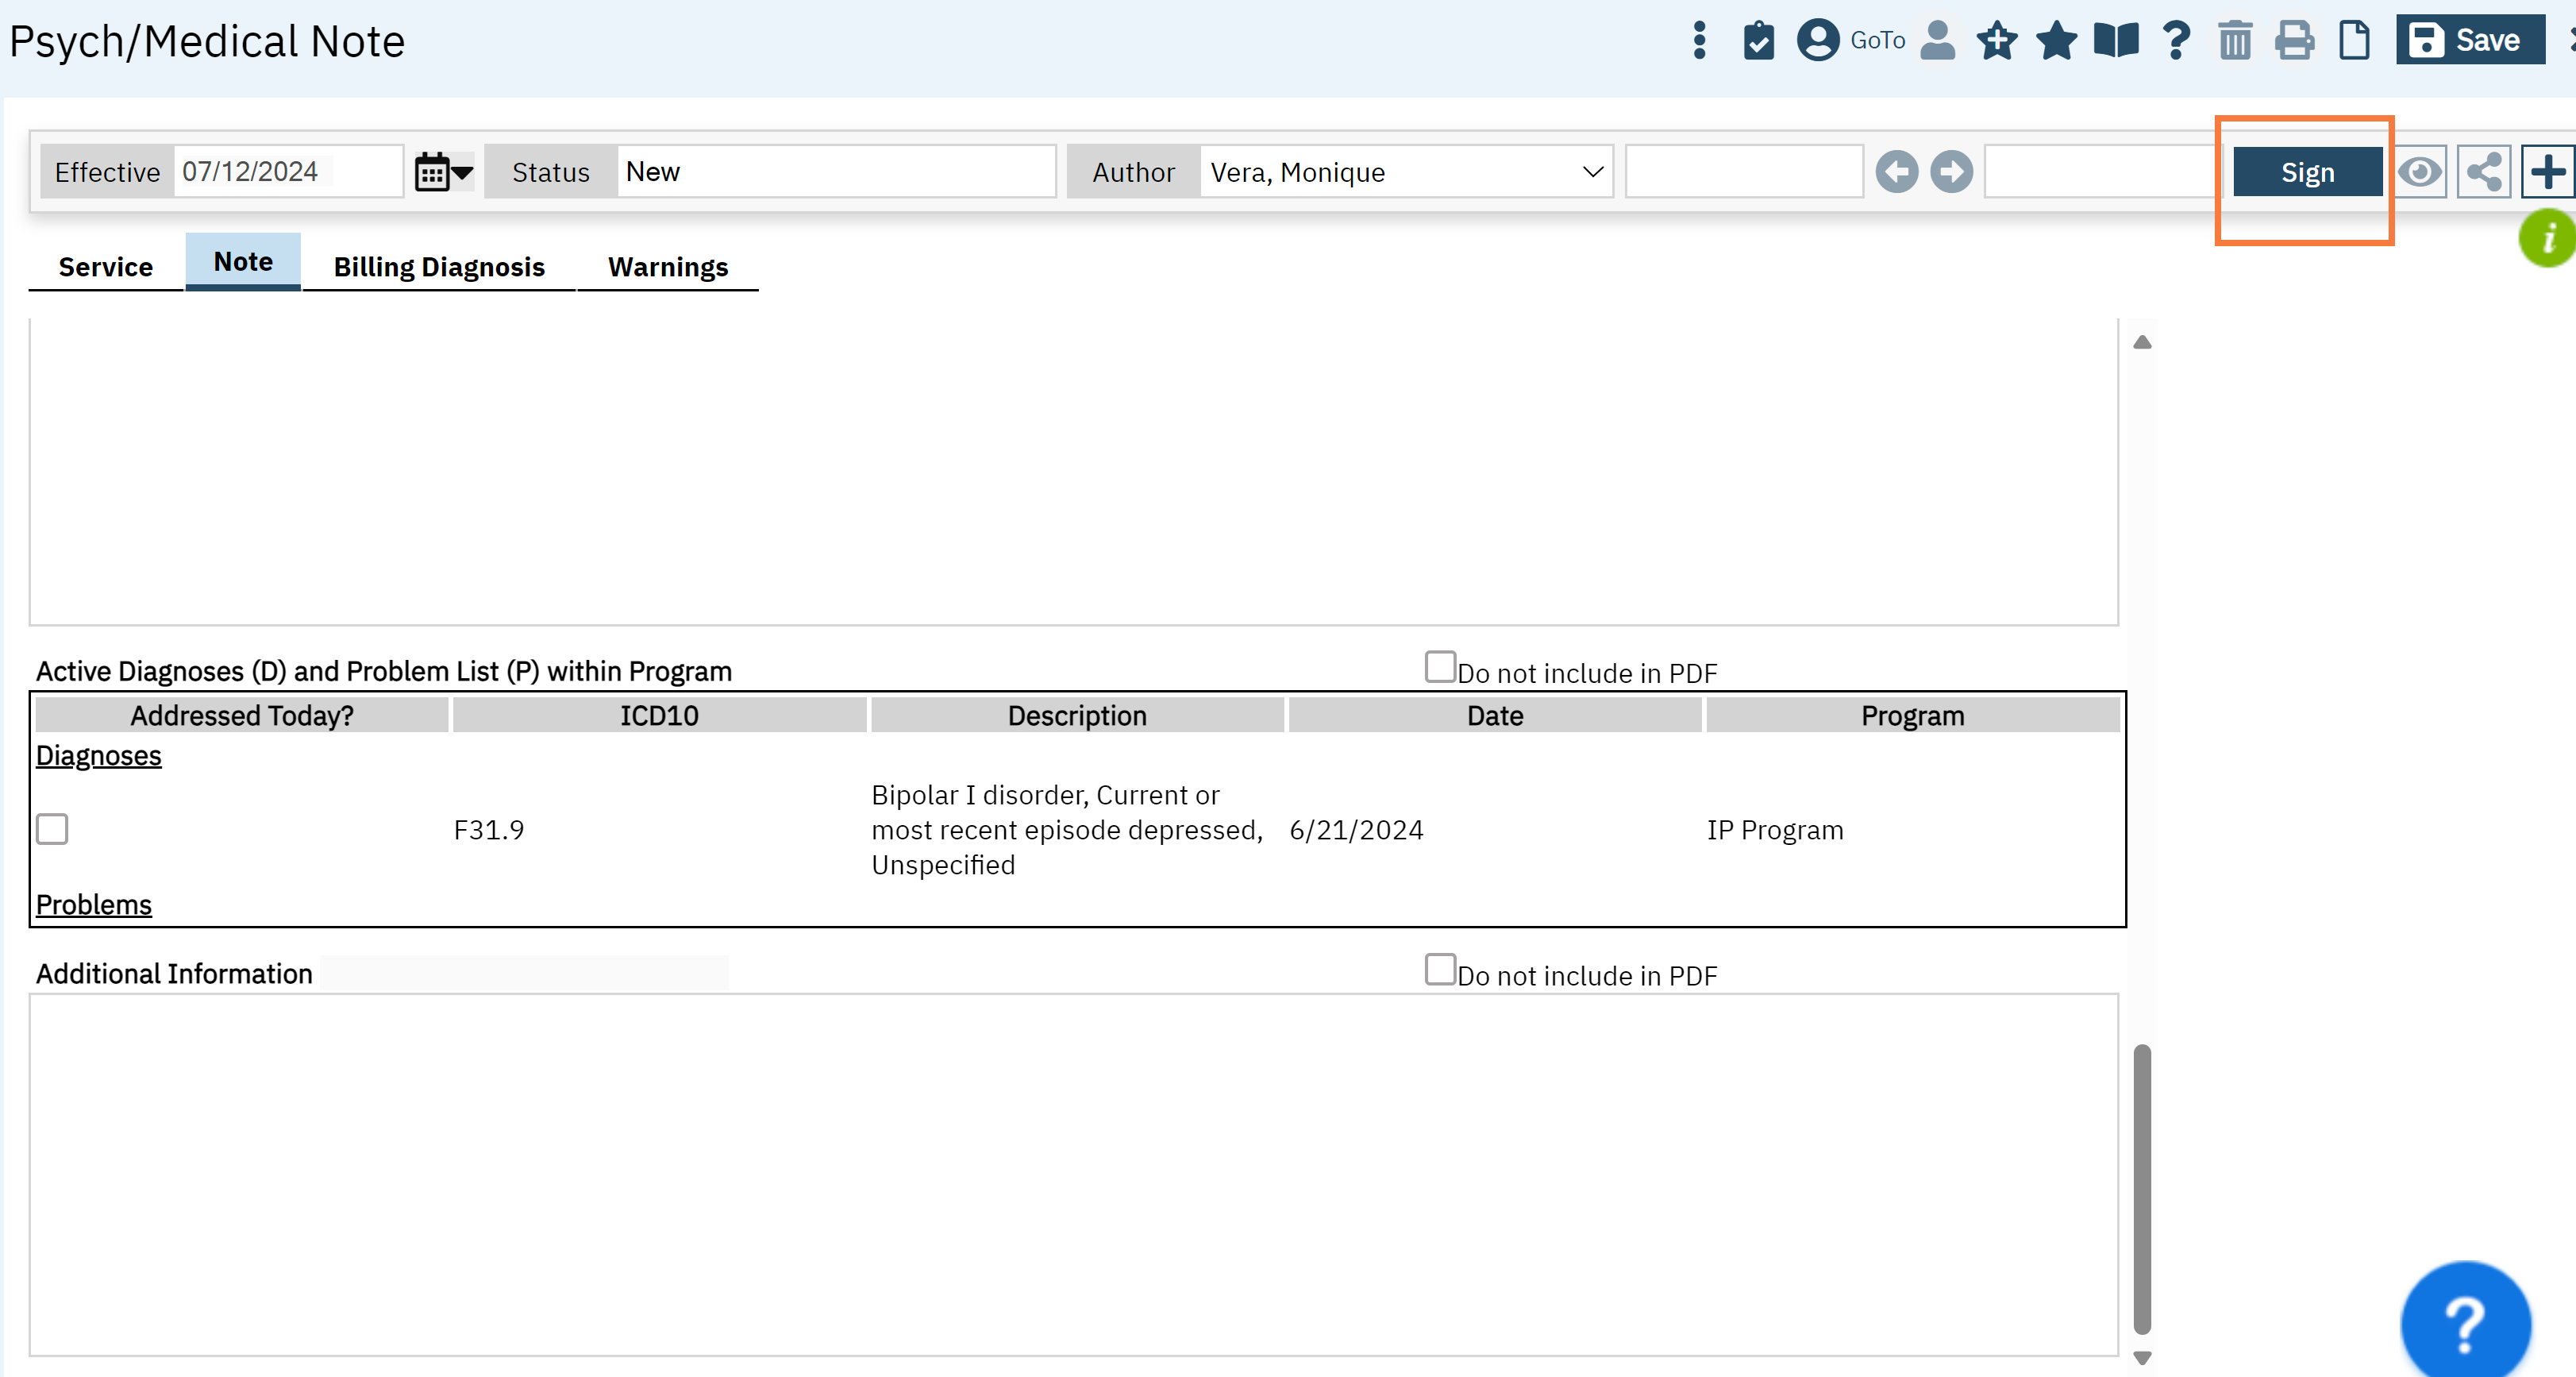
This section captures the client’s diagnoses and problem list from any programs that are within the same CDAG. The active diagnosis captured by Diagnosis Document is included in the diagnosis sub-section. Also, any problems that are documented in the Client Problem List are demarcated in the second subsection. Any common ICD10s are grouped together. The date represents the most recent entry for that ICD10 code. You can checkmark the issues that were addressed at the visit. Any selection will NOT retain its checkmark for the subsequent note.
The “Do not include in PDF” functionality can be utilized.

Additional Information
This section is a flexible section for authors to capture information that does not fit in any above section but should be included. (For example: attestation, client’s timeline within the program, family conversations, follow-up information). The “Delete from the Note” functionality can be utilized.

Complete Note
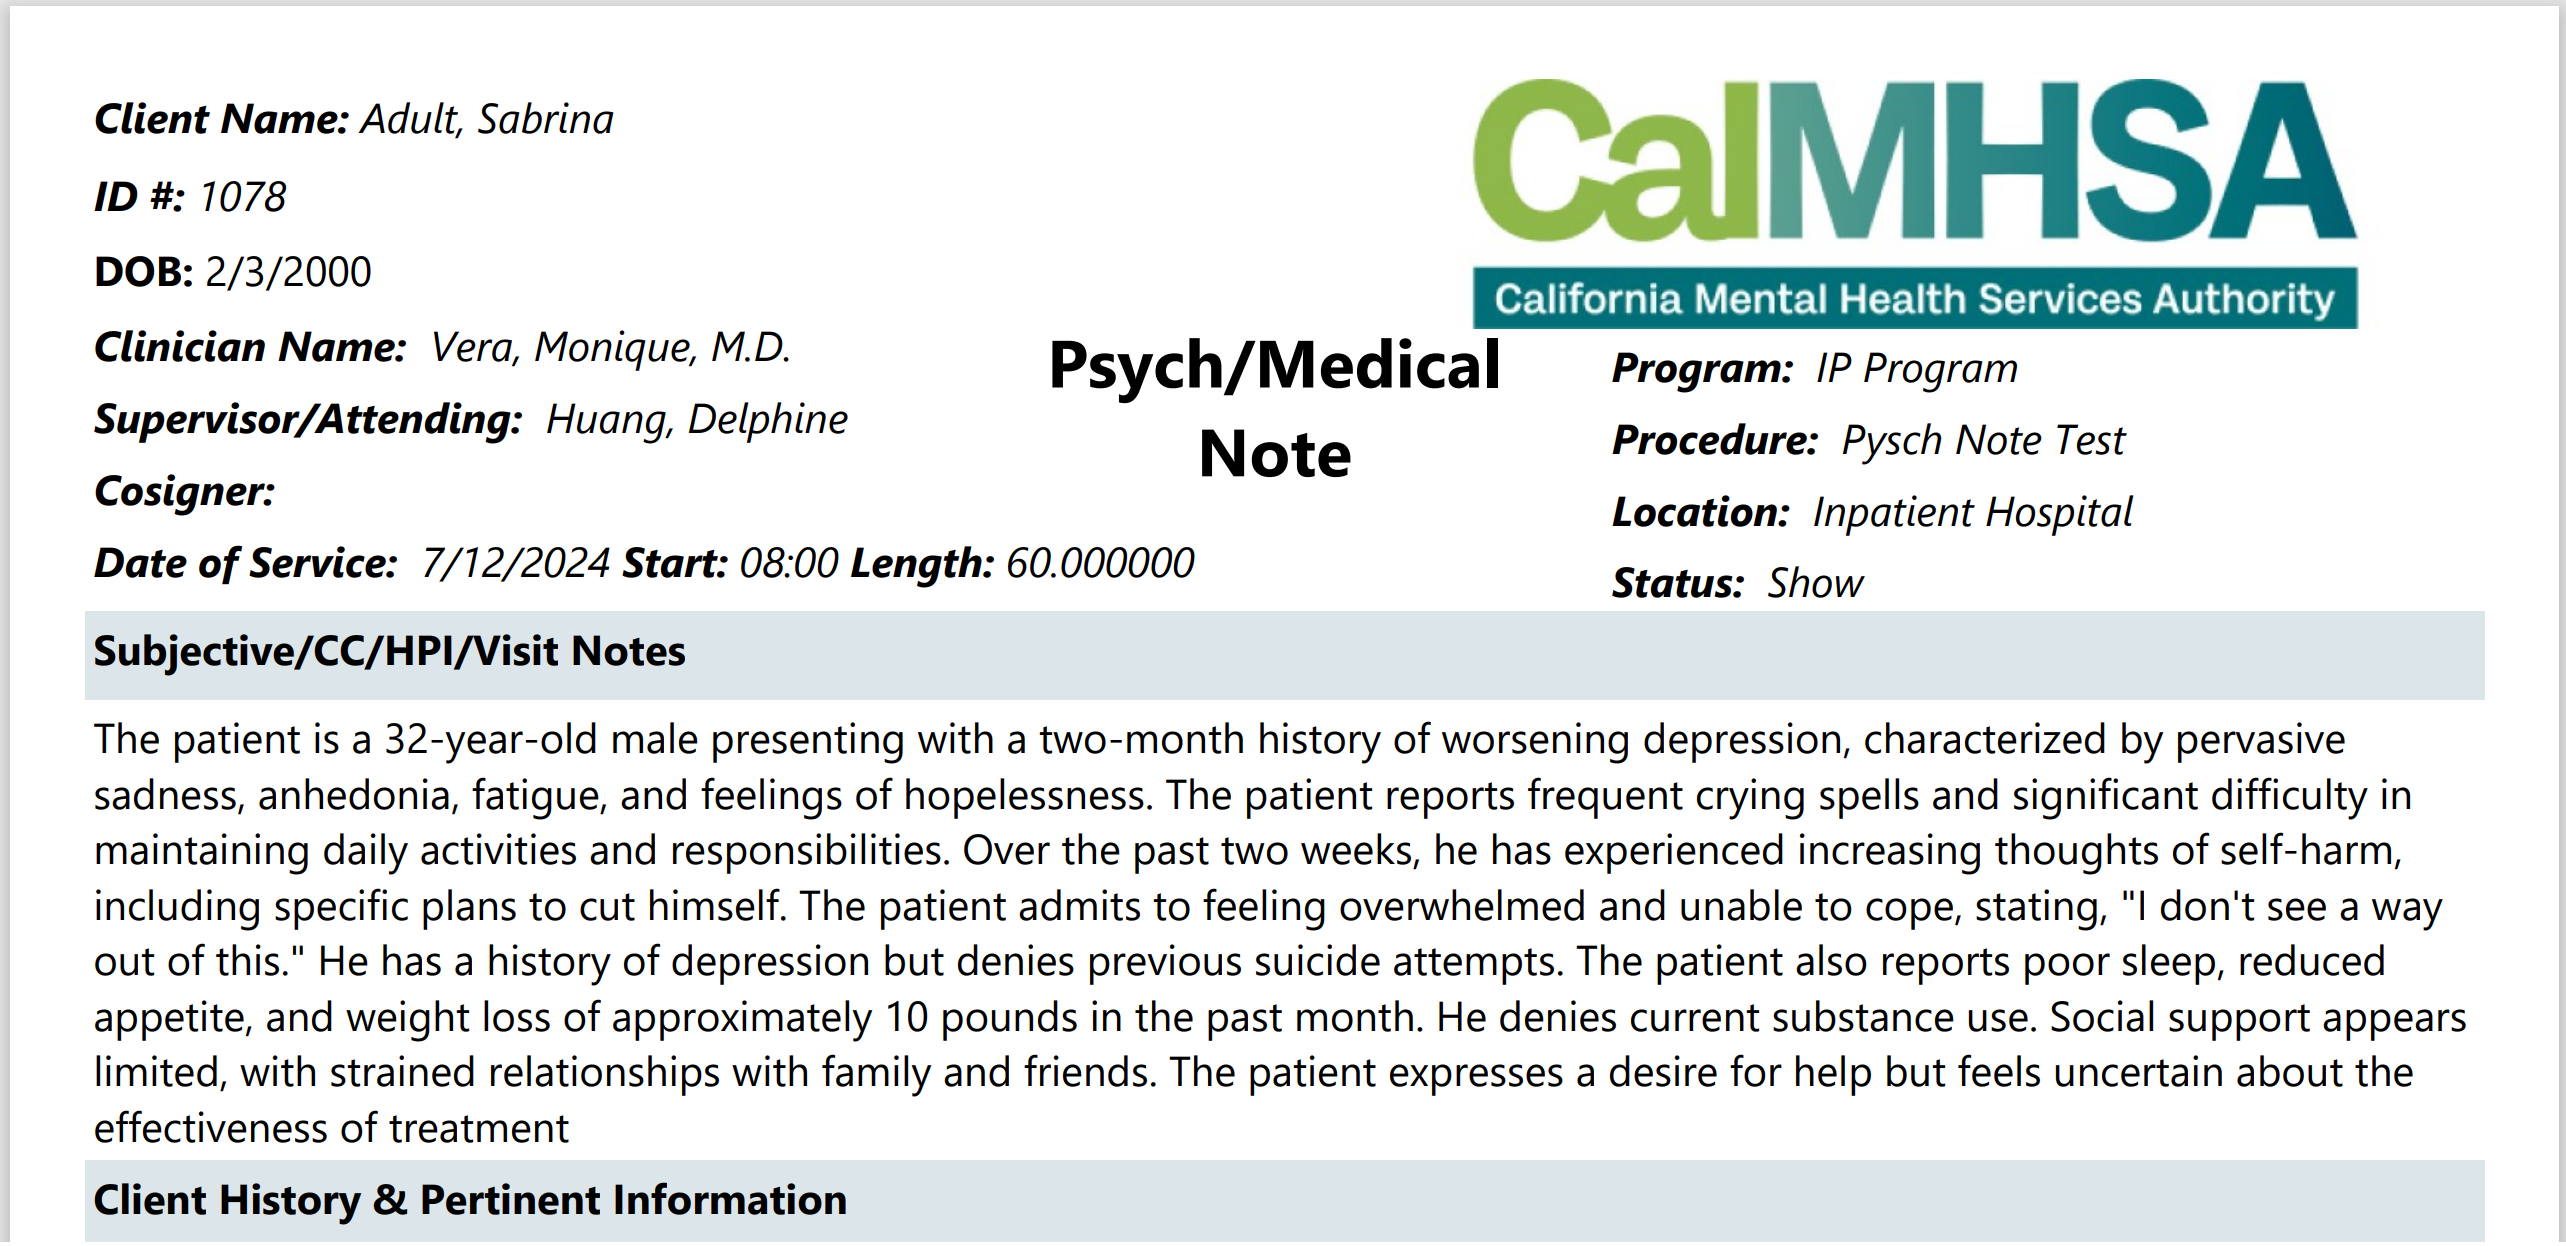
To complete a note, the author must sign the note by clicking the “Sign” blue button on the upper right corner. The proxy and cosign workflow remains unchanged. Your document will generate.
- Last Updated:May 15, 2025
