System Administration Guide provides detailed steps on how to create a program. Please reference that guide for details on creating a program. As a reminder, you may have the program already present through data conversion. Steps below are specific to set up the program for inpatient and residential. I have also referenced areas on conversion files that correspond to these fields.
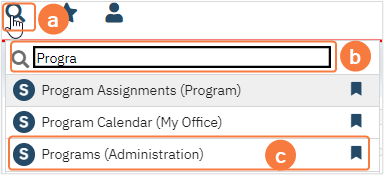
- To begin, navigate to Programs (Administration).
- Click on the Search icon.
- Type Program.
- Only three characters are required before options display.
- Select Programs (Administration) from the options.
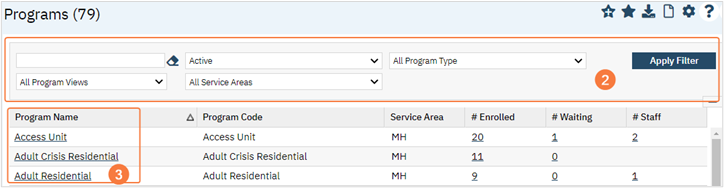
- Once in the Program list page utilize filters to locate your program.
- Remember to click the Apply Filter button once you have selected your options.
- Select program from Program Name column to open Program Details.
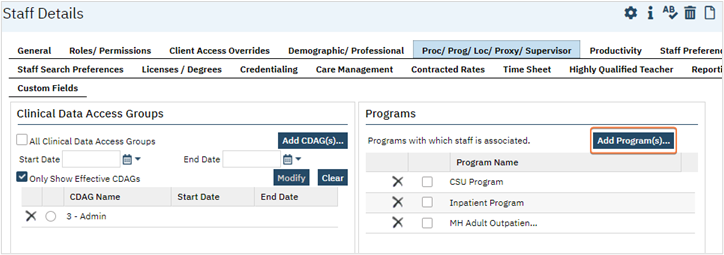
- As a reminder, ensure the program is added to a Clinical Data Access Group once the program has been created.
- Note: When Programs are created ensure you add the program to ‘BedDay System’ user. This user is added to bed charges, this is a requirement of the system and will not appear on 837i.
CSU Set-Up
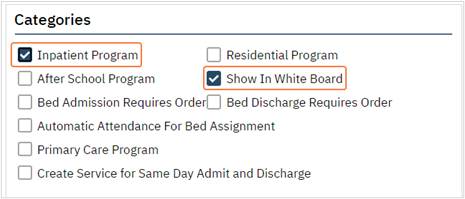
- Once in Program Details, General tab > Categories section select the following:
- Inpatient Program
- Show in White Board
- Corresponding conversion file: Setup_Data_Programs
- Program Category: InpatientProgram and ShowInWhiteBoard
- Y indicates the checkbox would be selected.
- Leaving this blank would indicate the checkbox is not selected.
- Automatic Attendance would not be utilized for CSU’s.
- Services need to be created manually due to time limitations and bundling needs.
- This is covered in more details in the CSU Service Creation section. In the General tab
- Corresponding conversion file: Setup_Data_Programs
- In the General tab > MAR Setup section select Client Order Meds.
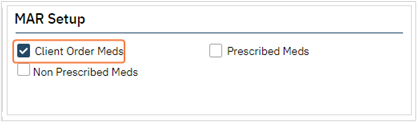
- Corresponding conversion file: Setup_Data_Programs
- Program Category: MARClientOrderMedication
- Y indicates the checkbox would be selected.
- Leaving this blank would indicate the checkbox is not selected.
- Corresponding conversion file: Setup_Data_Programs