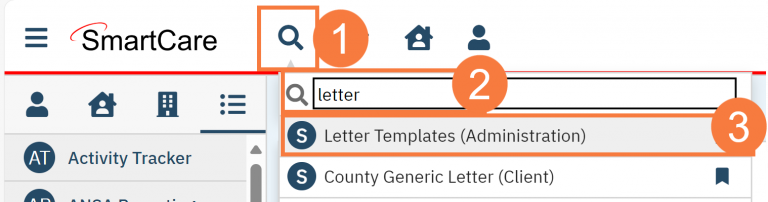
- Click on the Search Icon
- Type in “Letter Templates” in the search bar
- Select “Letter Templates (Administration)” from the search results.
- This will bring up the Letter Templates list page. Find the Letter Template you want to edit and click the link in the Template ID or Template Name column.
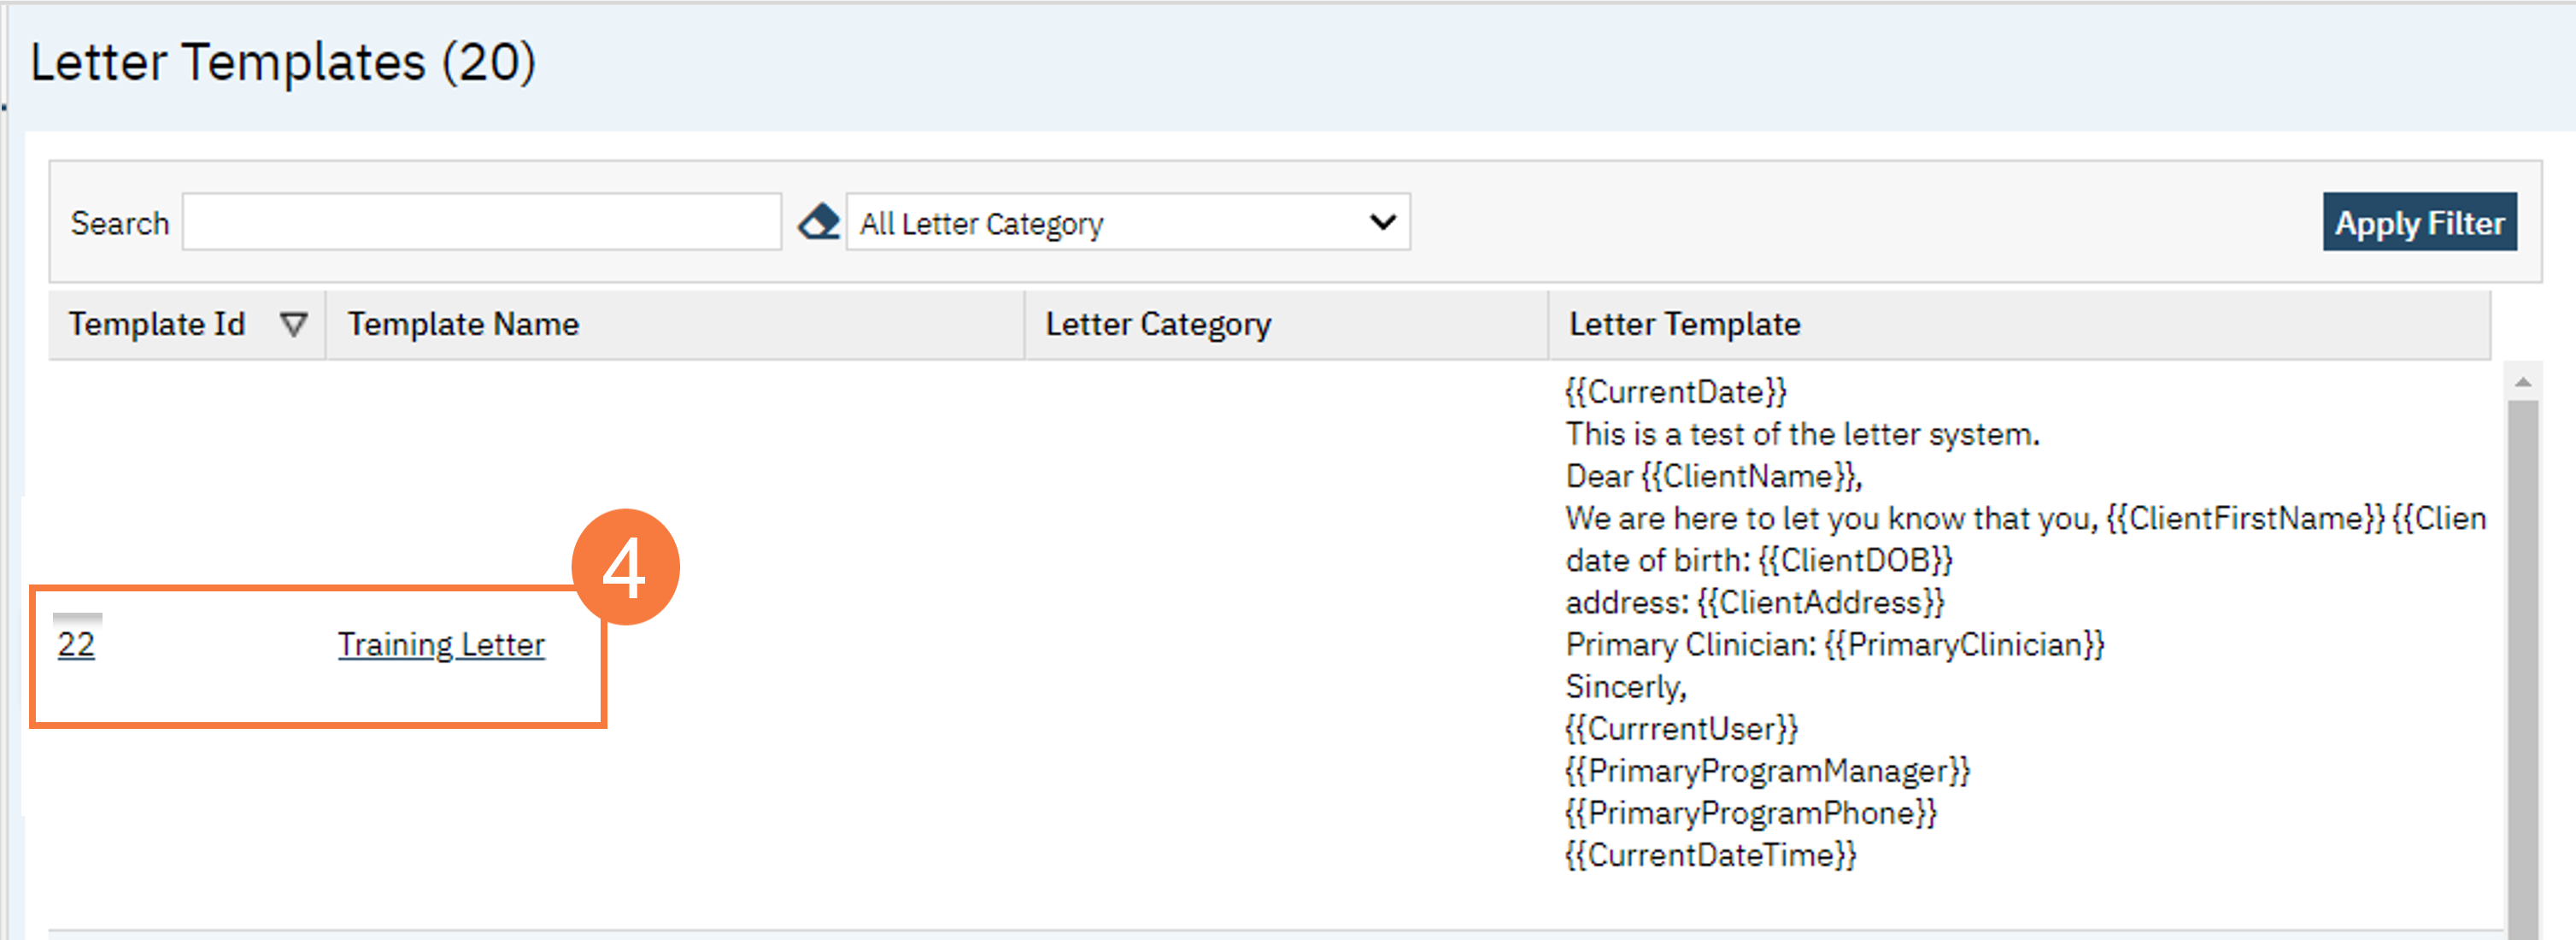
- This brings you to the Letter Template Detail screen. Update your letter template as needed. You can use the following tags for populating pertinent information dynamically.
- Client Information – Will pull data from the Client Information screen for the client you’re creating the letter for.
- If the client has more than one address, {{ClientAddress}} will pull the Mailing address first (if available), Home address next, and Billing address third.
- {{ClientPreferredName}} will pull from the Aliases tab in Client Information for the alias that’s marked as “Preferred Name”.
- Appointment Information – Will pull data from the next service appointment the client has.
- Type: Will pull the procedure code name. NOTE: this is not the display name, but rather than actual procedure code that’s in the Billing Manual
- Duration: Will pull the data from the Total Duration field
- With: Will pull the data from the Clinician field
- Mode of Delivery: Will pull the data from the Mode of Delivery field
- Client Information – Will pull data from the Client Information screen for the client you’re creating the letter for.
-
- Selected Program Information – Will pull data from the Program Details screen, based on the program that’s associated with this letter (what’s selected from the CDAG dropdown by the user when creating the letter)
- County Information – Will pull data from the County Information screen
- Current User – Will pull data from the Staff Details screen for the user who is creating the letter.
- Current User: Will pull the username that’s used to log into SmartCare
- Current User Signature: Will pull the signature that’s used when signing documents
| Client Information | Insert Statement | Format |
|---|---|---|
| Last Name | {{ClientLastName}} | Last |
| First Name | {{ClientFirstName}} | First |
| First/Last Name | {{ClientName}} | First Last |
| Preferred Name | {{ClientPreferredName}} | First Last |
| Client ID | {{ClientID}} | Number |
| Prefix | {{ClientPrefix}} | Text |
| Date of Birth | {{ClientDOB}} | m/d/yy |
| Client Address | {{ClientAddress}} | 000 Street City, CA 00000 |
| Appointment Information | Insert Statement | Format |
|---|---|---|
| Type | {{TypeOfAppnt}} | Text |
| Duration | {{AppntDuration}} | Integer |
| Day and Date | {{AppntDayAndDate}} | Friday, mm/dd/yyyy |
| Time | {{AppntTime}} | 8:00AM |
| With | {{AppntWith}} | First Last |
| Mode of Delivery | {{ModeofDelivery}} | Text |
| County Information | Insert Statement | Format |
|---|---|---|
| County Code | {{CountyCode}} | Integer |
| County Name | {{County}} | Text |
| Behavioral Health Department Name | {{CountyBHDeptName}} | Text |
| Hours of Operation | {{CountyHours}} | Text |
| County Address | {{CountyAddress}} | Text |
| County City | {{CountyCity}} | Text |
| County Zip | {{CountyZip}} | 55555 |
| Main Phone Number | {{CountyPhoneNumber}} | 555-555-5555 |
| TTY Phone Number | {{CountyTTYPhoneNumber}} | 555-555-5555 |
| Accessibility Phone Number | {{CountyAccessPhoneNumber}} | 555-555-5555 |
| Member Services 24/7 Phone Number | {{CountyMemberServicesPhoneNumber}} | 555-555-5555 |
| Crisis Line Name | {{CrisisLineName}} | Text |
| Crisis Line Phone | {{CrisisLineNumber}} | 555-555-5555 |
| Current User | Insert Statement | Format |
|---|---|---|
| Current User | {{CurrentUser}} | Text |
| Current Date | {{CurrentDate}} | Mmm dd, yyyy |
| Current Date & Time | {{CurrentDateTime}} | Mmm d yyyy h:mmAM/PM |
| Current User Signature | {{CurrentUserSignature}} | Text |
Use the “County Generic Letter” to see an example of the formatting. This letter template is maintained by CalMHSA and is a demonstration of all the different insert statements.
To create a County Generic Letter, have a client open. Use the Search icon to find the screen “County Generic Letter”. If needed, click New. This will show you want the end user will see when creating a letter with these insert statements. Signing the test letter will show you what these insert statements will look like in PDF format.
- Once you’ve finished writing the letter, click Save and close.
