Step 1 – Select your client using the client icon

Step 2 – Search and select, Time Service Entry (client)

Step 3 – Select your Start and End dates (optional) in the top filters. This will show any services the client has depending on the filtered dates entered.

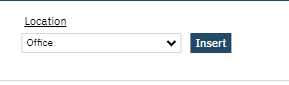
Step 4 – Default Values: Select client program (this will only show programs client is enrolled in), select staff, procedure, date, enter start time and duration/units and location.

Step 5 – Click on Insert button (next to location). You should now see your service below.
NOTE: The more you click on the Insert button it will add additional services below. You could also click on the Plus (+) icon and it will add additional services.

If you click on the +1 icon, it will add additional services in sequence by date of service. E.g.

NOTE: You can use this method to create a batch for your selected client and just change the service
content (procedure, date, duraton, locaton)
Step 6 – Click SAVE
![]()
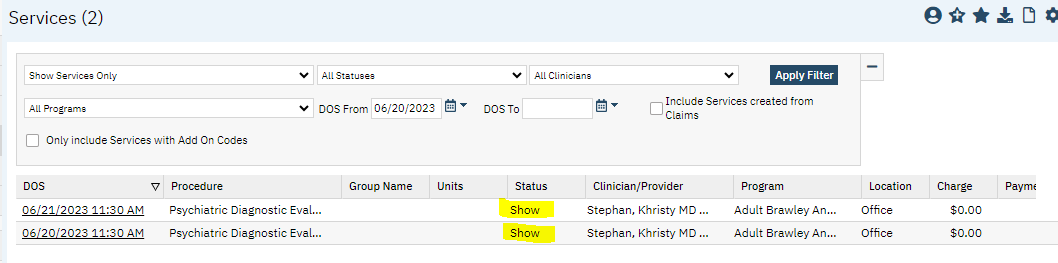
Step 7 – Go to Client Services to see your services now listed on SHOW s

NOTE: You should see your services listed and on SHOW status.
NOTE: Overnight jobs will run its process and advise of any Failure Reasons/Warnings.