Prescriber: How to Complete the History & Physical
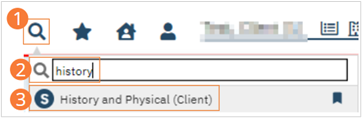
With an active client selected, click the Search icon.
Type ‘History’ into the search bar.
Click to select History and Physical (Client). The History and Physical assessment will open to the General tab.
How to Complete the General Tab of the History and Physical
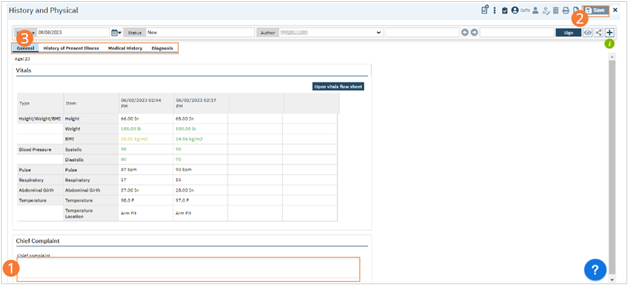
Begin on the General tab of the History and Physical. Review the Vitals section, which is populated by the most recent Vitals flow sheets.
Type the Chief Complaint into the text field.
Click Save.
Navigate to the next tab.
How to Complete the History of Present Illness Tab of the History and Physical
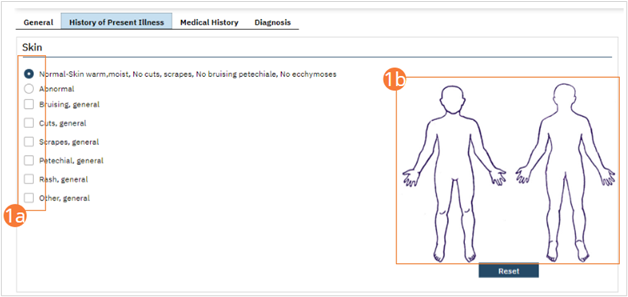
Begin on the History of Present Illness tab of the History and Physical. As you perform the assessments, complete each section.
Complete the Skin section.
Click the Radio button at the top to determine if the findings are Normal or Abnormal. For each positive finding, click the checkbox to open a text field. Enter findings in the text field.
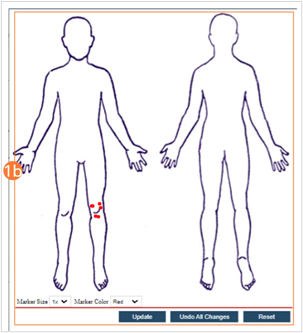
Where a figure is seen, click it to perform markup. Select your markup tool from the dropdowns, then click on the figure to identify areas of concern. Click Update to add the markup to the assessment.
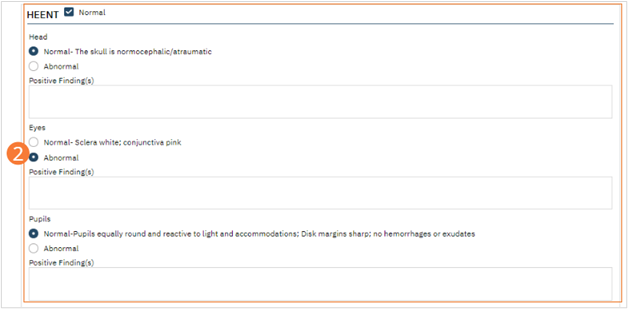
Complete the review of systems sections in a similar manner.
For each subsection, select a Normal or Abnormal radio button, then record positive findings in the text box.
Alternatively, you can click the Normal checkbox to record all areas as Normal.
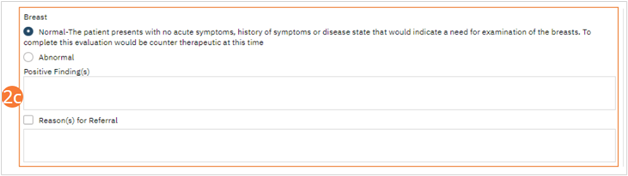
For some subsections, additional checkboxes and/or text fields may be available. For example, the Breast subsection includes a reason for referral option. Record information appropriately as needed.
Once all systems are reviewed and findings are recorded, click Save.
Navigate to the next tab.
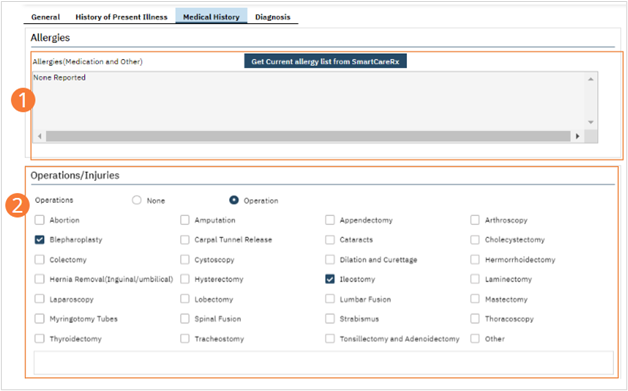
How to Complete the Medical History Tab of the History and Physical
Begin on the Diagnosis Tab.
If there is no diagnosis made, select the No Diagnosis checkbox and skip to the Signature step
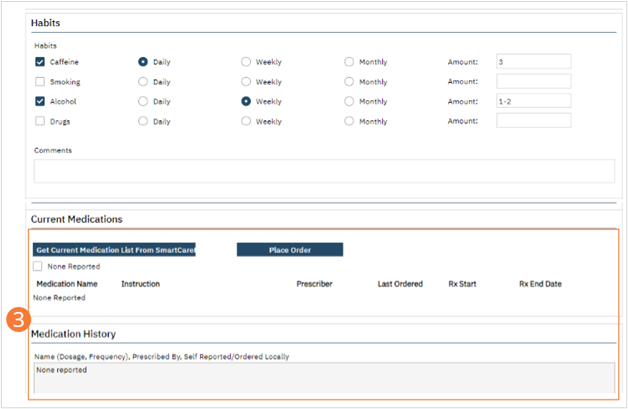
Review the Current Medications section and, if required, click the Get Current Medication List button to refresh the display using data from SmartCare Rx.
You can also click Place Order to immediately navigate to medication orders.
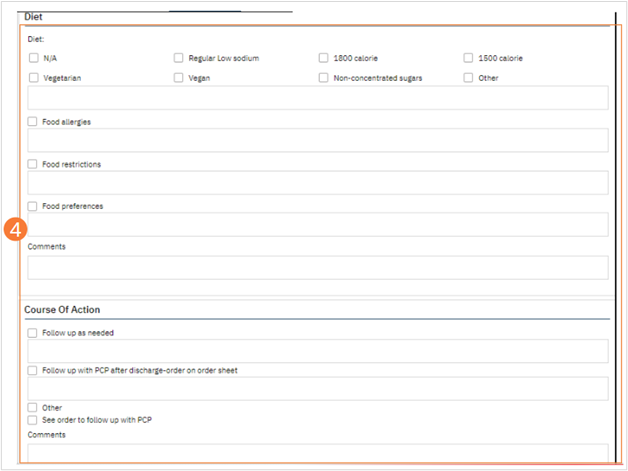
Complete the Diet and Course of Action sections by selecting checkboxes next to applicable options and recording details in text fields
Click Save.
Navigate to the next tab.
How to Complete the Diagnosis Tab of the History and Physical
Begin on the Diagnosis Tab.
If there is no diagnosis made, select the No Diagnosis checkbox and skip to the Signature step
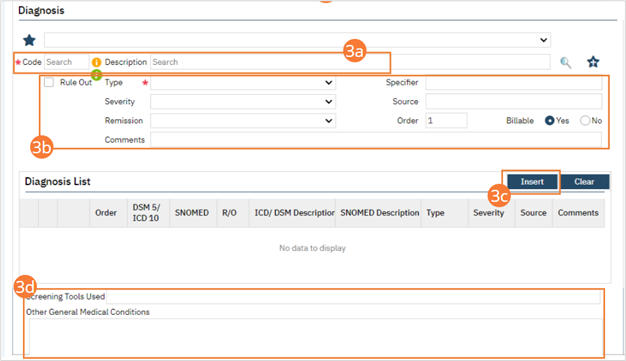
Complete required fields.
Search for a diagnosis code or description. Select the chosen diagnosis from the dropdown that appears when you begin entering text.
Select a Type, Severity, and Remission status from the dropdowns. Enter a specifier and source in the text boxes. If desired, change the order numeral, change the Billable radio button, and/or set the diagnosis as a Rule Out by selecting the checkbox.
Click the Insert button. The diagnosis will be added to the Diagnosis List.
Type text into the Screening Tools Used and Other General Medical Conditions fields.
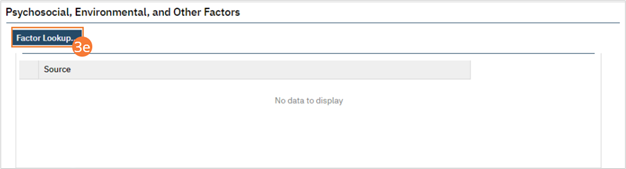
In the Psychosocial, Environmental, and Other Factors section, click the Factor Lookup button. A pop-up will appear.
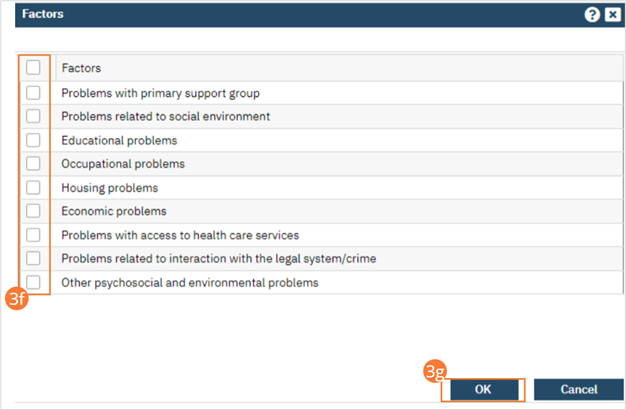
Select any or all of the checkboxes that apply.
Click the OK button.
Enter Comments in the text field.
If applicable, enter GAF, WHODAS, or CAFAS scores.