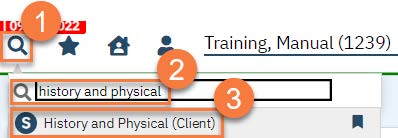
- You must first have the client open, then click the Search icon.
- Type “History and Physical” into the search bar.
- Click to select “History and Physical (Client)” from the search results.
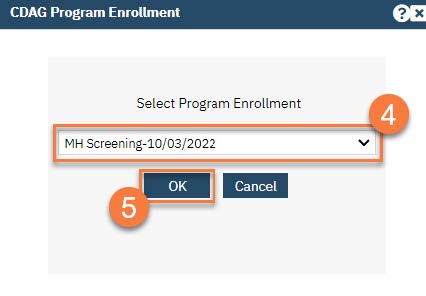
- In the CDAG Program Enrollment window pop-up, click the drop down and click to select the appropriate program.
- Click OK to continue.
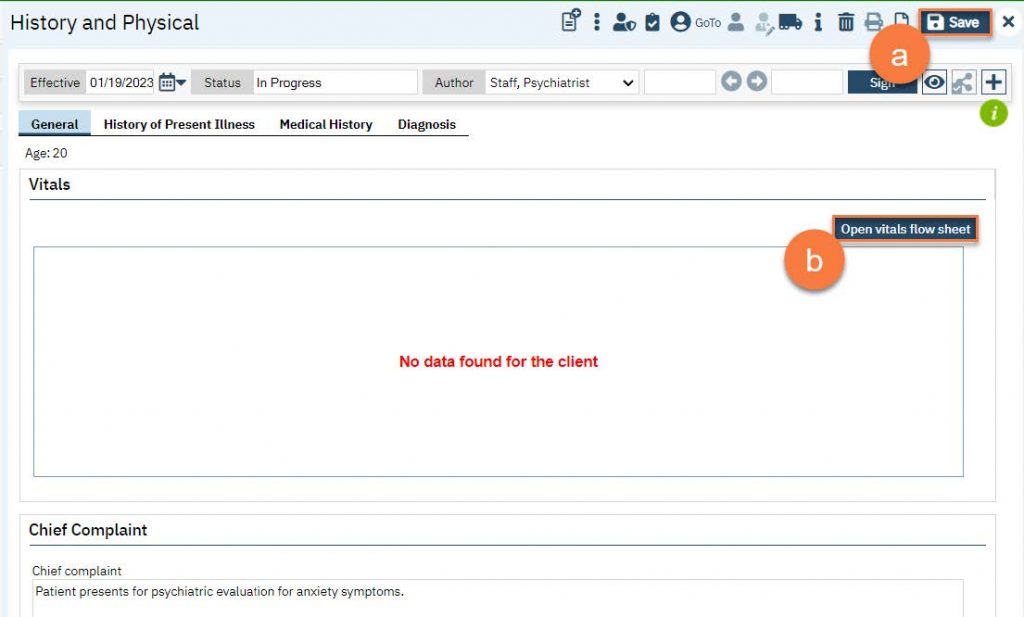
- The History and Physical will open to the General tab. Enter the chief complaint.
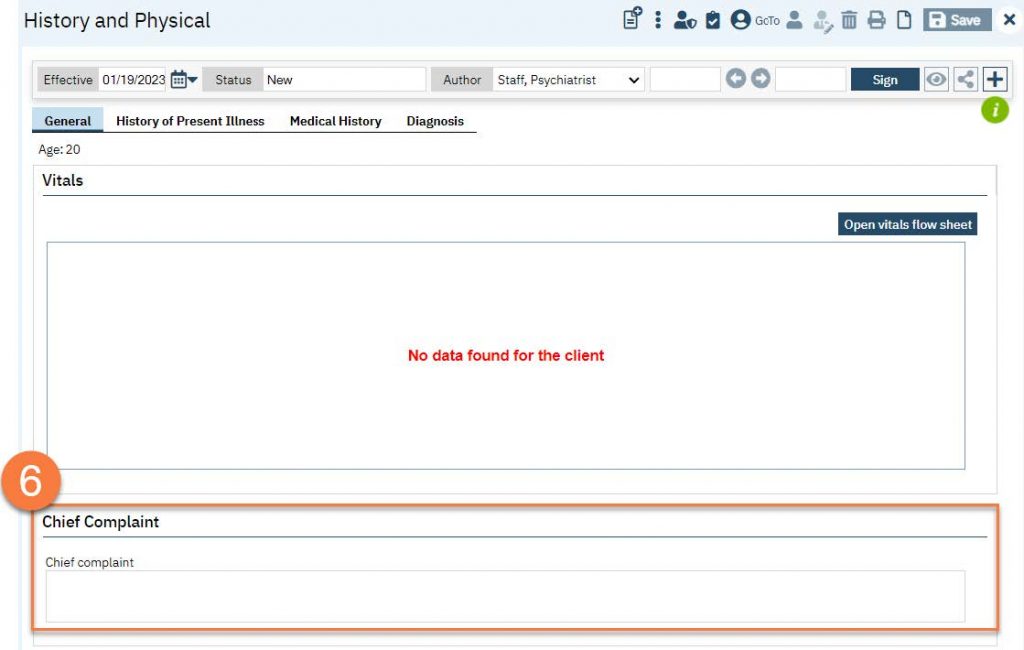
- If you want to add vitals, click Save.
- Then click on the “Open vitals flow sheet” button.
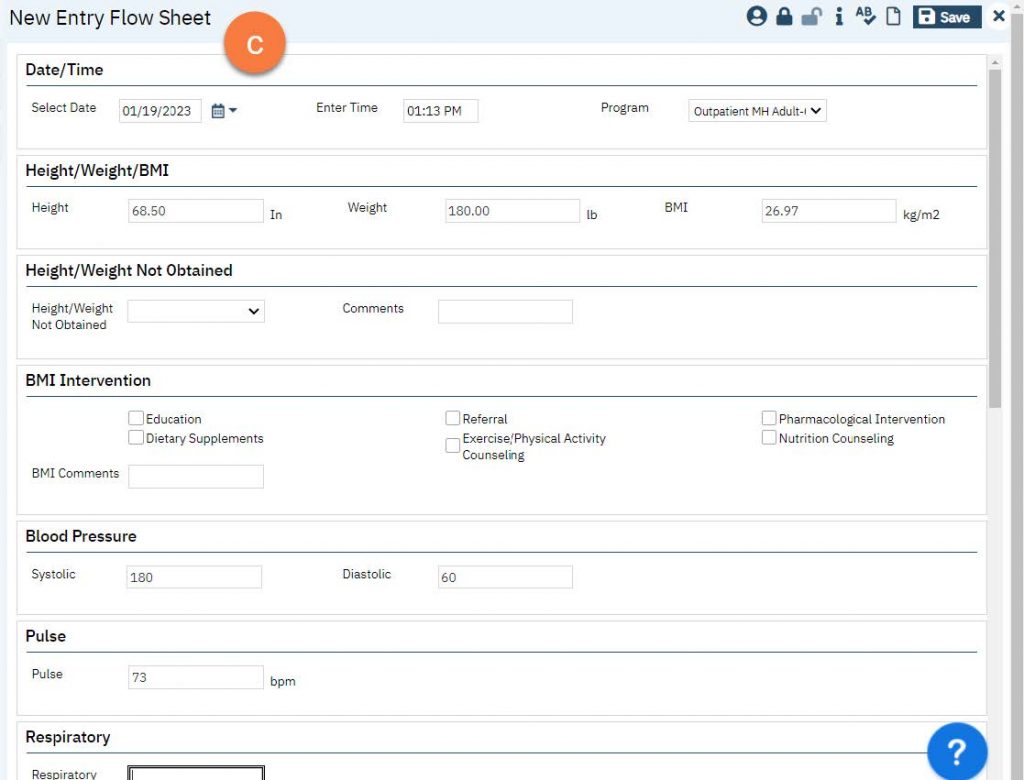
- This brings you to the New Entry Flow Sheets screen. Enter the vitals information that you have.
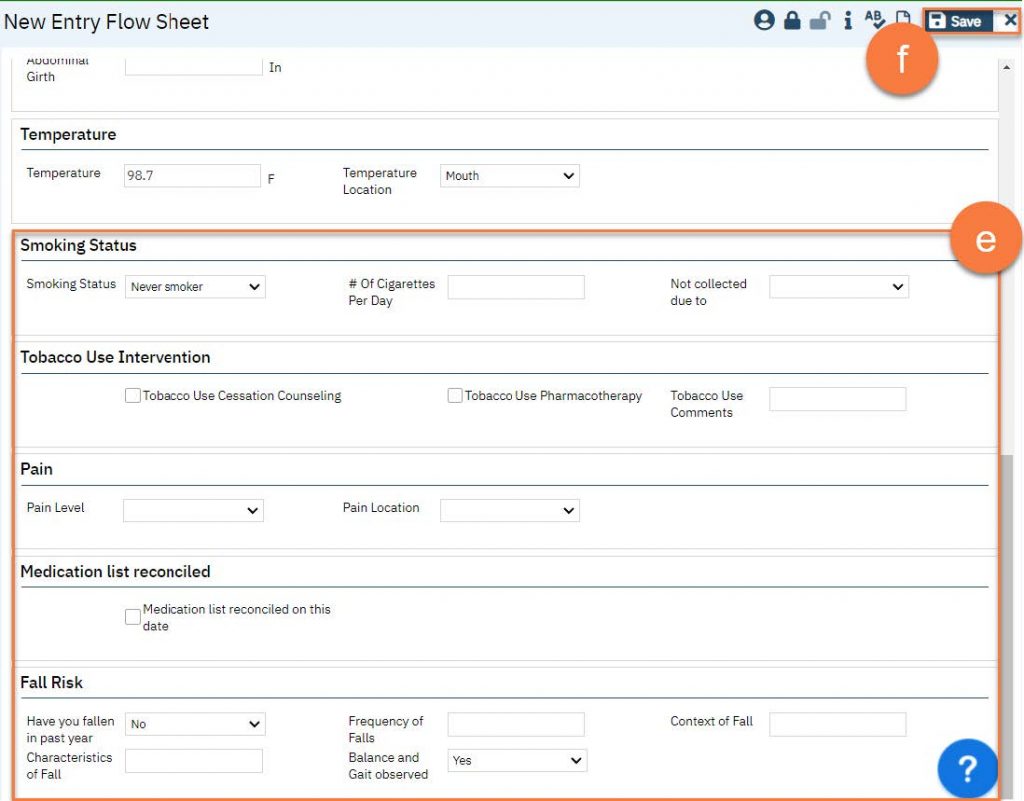
- The Flow Sheet also includes key data points, such as smoking status, what smoking cessation interventions the client is on, a pain measurement, medication reconciliation, and fall risk assessment.
- When you’ve completed the vitals, click Save, then click on the X to close.
- This takes you back to the History and Physical, but now the vitals are included.
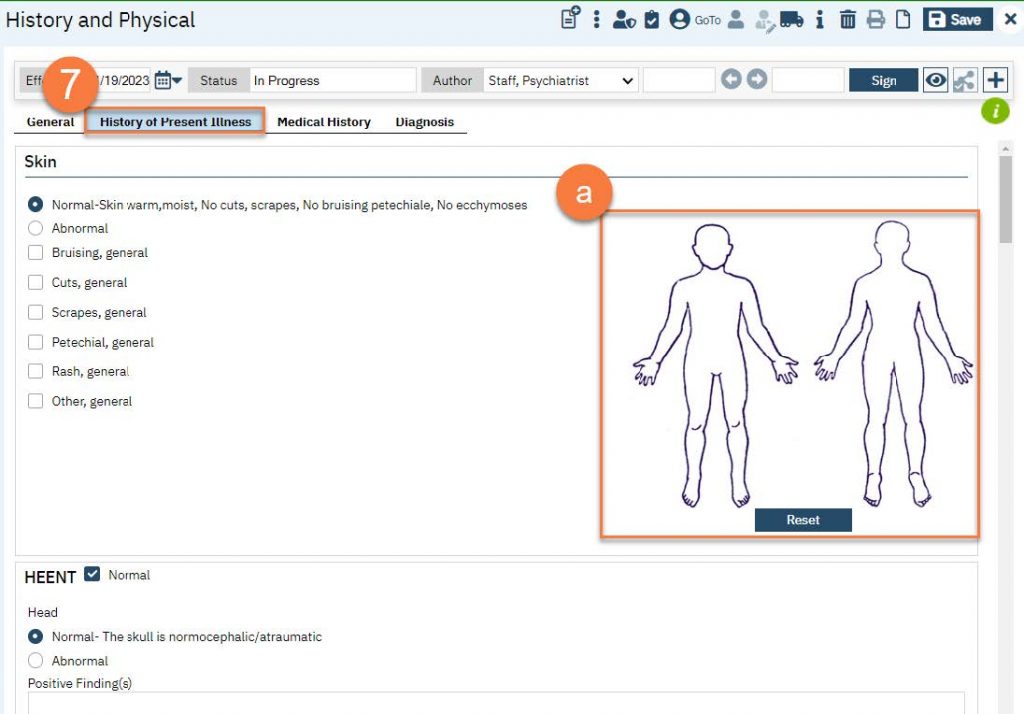
- Navigate to the History of Present Illness and complete this tab. All sections will pre-populate to “Normal” or the section’s equivalent.
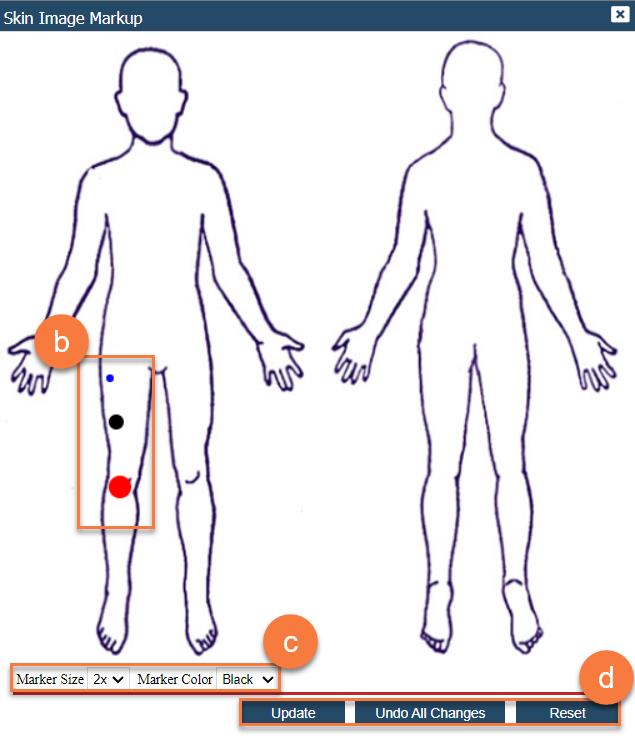
- There is a body on which to designate location of issues. Click on the body to open the Skin Image Markup pop-up.
- Click on the body to create a dot at the location.
- You can change the color and size of the marker by selecting the options in the dropdown menus. The sizes shown below are: Blue = 1x, Black = 2x, Red = 3x.
- Use the buttons at the bottom of the pop-up to save what you’ve added (click Update), undo the changes you’ve made since opening this pop-up (click Undo All Changes), or erase all marks (click Reset).
- There is a body on which to designate location of issues. Click on the body to open the Skin Image Markup pop-up.
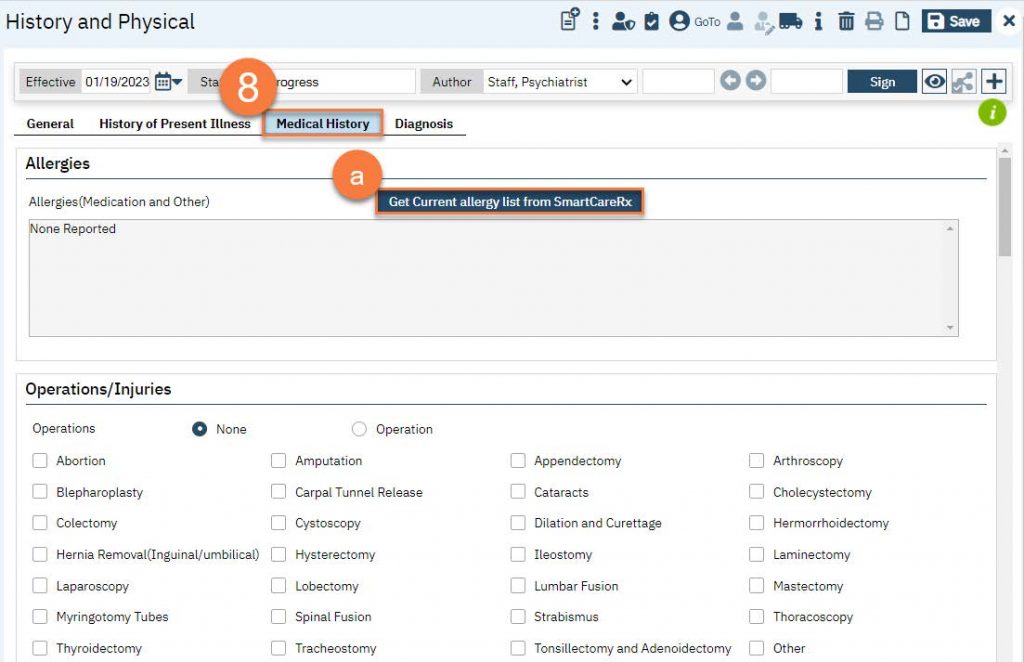
- Navigate to the Medical History tab and complete this screen.
- Allergies will be automatically pulled from the Rx module. If you need to refresh this, click the “Get Current allergy list” button. To add allergies, see Allergies, Intolerances, Failed Trials.
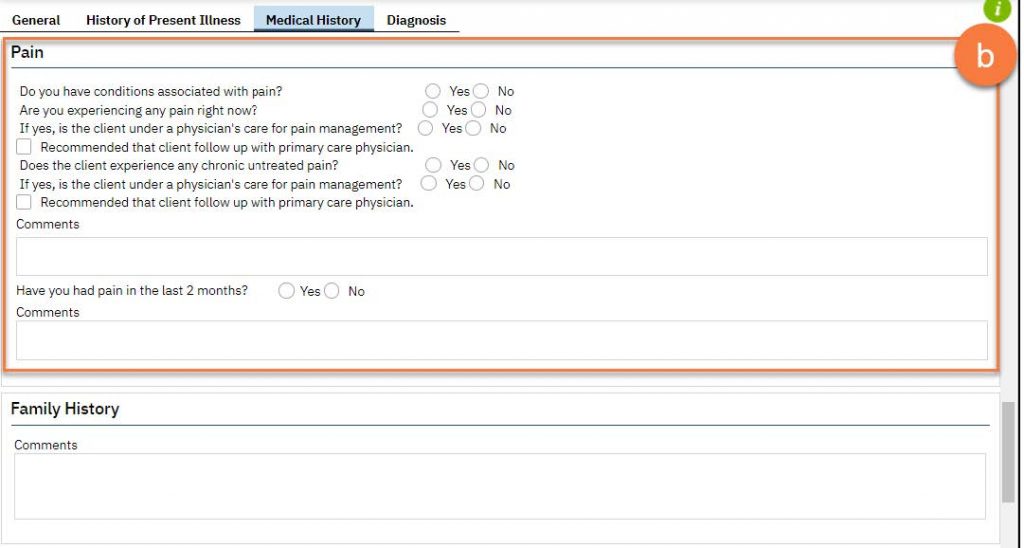
- This tab includes a pain assessment.
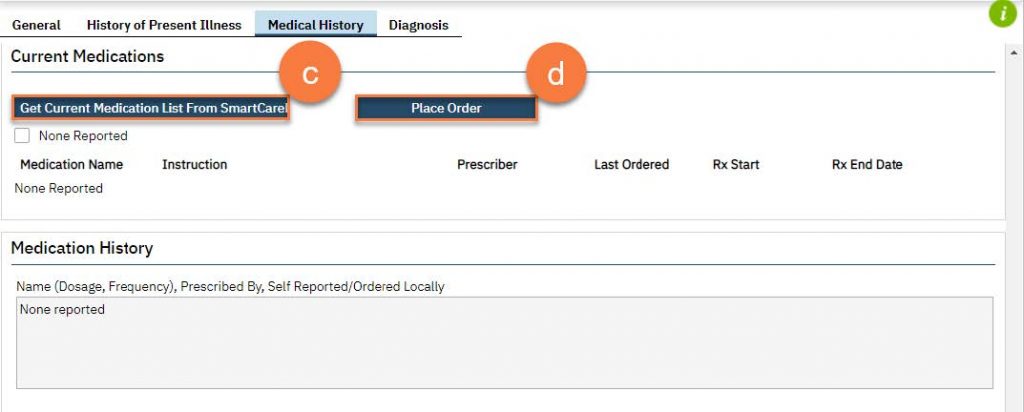
- This tab also pulls medications and medication history from the Rx module. If you need to refresh this, click the “Get Current Medication List From SmartCare” button.
- You can also place orders directly from this screen by clicking on the “Place Order” button. However, any outpatient medication orders should be entered in the Rx module. See Creating a New Order (Prescription).
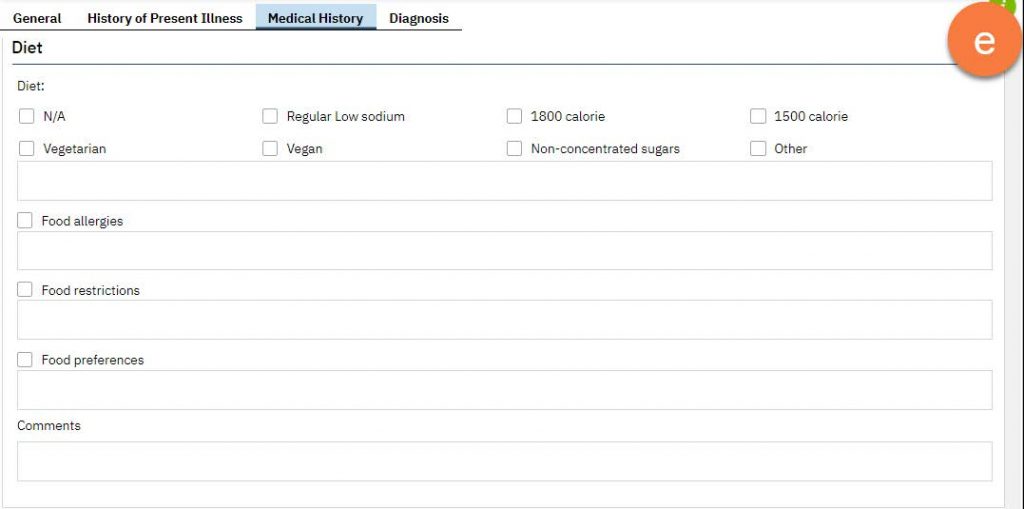
- This tab also includes a diet assessment.
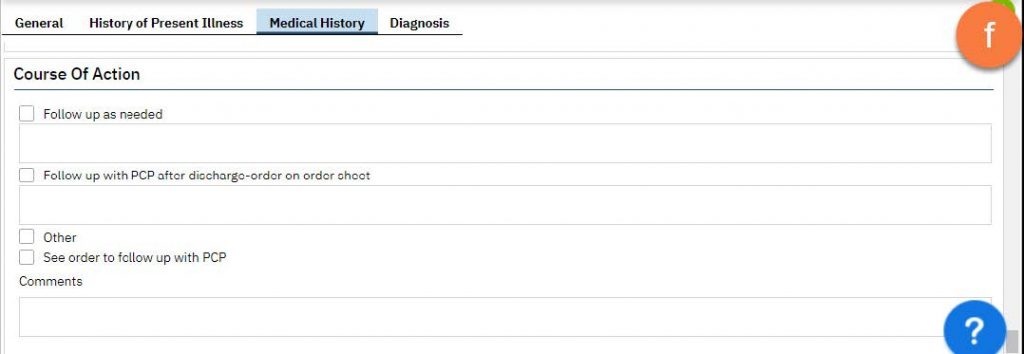
- At the end of this tab is a place to enter any Course of Action that needs to be taken.
- Allergies will be automatically pulled from the Rx module. If you need to refresh this, click the “Get Current allergy list” button. To add allergies, see Allergies, Intolerances, Failed Trials.
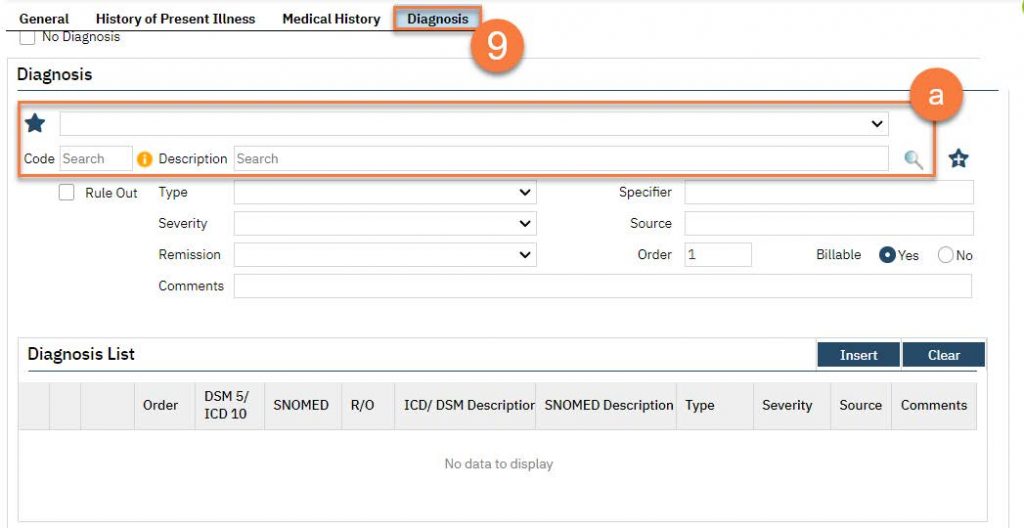
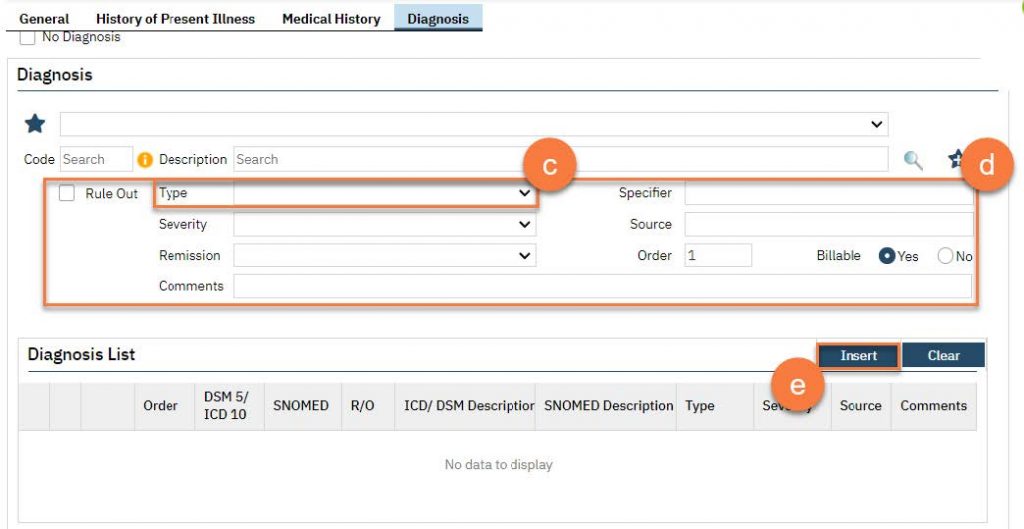
- If you need to update or add a diagnosis, navigate to the Diagnosis tab. This tab works the same as the standalone Diagnosis Document.
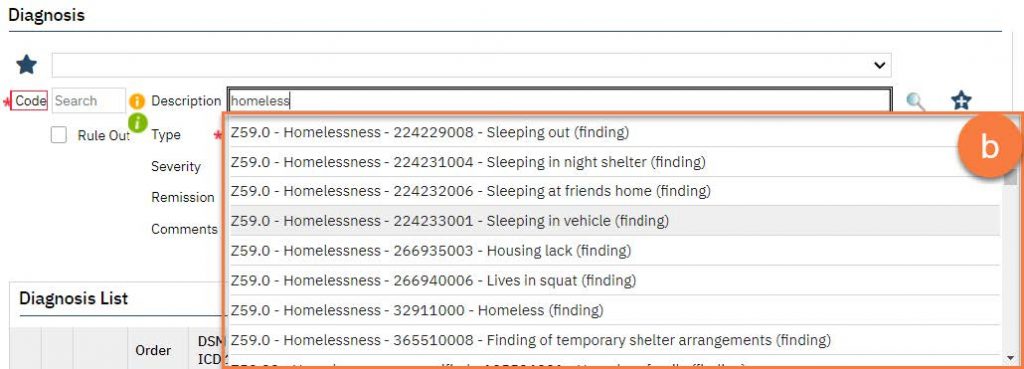
- To add a diagnosis, search for the diagnosis by either the diagnosis code or by description. You can also select a favorite diagnosis from the dropdown list.
- Select the appropriate diagnosis from the search results.
- Select the type of diagnosis, whether primary, additional, or provisional.
- If needed, you can also add severity, remission, or other specifiers. You can also check the “Rule Out” box if needed.
- Once completed, click Insert. This will push the diagnosis to the Diagnosis List area of the screen. You may repeat these steps to add more diagnoses.
- To add a diagnosis, search for the diagnosis by either the diagnosis code or by description. You can also select a favorite diagnosis from the dropdown list.
- Once you’ve completed all tabs, click Sign to complete and generate the document.