How To Identify a Client as Katie-A or Other Special Population
How to Add a Special Population Identifier to a Client
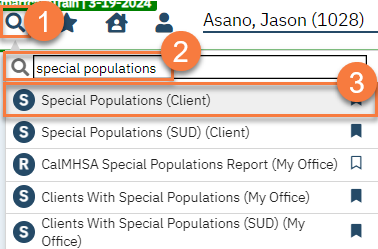
With a client selected in the header, click the Search icon.
Type “Special Populations” in the search bar.
Click to select “Special Populations (Client)” from the search results.
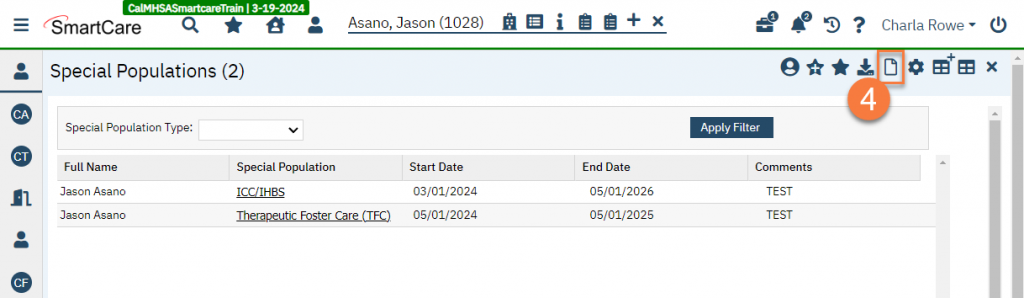
This takes you to the Special Populations list page. This will show you any special populations that the client is already associated with. To add a special population, click on the New icon.
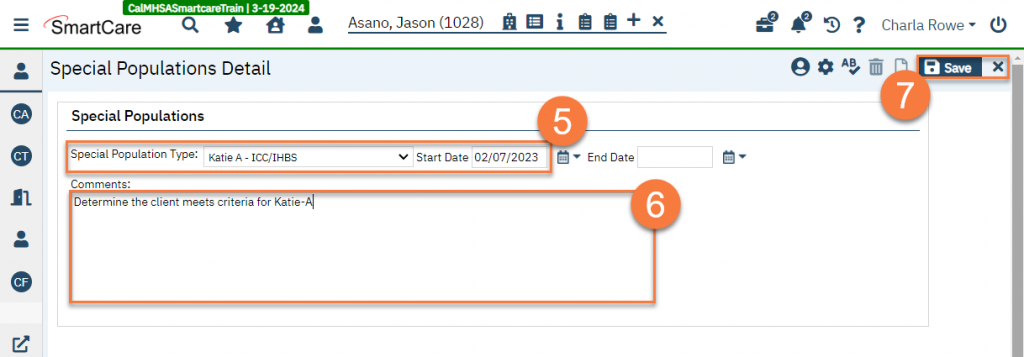
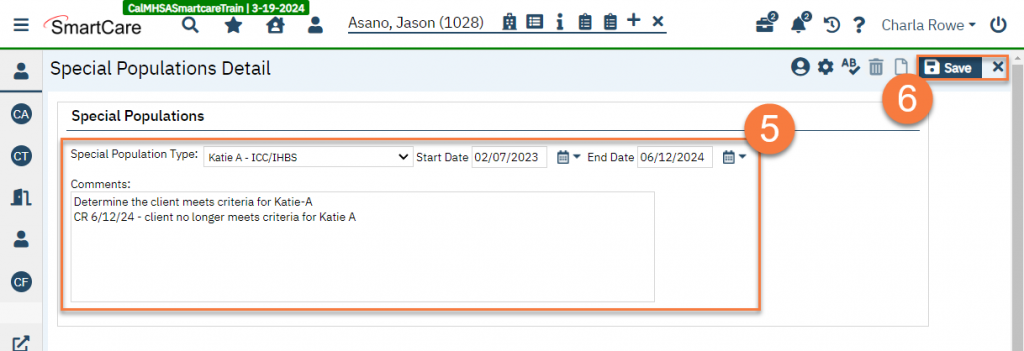
Select the special population and enter the start date.
Enter any comments, as appropriate.
Click Save and then close.
How to Modify or End an Existing Special Population Identifier
With a client selected in the header, click the Search icon.
Type “Special Populations” in the search bar.
Click to select “Special Populations (Client)” from the search results.
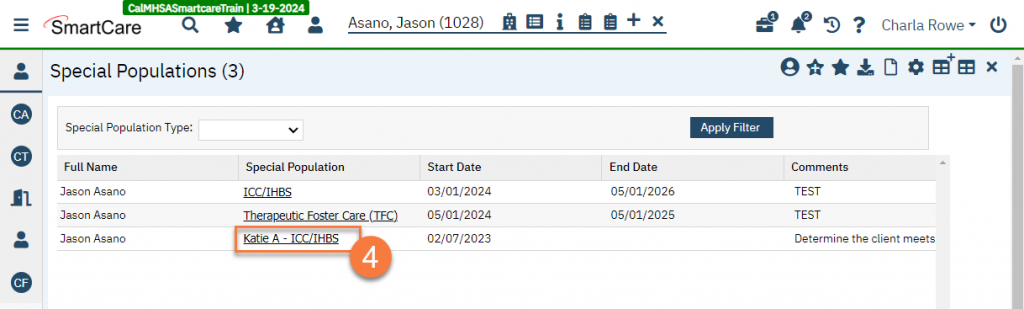
This takes you to the Special Populations list page. This will show you any special populations that the client is already associated with. Click on the special population you wish to modify.
This takes you to the Special Populations Detail screen. Make all necessary edits, for example, adding an end date.
Once you’ve finished with your edits, click Save and close.