Once the UMDAP Financial Assessment is completed and signed, the Client Fee is automatically generated. The Client Fee is editable in the event that information needs to be adjusted. Once the UMDAP Financial Assessment is complete, its important to take note of a few critical pieces of information that will needed for the Client Fee.
- Annual Period Start and End Dates
- Responsible Party (Client or other)
- Number dependent on income
- Adjusted monthly income
- Annual liability
Follow the steps below:
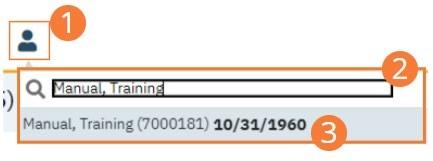
- Click the Client Search icon.
- Type the “Client Name (Last Name, First Name)” in the Client Search bar.
- Click to select the “Client Name” from the search results.
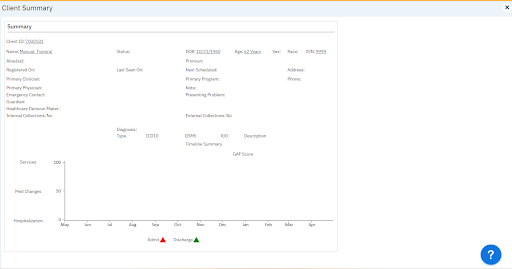
- The client record will open to the Client Summary screen.
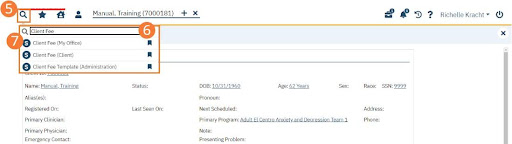
- Select the Search icon.
- Type “Client Fee” into the search bar.
- Click to select “Client Fee (My Office)” from the search results.
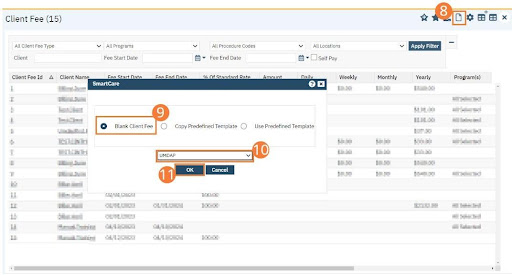
- The Client Fee (My Office) list page will Select the New icon in the toolbar.
- Select the Blank Client Fee radio button.
- Select UMDAP in the dropdown.
- Select the OK button.
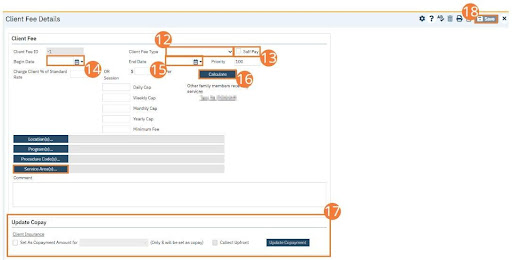
- The Client Fee Details screen will Select the Client Fee Type as UMDAP Client Fee.
- Check the Self Pay checkbox.
- Type the Begin Date and End These must be the same as the Annual Liability start and end dates.
- Select the Calculate button.
- Select Service Area(s)… to select the Service Area.
- Update Copay Section.
- Select Save.