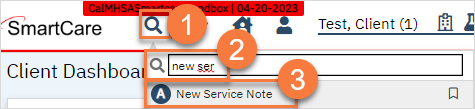
Select “New Service Note” from the search results.
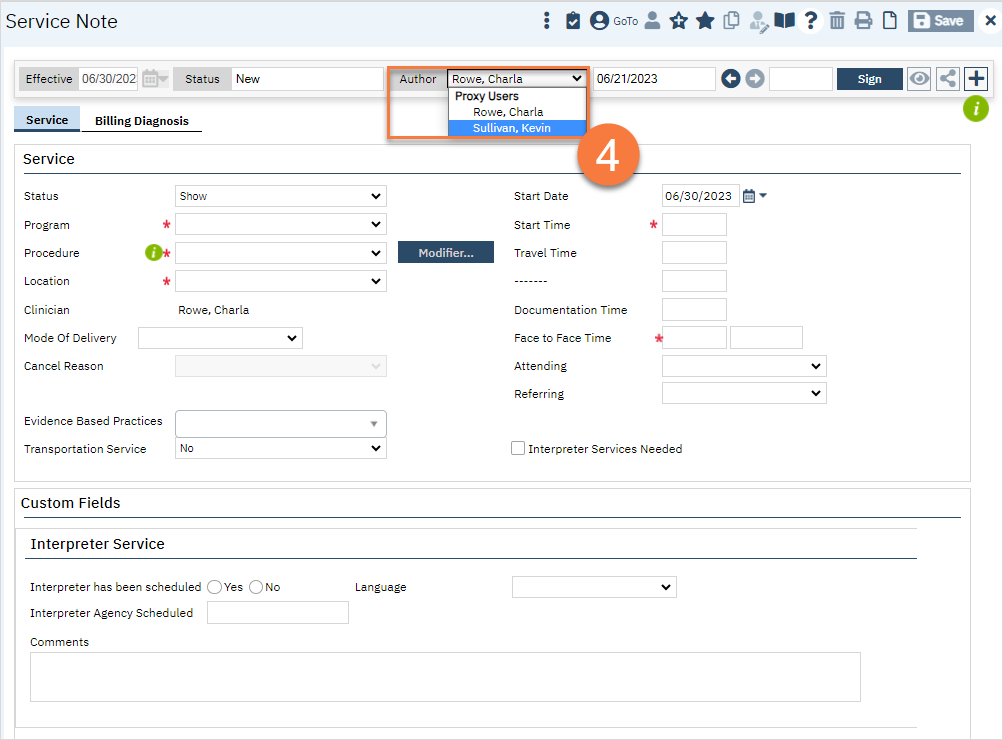
This takes you to the Service Note screen. In the document ribbon, change the author from yourself to the provider. You must be set up as a proxy for this provider. Talk to your System Administrator to ensure that you’re setup as a proxy for any staff you’ll be entering. System Administrators: see How to Make a Staff/User a Proxy for Another Staff/User.
This will update the Clinician field.
Complete the rest of the service tab. You need to include the program, procedure code, location, start time, and face to face time.
Transportation Service will automatically populate as No unless a client has been marked as requiring transportation service. If this is the case, it will require you to enter this field.
Some procedure codes will cause the Emergency Indicator field to show. If showing, this is required.