Clinical Data Access Groups (Administration) is a list page that shows all the CDAG’s currently in the system. It is used to view and interact with information surrounding specific Clinical Data Access Groups (CDAG’s). You can click on the hyperlink in the “ID” column to navigate to the CDAG Details screen for a specific CDAG. There, you can find additional options that allow you to manage what programs are included in the CDAG and view all staff that have access to that CDAG.
- Click on the Search icon.
- Type “Clinical Data Access Groups” in the search bar.
- Select “Clinical Data Access Groups (Administration)” from the search results.
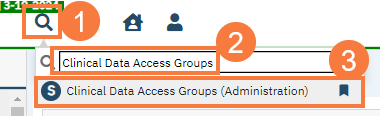
- This will bring up the Clinical Access Data Groups (Administration) list page.
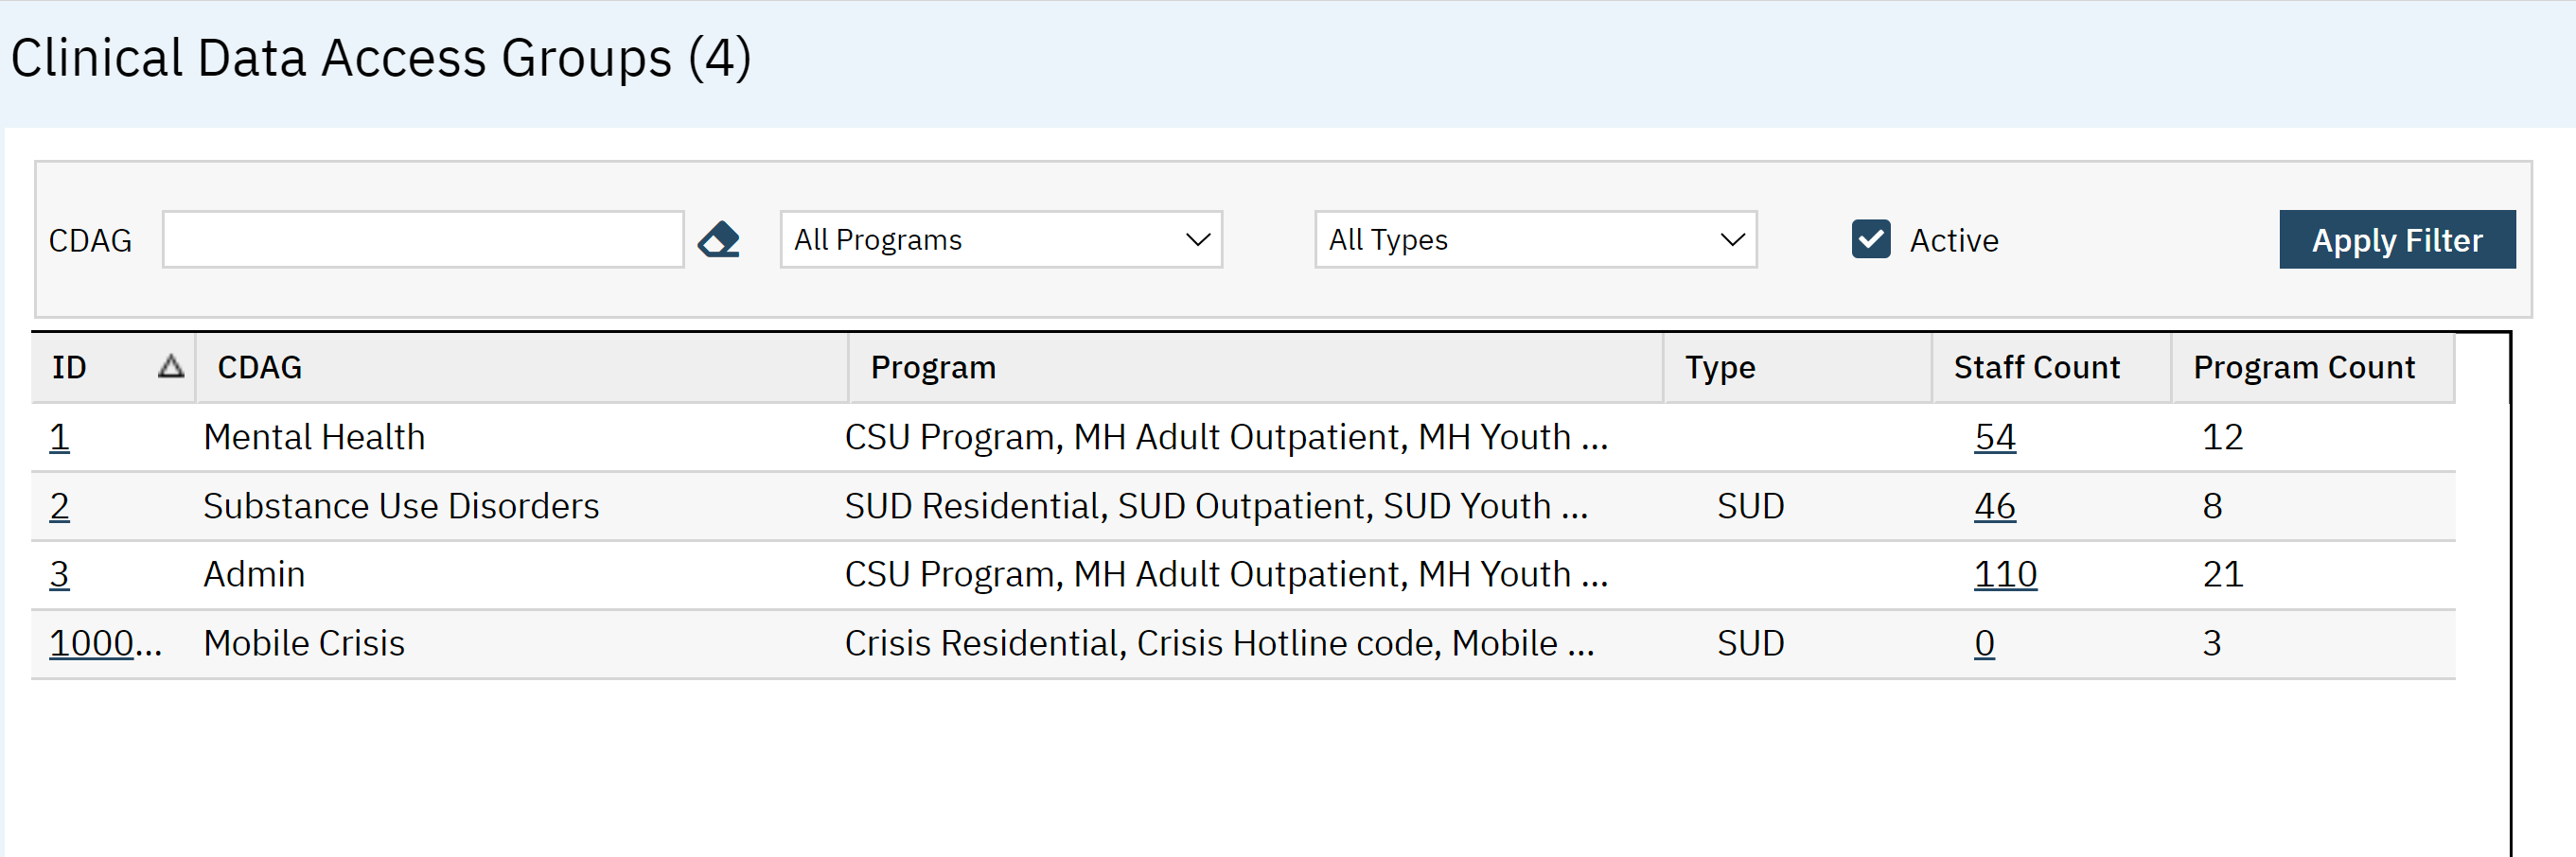
Filters
The following filters are available on this list page:
- CDAG: A search box that would allow users to search up the name of a CDAG
- All Programs (Filter is not formally labeled, this shows the default option when first viewing the screen)
- All Types (Filter is not formally labeled, this shows the default option when first viewing the screen)
- Active: A toggle checkbox that allows users to specify whether to only display Active CDAG (checked) or to display only Inactive CDAG (unchecked)
- Click Apply Filter when the appropriate options are selected.

Columns
The following data columns can be found in this list page:
- ID: This number is associated with the CDAG and the hyperlink takes you to the CDAG details screen.
- CDAG: The name of the CDAG.
- Program: A list of programs associated with this CDAG.
- Type: SUD or MH.
- Staff Count: The number of staff associated with this CDAG. This hyperlink will take you to the CDAG details screen on the Staff tab.
- Program Count: the number of programs associated with the CDAG.

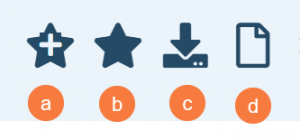
Upper Right-Hand Icons
- New Favorites Icon: Clicking on the “new favorites” icon will allow you to add this screen to your favorites for quick access.
- Favorites Icon: If you have this listed as your favorite already, when you hover over this icon, it will tell you the favorite name.
- Export Icon: This icon is available to admins. You will be able to export the data from this screen into an excel spreadsheet.
- New Icon: This will take you to the screen to create a new CDAG.