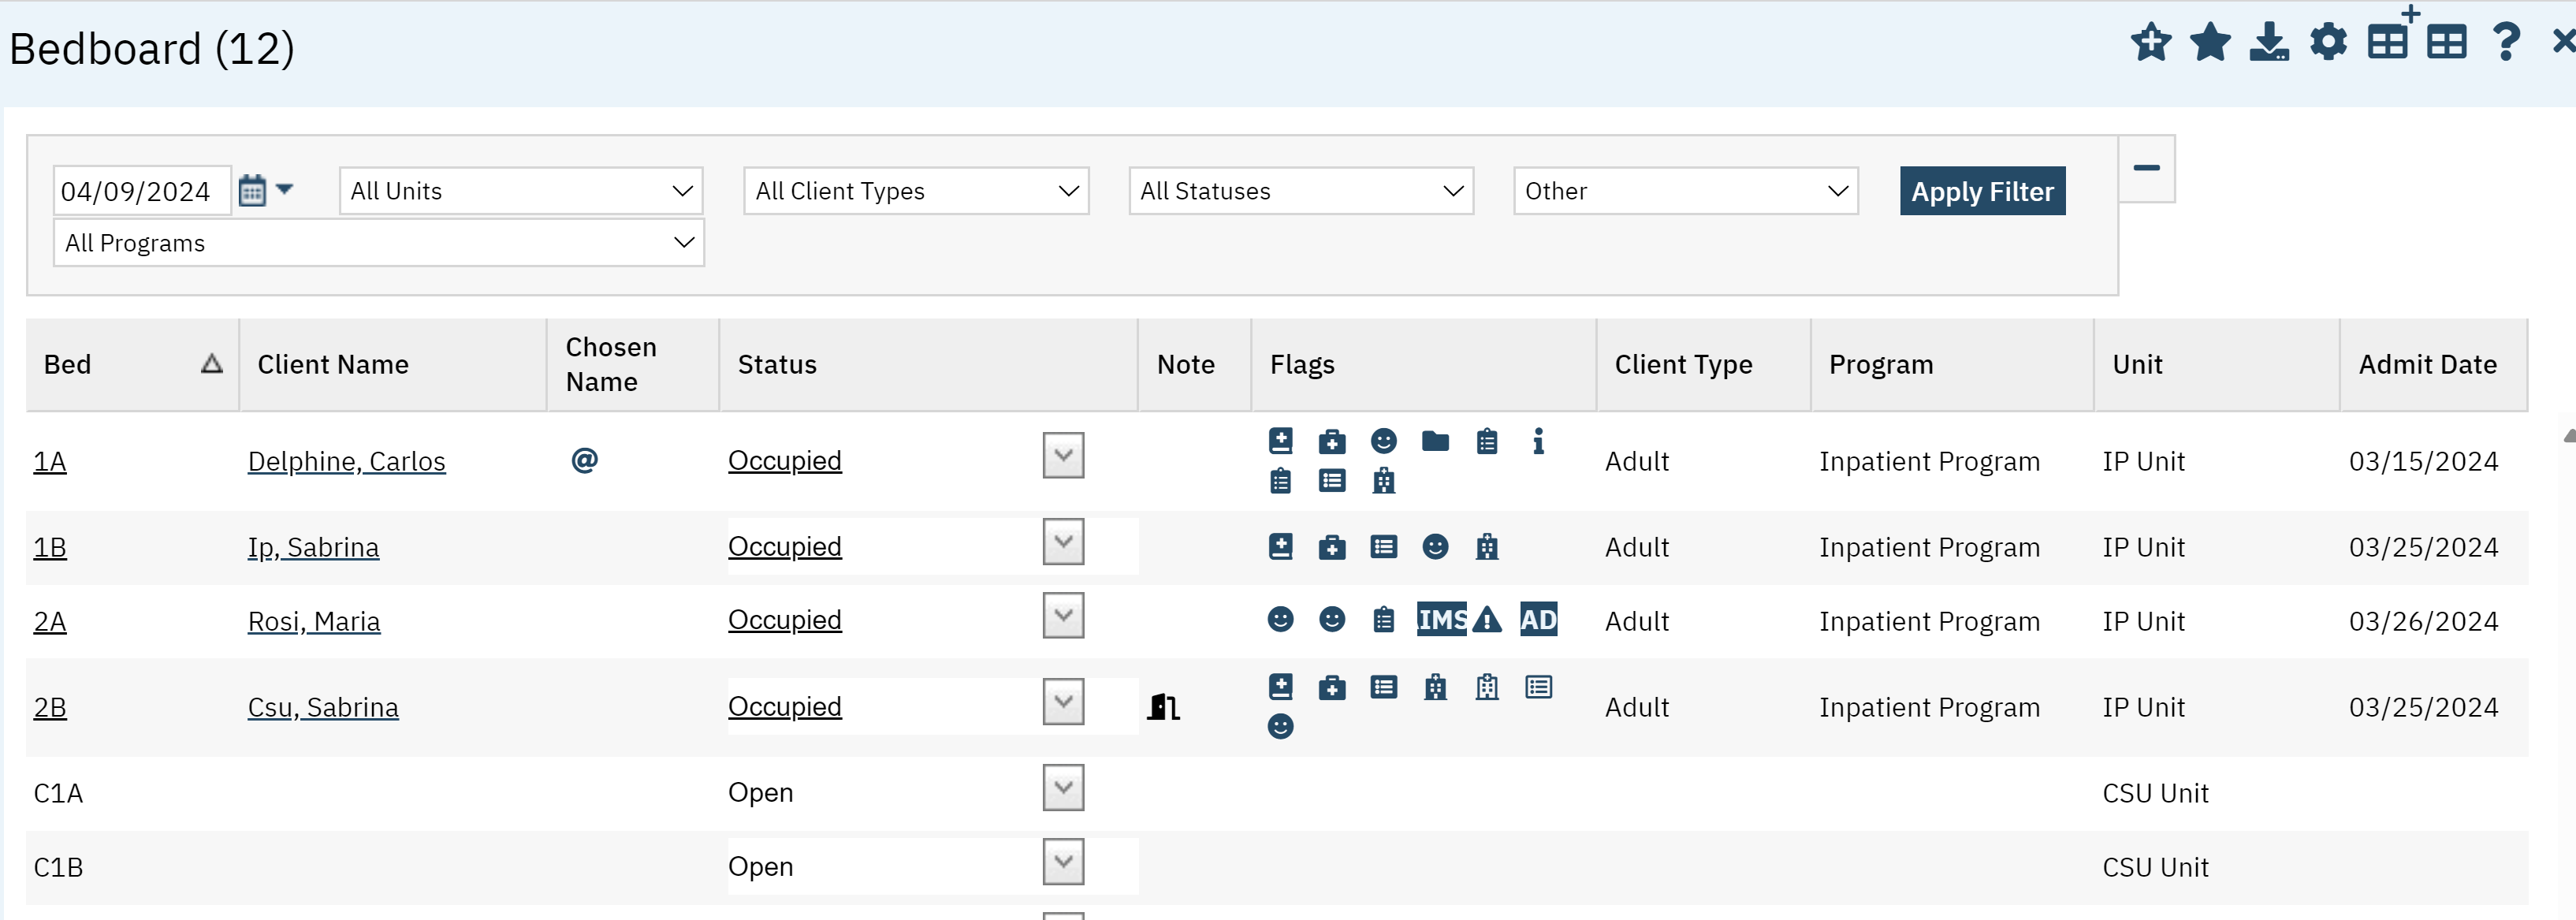
The following list page is used by Front Desk / Nursing / Management to manage Bed Activity. This data pulls in from the Census Management / Inpatient Activity Details screen. This document does not go through specific bed workflows. This document will only walk through navigating the Bedboard (My Office) list page. Please see Bed Management Workflows on the 2023.calmhsa.org website for additional workflows. You can also perform some of these functions in the whiteboard, however, this is the only screen that will provide you all bed activity for that day.
- Click on the Search icon.
- Type “Bedboard (My Office)” in the search bar.
- Select “Bedboard (My Office)” from the search results.
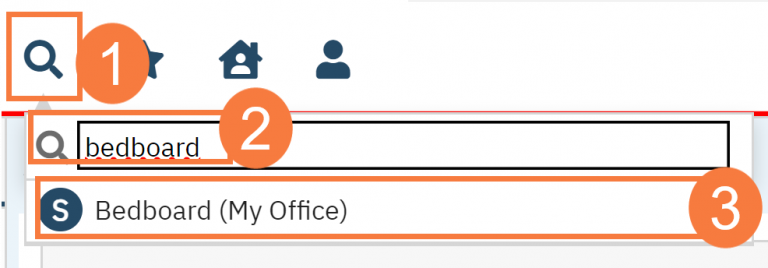
- This will bring up the Bedboard (My Office) list page.
Filters
- Date: When you click into the Date filter a calendar will populate. This will allow you to see what Bed activity is happening on that day. This list page will not show you a range of days.
- Unit: This filter will show you bed activity from that unit only. The units are created by sys admins in the unit / room / bed screen. Any changes to this must be placed with your sys admins.
- Client Type: This filter will pull bed activity for that client type. Whether you want to see all adult clients, all adolescent clients, or all child clients. This data is selected on the census management screen when admitting the patient from the client type field. This filter is not to be confused with bed type which you see while using the bed search function at admission or bed changes. If there is a client type you’d like to add, please reach out to your local sys admin.
- Status: If selected, this will filter out bed activity with the below status’s. This data is pulled from the status you select under the Status Column.
- Other: CalMHSA is not actively using this field but may choose to in the future. This filter has no data.
- Program: Select a program from the drop-down list to view only clients admitted to the selected program. The list includes all programs and all programs set up for the Residential facilities.
- Click Apply Filter when the appropriate options are selected.

Columns
- Bed: Bed the client occupies
- Client Name: Name of the client occupying the bed. Click on the client’s name to display the Client Summary for the client.
- Chosen Name: Client Alias. This data pulls from Client Information in the Alias field.
- Status: Status of the client. Click the down arrow to see a list of possible next statuses. See Status section of this document for more information.
- Note: Identifies there is information about the activity on the client’s current visit. Click the open book icon to view the Inpatient Activity Details screen. This field is most often triggered when entering scheduled dates in the Inpatient Activity Details Screen. Ex: Scheduled Discharge Date, Scheduled Admission date. If this is a “confirmed” schedule, you will see a C at the end of the status. Ex: “Scheduled Discharge C”. Confirmed data pulls from selecting the “firm” checkbox in the activity details screen.
- Flags: Flags are inserted to identify special considerations about the client or to note documentation that needs to be completed on this client.
- Client Type: Type of client as defined in Census Management screen while admitting the client. The field that drives this from the Census Management screen is the Client Types drop-down.
- Programs: Program the client was admitted under.
- Unit: Unit where the client resides
- Admit Date: Date the client was admitted.
- Admit Time: Time the client was admitted. (not pictured below)
- Primary Plan: Client’s primary insurance plan. (not pictured below)

Best Statuses
- Occupied: This status is when the patient is actively in that bed. When the status is occupied, you can perform the below actions. *Note: If all these actions are not available, it means a client has another action performed which creates a new status in the future
- Bed Change: Click for workflow How to Change a Bed Assignment – 2023 CalMHSA
- Transfer: Click for workflow
- On Leave: Click for workflow
- Discharge: Click for workflow How to Discharge the Client from the Unit and Bed – 2023 CalMHSA
- Schedule Bed Change: Click For Workflow How to Schedule a Bed Change – 2023 CalMHSA
- Schedule Transfer: Click For Workflow
- Schedule on Leave: Click for Workflow
- Schedule Discharge: Click for workflow
- Swap Beds: Click for workflow How to Swap Beds – 2023 CalMHSA
- Billing Code Change: Click for workflow How to Change the Automatic Billing Code from Acute to Administrative (or Vice Versa) – 2023 CalMHSA
- On Leave: This status is used when a client is on leave and not actively in their bed. When the status is set at On Leave, you can perform the below actions:
- Return from Leave
- Schedule Return from Leave
- Discharge
- Discharge: This status is used when a client has been discharged. No further actions are available once a client is discharged.
- Returned from Leave: This status is informational; no further actions are available once a client has returned from Leave. You will see a second bed activity on the bed board with an occupied status.
- Scheduled Bed Change: This status is used when a client has a bed change / move scheduled. You will see a second bed activity on the bed board with an occupied status. When a status is set to scheduled bed change, the only action you can perform are the below:
- Bed Change: This will allow you to complete the bed change.
- Scheduled Transfer: This status is used when you are scheduling a transfer out of the unit. When the status is at “Scheduled Transfer”, you can perform the below actions:
- Transfer
- Schedule Bed Change
- Schedule On Leave
- Scheduled Discharge: This status is used when scheduling a discharge. This status can be used when you are not yet sure of the discharge date but have an estimate. You will see the date of the scheduled discharge in the Notes column.
- Discharge
- Bed Change
- Transfer
- On Leave
- Schedule Bed Change
- Schedule Transfer
- Schedule On Leave
- Scheduled Discharge C: This status is used when scheduling aDischarge and it has been verified this is a confirmed Discharged. Within the Census Management / Inpatient Activity Details Screen when scheduling the discharge, use the “Firm” checkbox to verify this is a confirmed Discharge.When the status is at “Scheduled Discharge C”, you can perform the below actions:
- Discharge
- Bed Change
- Transfer
- On Leave
- Schedule Bed Change
- Schedule Transfer
- Schedule On Leave
- Blocked: This status is used when blocking a bed from being used. A scenario you can use this is when a bed is dirty and sanitation is scheduled to clean the bed. When a bed has the status of “Blocked”, you can perform the below actions:
- Unblock
Upper Right Icons
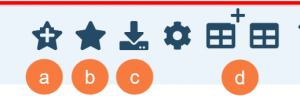
- New Favorites Icon: Clicking on the “new favorites” icon will allow you to add this screen to your favorites for quick access.
- Favorites Icon: If you have this listed as your favorite already, when you hover over this icon, it will tell you the favorite name.
- Export Icon: This icon is available to admins. You will be able to export the data from this screen into an excel spreadsheet.
- Column Configuration