In this article, we will review how to complete the Release of Information (ROI) form in SmartCare. The ROI is also known as the Authorization to Disclose Confidential Information.
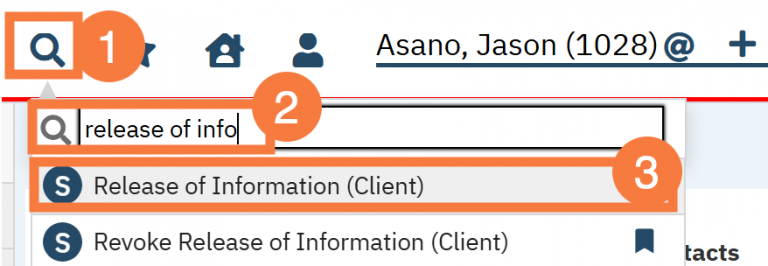
- With the client open, click the Search icon.
- Type “Release of Information” into the search bar.
- Click to select “Release of Information (Client)” from the search results.
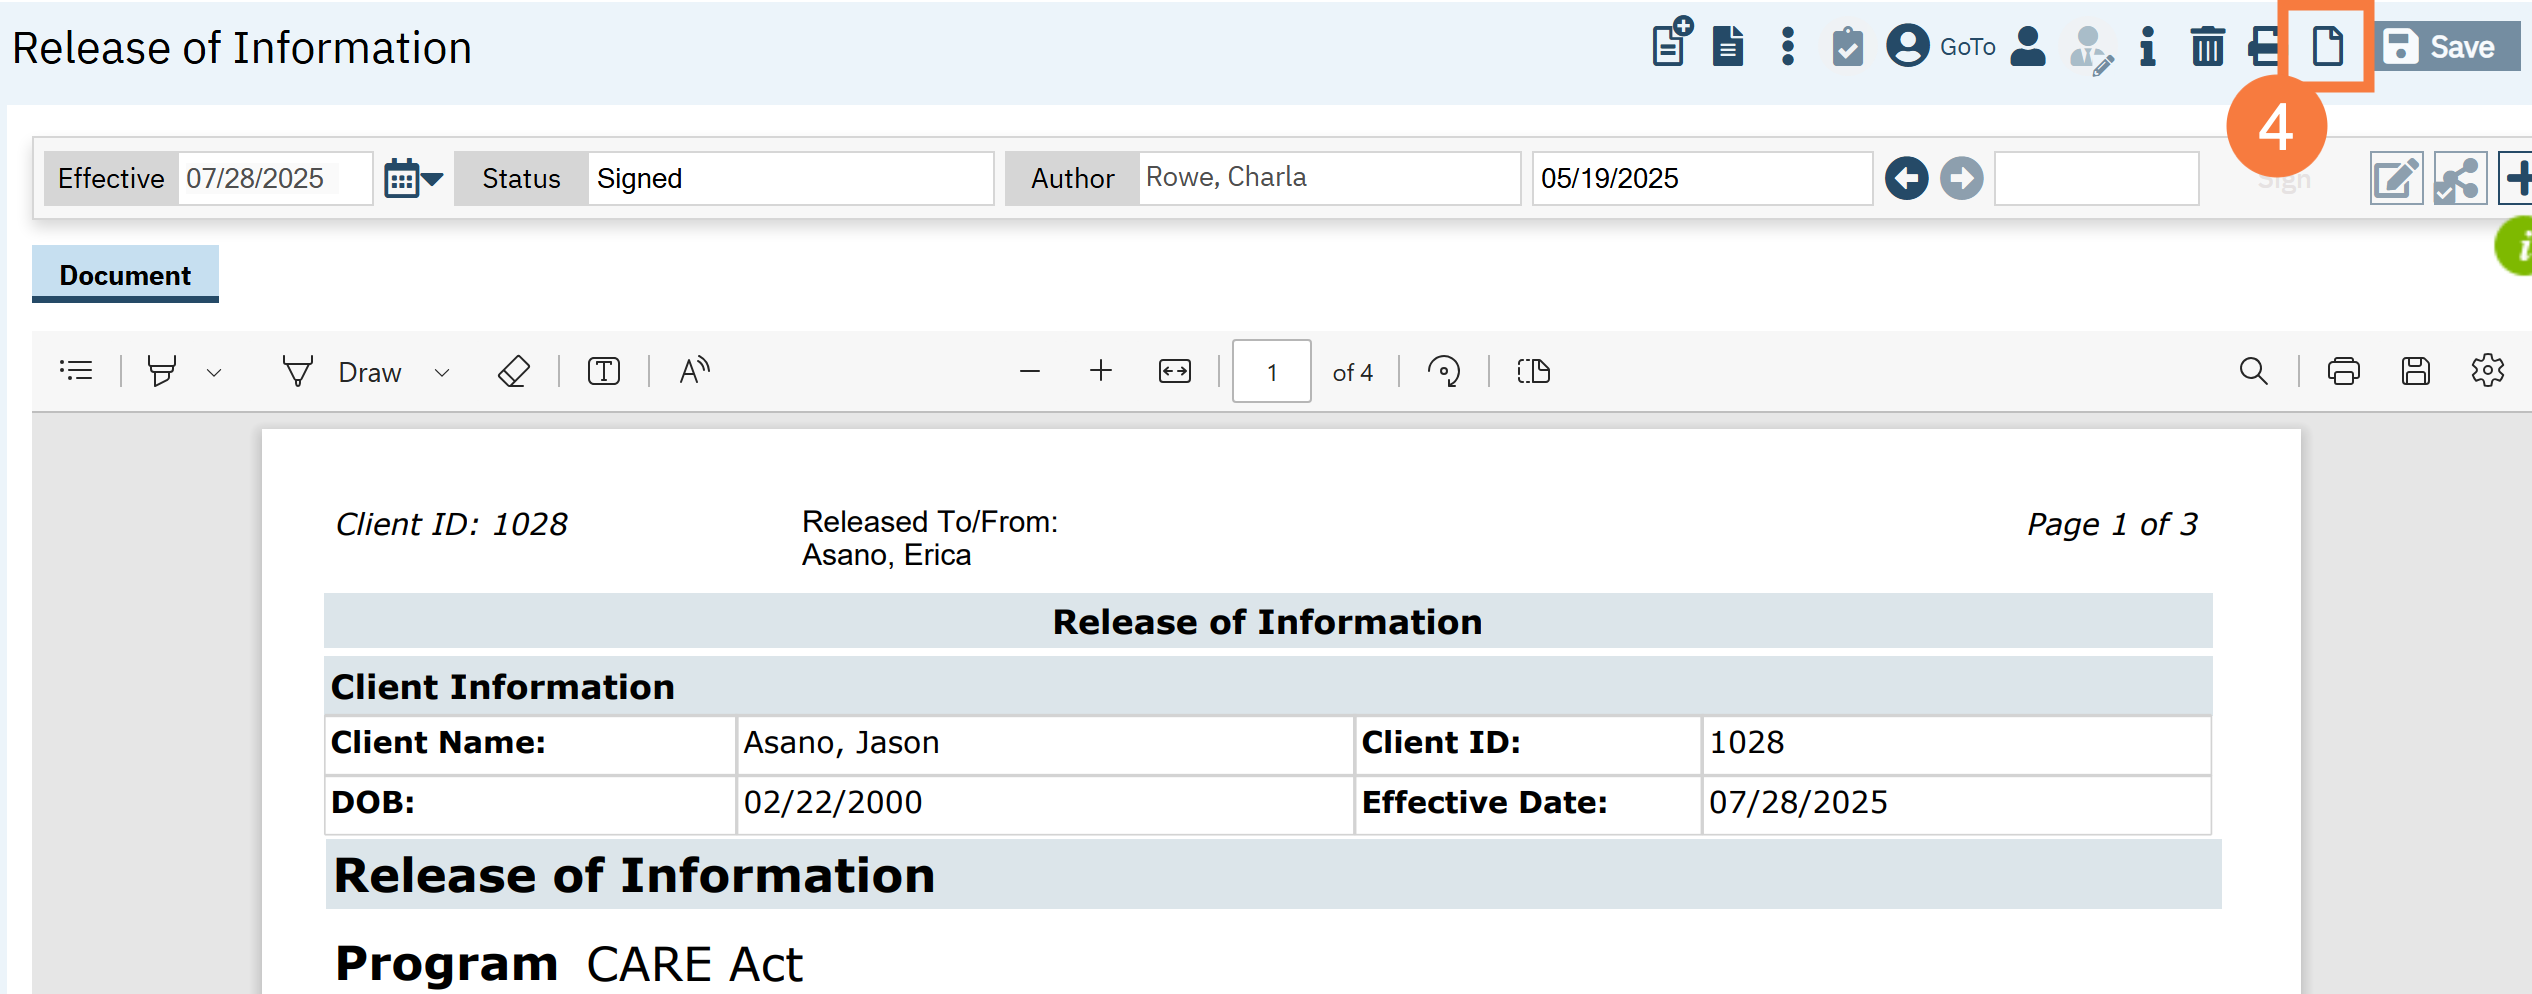
- If there’s already an ROI on file for the client, click the New icon.
- Note: If this is the first ROI you’re creating, the system will automatically create a new ROI for you, so you can skip to the next step.
- The CDAG Program Enrollment window will pop up. Select your program from the drop-down menu and click OK.

- This will bring you to the Release of Information document. Complete the “Release To/Obtain From” section. This section is the person or entity that you’ll be sharing information with.
- Enter the person or entity that you’re planning to exchange information with. This can be a personal contact or an agency. If it’s an agency, you’ll still want to enter a first and last name for the main point person at that agency, if possible.
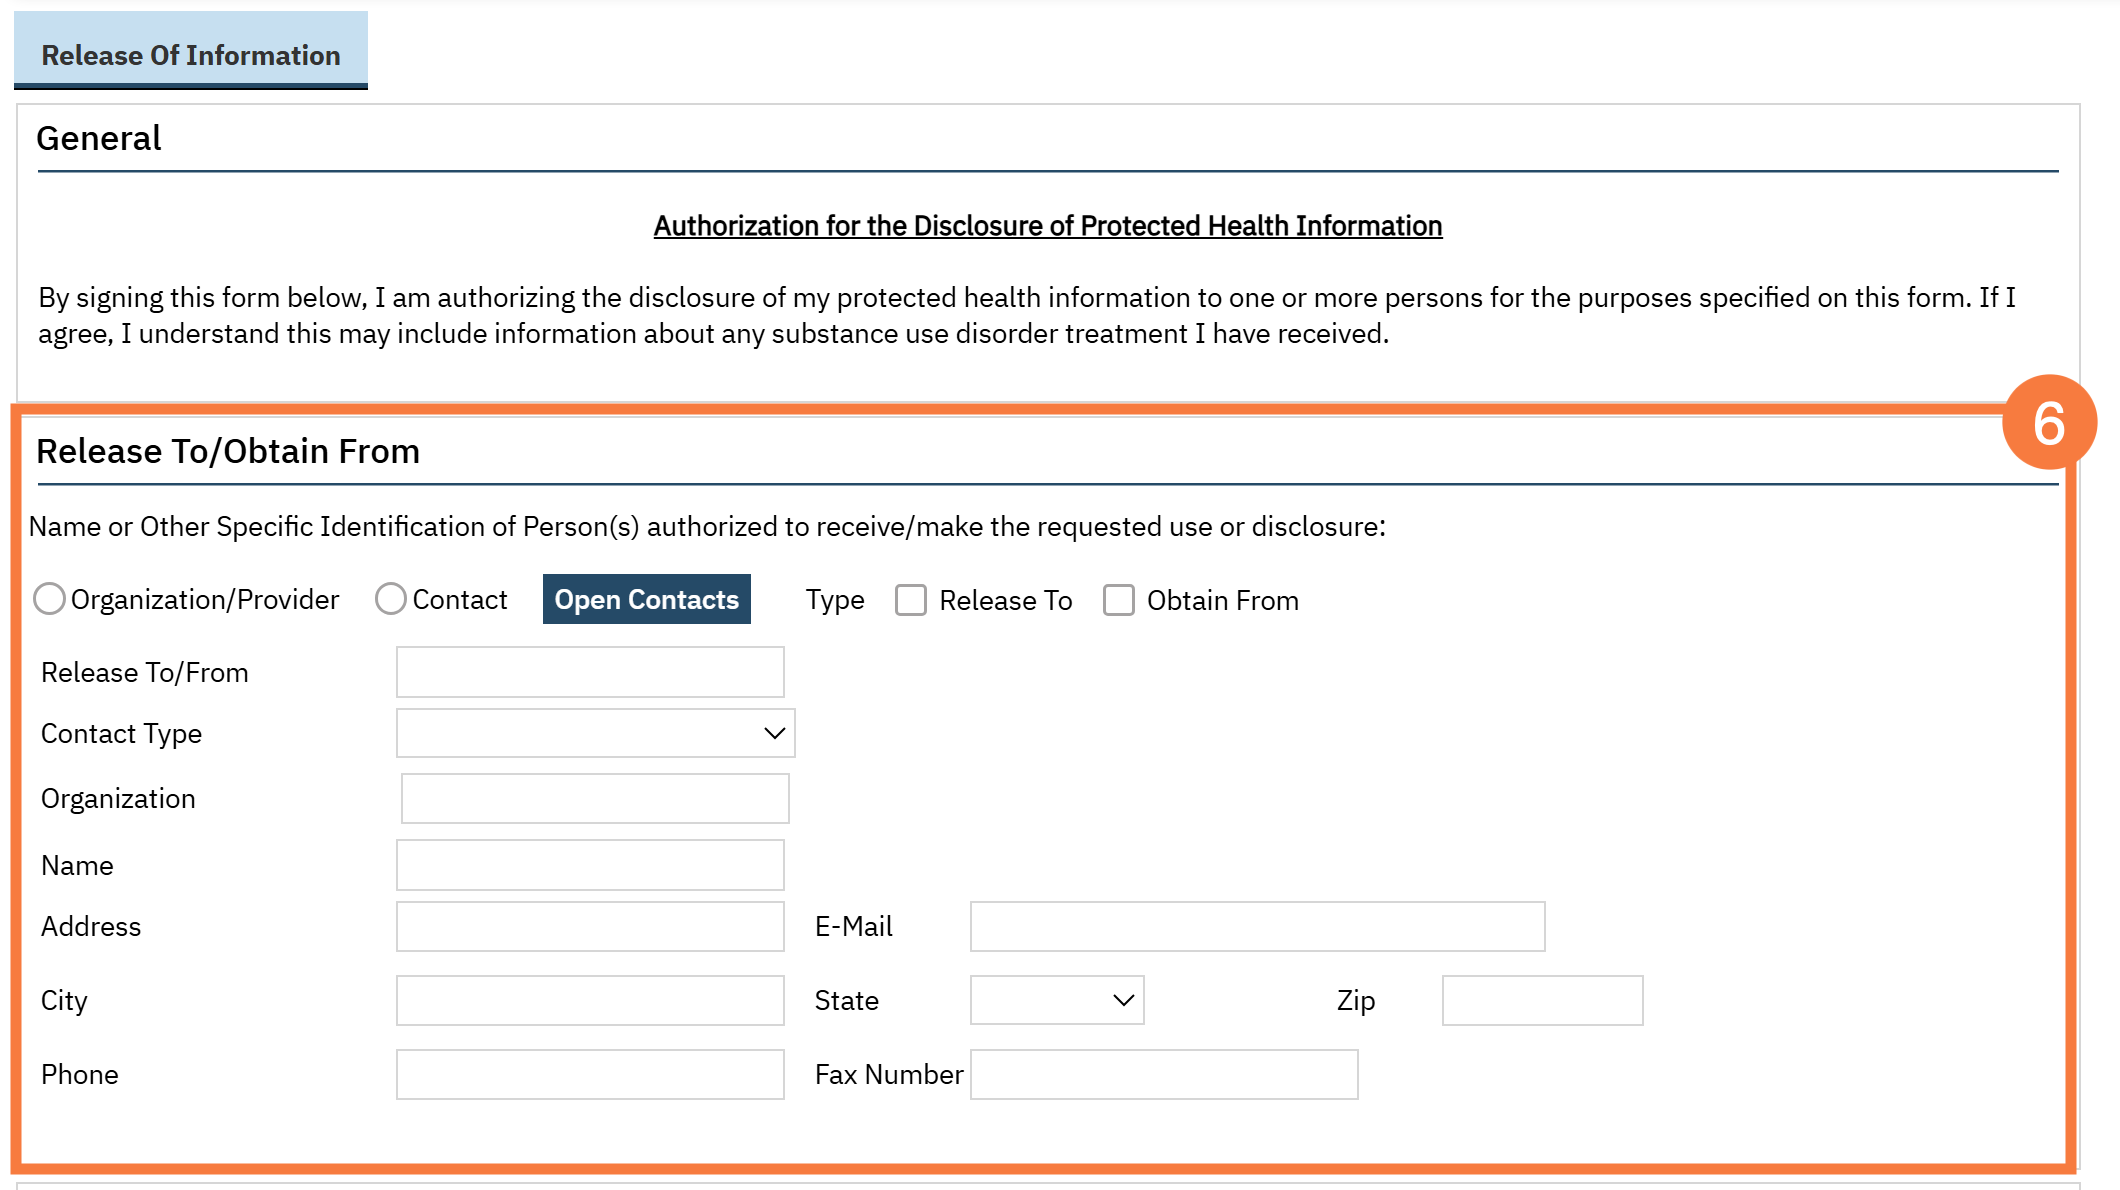
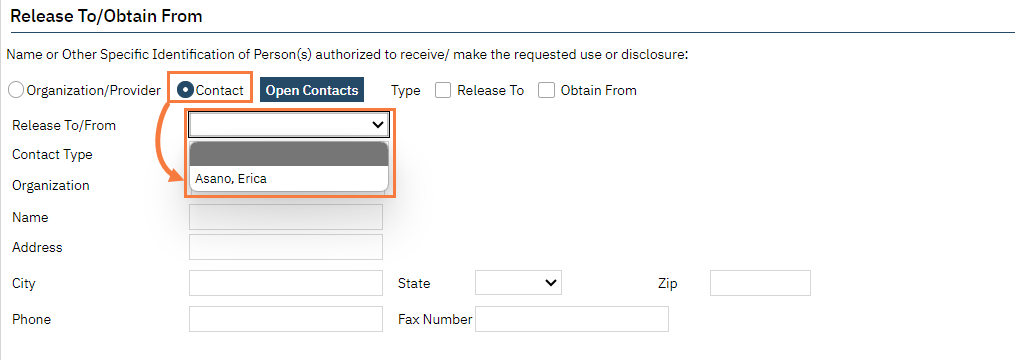
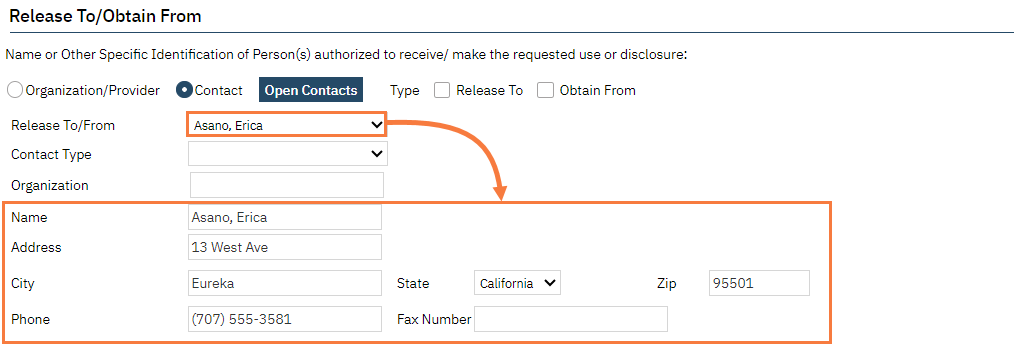
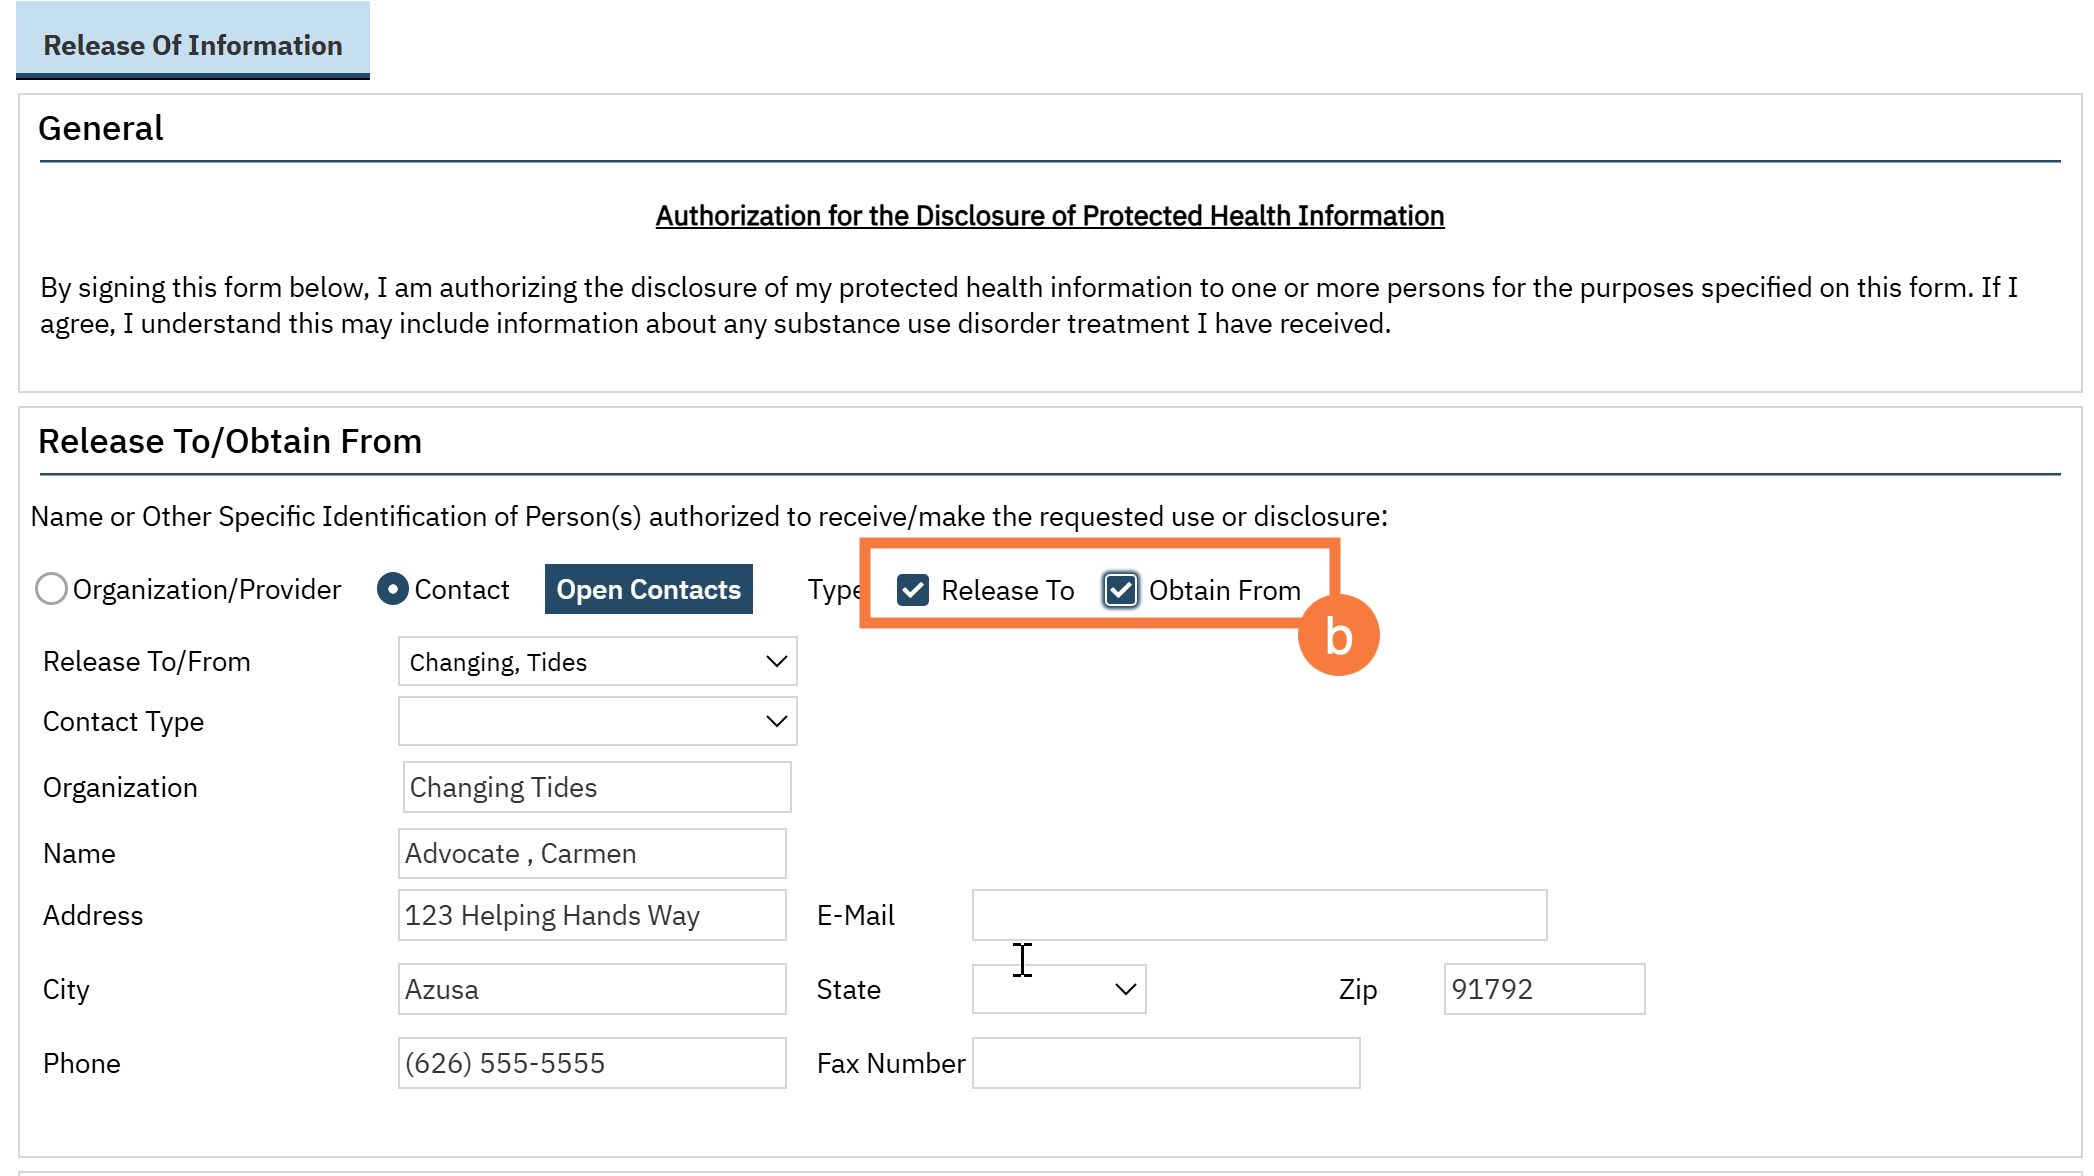
- If the person you’ll be sharing information with is already a contact person in the client’s Client Information screen, select “Contact”. Then select them from the dropdown menu in the “Release To/From” field. This will bring their information into this document from the Client Information: Contacts screen so that you don’t have to re-enter the information.
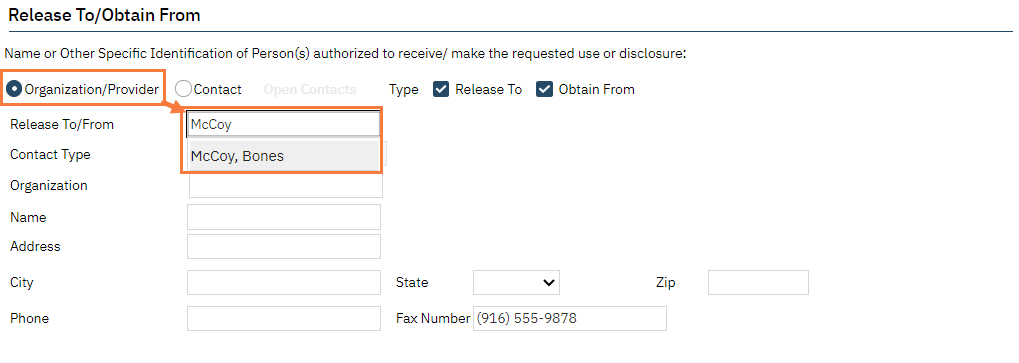
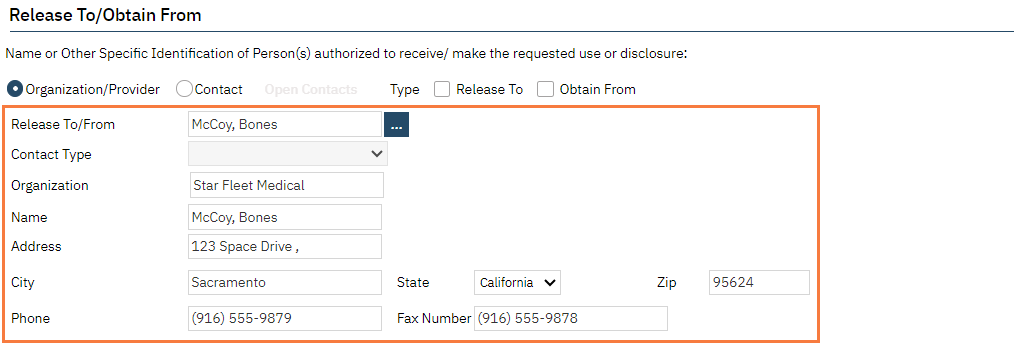
- If the person you’ll be sharing information with is not a client contact on the Client Information screen, or is an agency, then select “Organization/Provider”. If this is an agency that you’ve used in the past, start typing the name in the “Release To/From” field to search. If you can find the person/entity, click to select it.
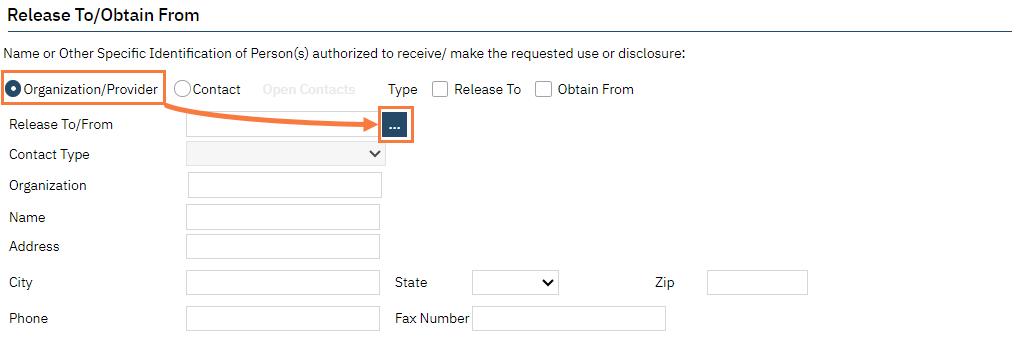
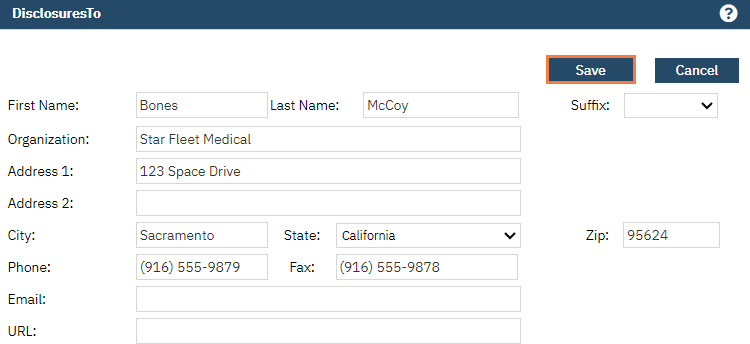
If you don’t find the agency, click on the 3 dots button that appears next to the “Release To/From” field. This will bring up a pop-up window where you can enter in all the agency’s information. After entering the information, click Save. This will close the pop-up window and take you back to the ROI document, where the information has now been entered. This will also save this entity for future ROIs.
- If the person you’ll be sharing information with is not a client contact on the Client Information screen, or is an agency, then select “Organization/Provider”. If this is an agency that you’ve used in the past, start typing the name in the “Release To/From” field to search. If you can find the person/entity, click to select it.
-
- Select whether you will be releasing information to this person/entity and/or obtaining information from this person/entity. You can select one or both, but must select at least one option.
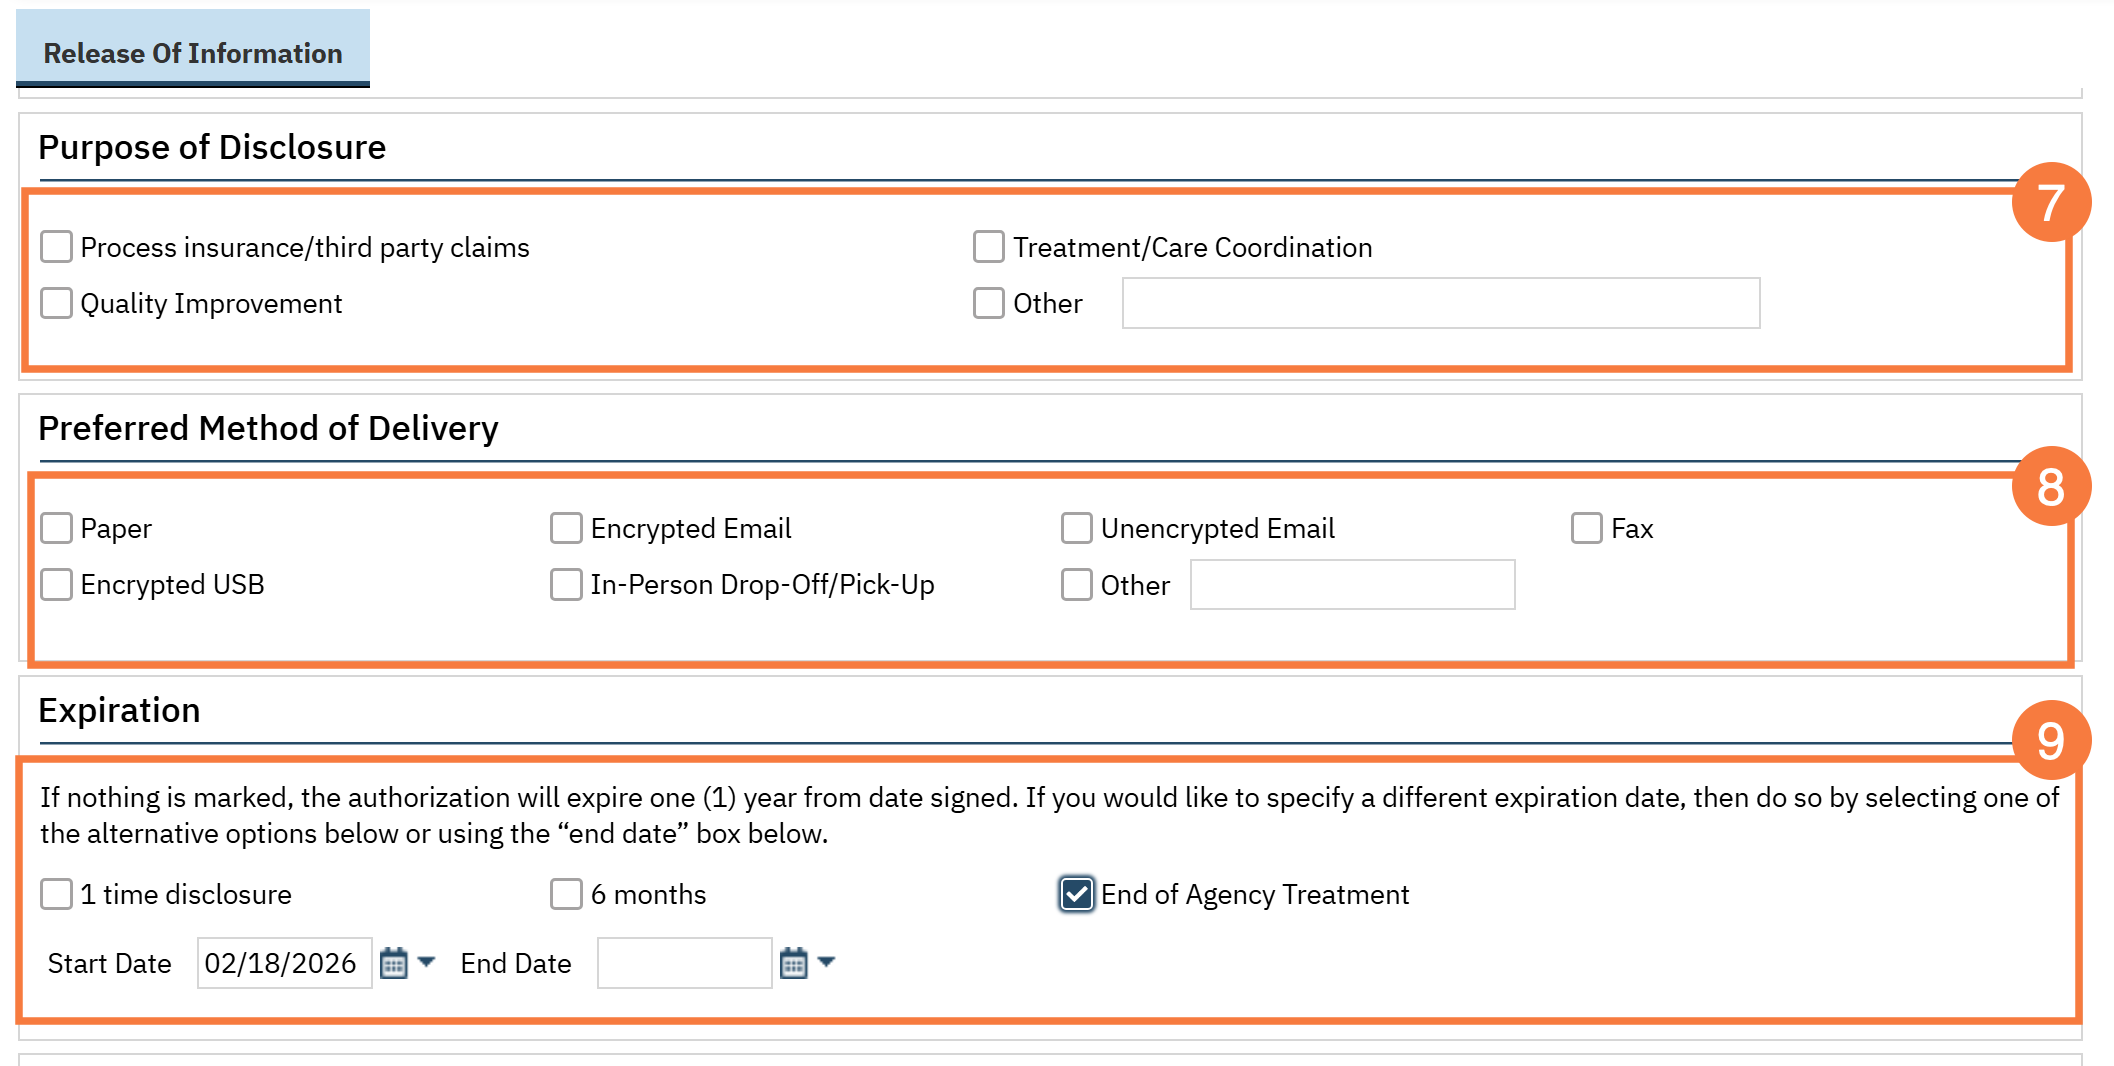
- Complete the “Purpose of Disclosure” section. This is the reason you’re sharing information with the person/entity listed in #6 above. Most frequently, the purpose will be “Treatment/Care Coordination”. If you select “Other”, make sure to clarify in the text field. You must select at least one option, but can select more than one, if applicable.
- Complete the “Preferred Method of Delivery” section. Here you will select the physical or electronic method of the record disclosure.
- Complete the “Expiration” section. The system will automatically enter today’s date as the Start Date for the ROI document. You can leave this section blank to automatically end-date this ROI 1 year from the Start Date. You can also enter a specific end date or select one of the options available.
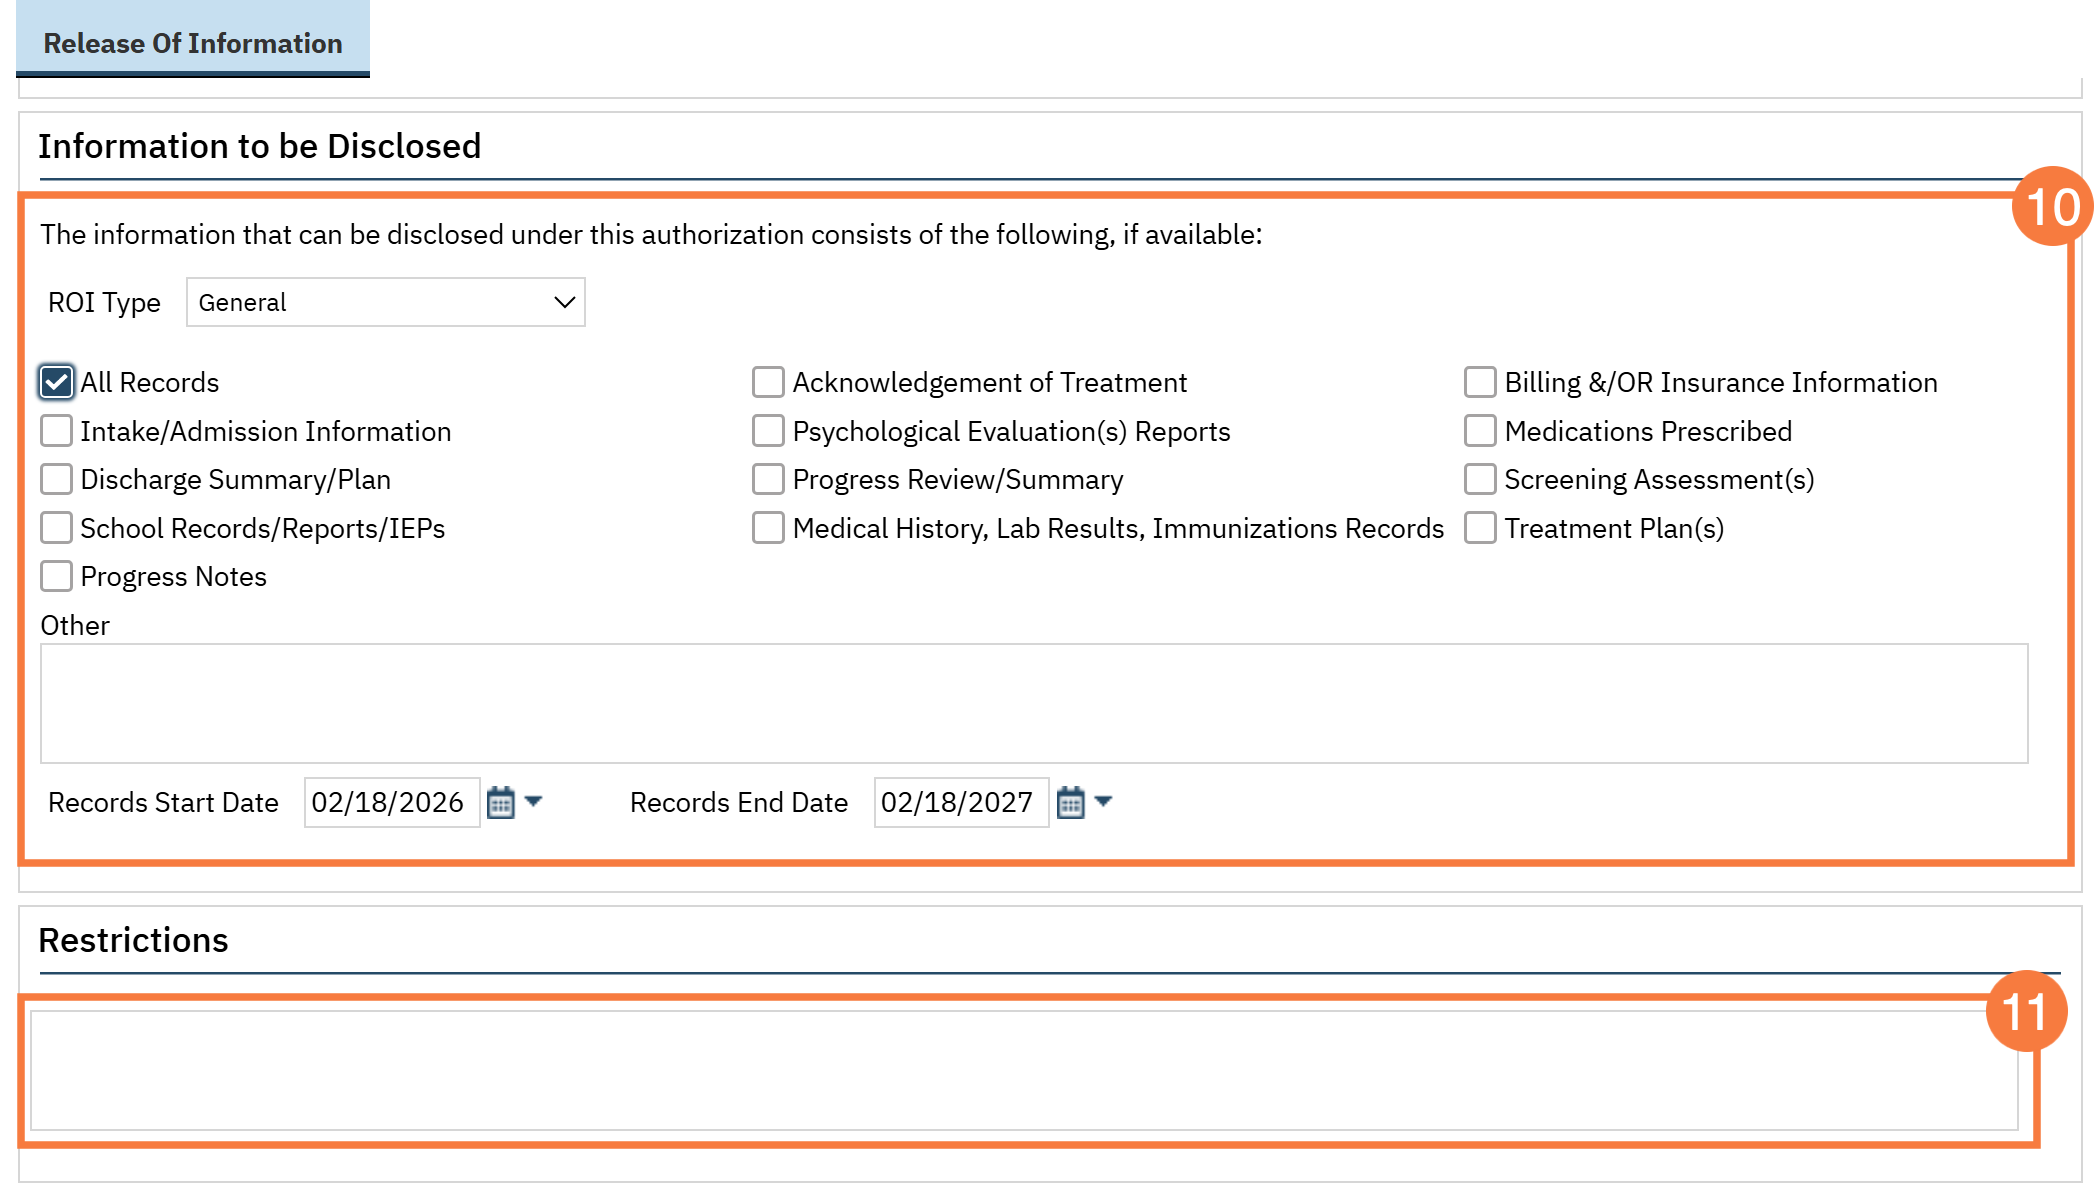
- Complete the “Information to be Disclosed” section. This is where you document what type of information will be shared. You can select as many as is appropriate.
- The “ROI Type” field does not have any functionality built around this. It’s ok to leave this as “General”.
- If you’re wanting to only release records from a specific time frame, enter the record start and end dates. Otherwise, leave these fields blank.
- If the client wishes to put any restrictions on this authorization, enter those in the “Restrictions” section. Otherwise, leave this section blank.
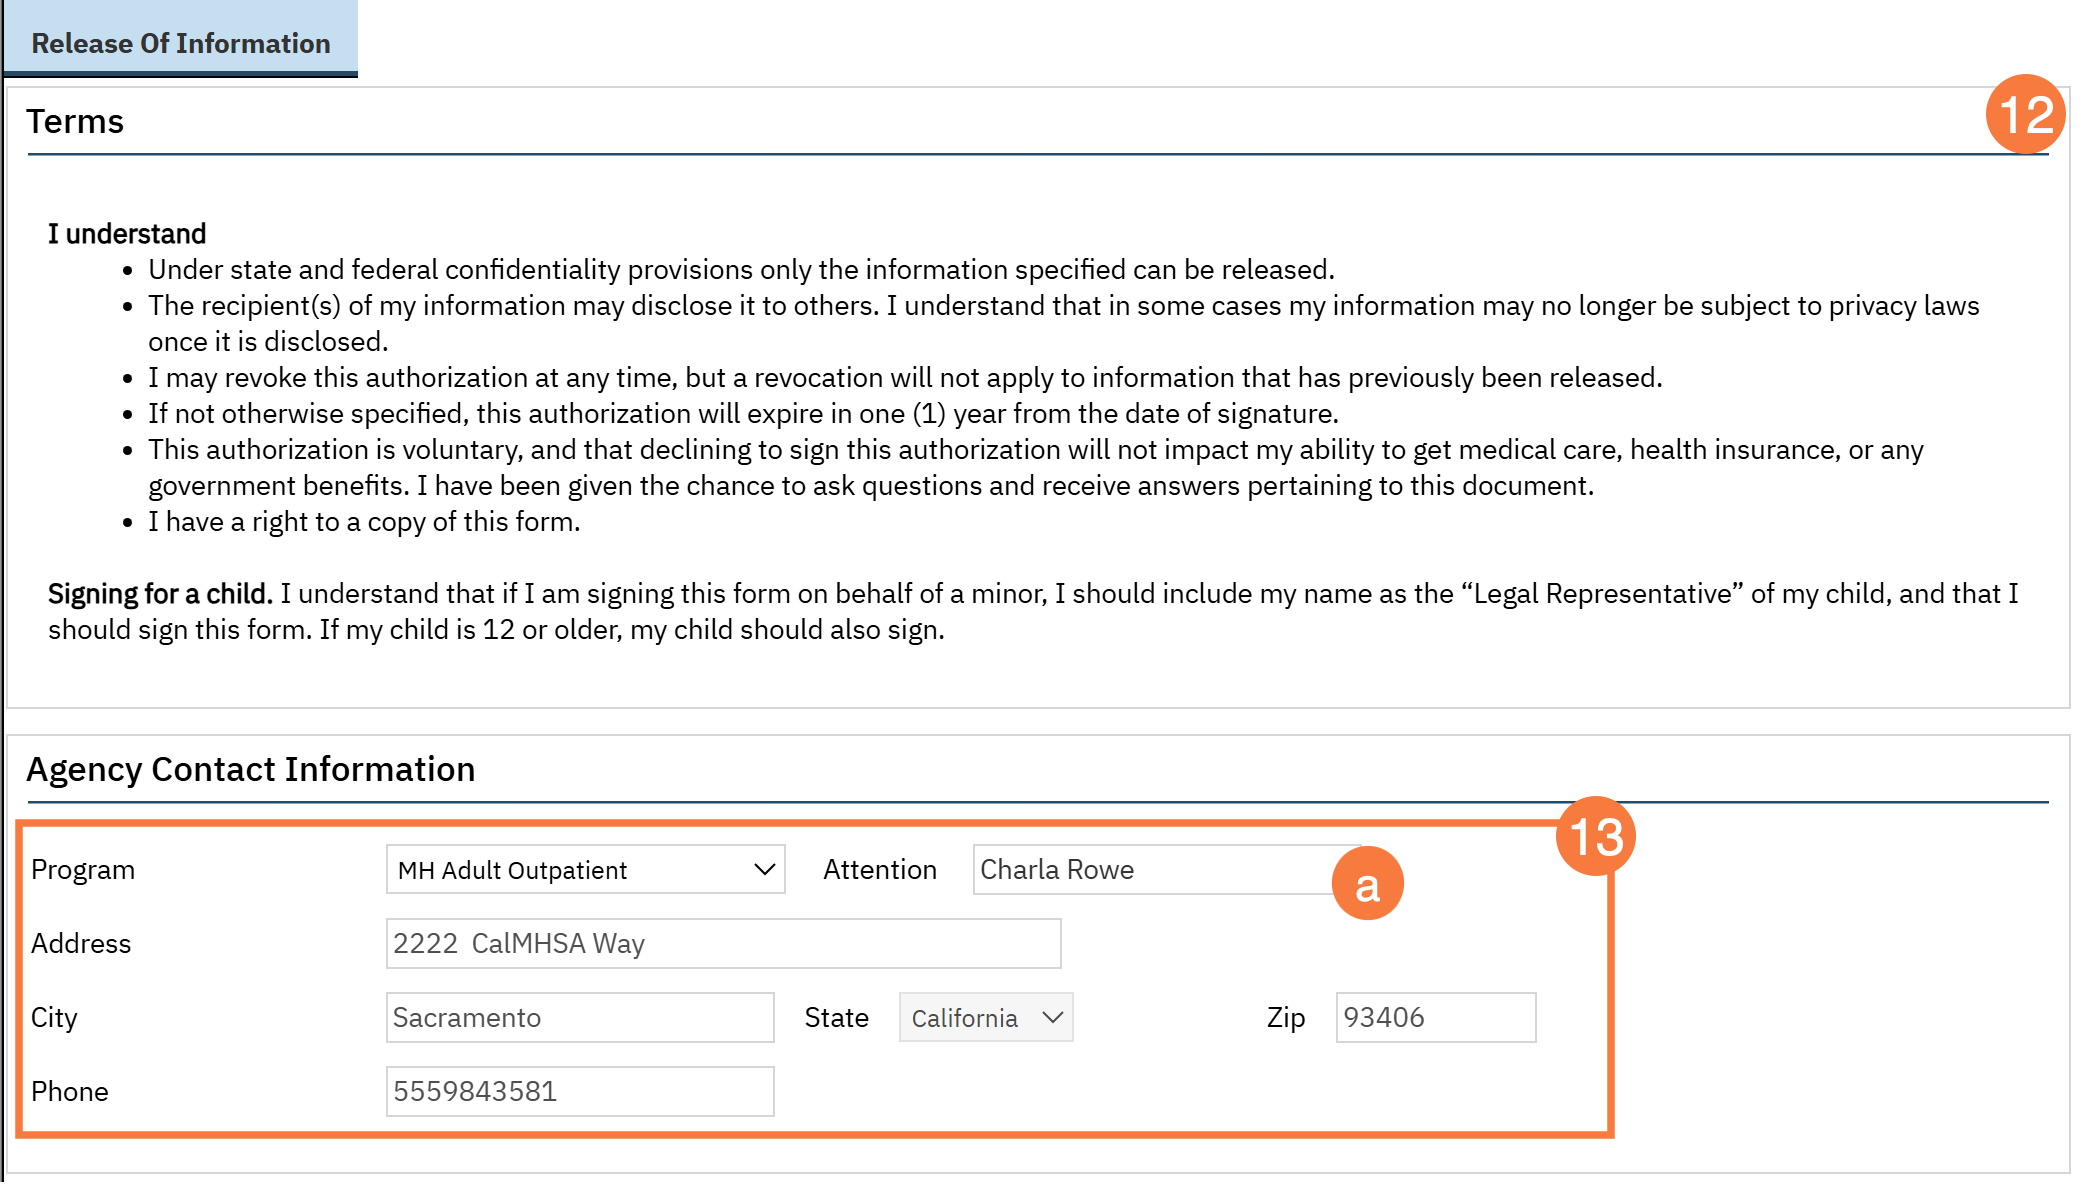
- The terms section provides the client with information about the authorization they’re signing. Make sure to review this information with the client before signing.
- Complete the “Agency Contact Information” section by selecting your program from the dropdown menu. This will bring in the information from the Program Details screen.
- You can also enter yourself, or the appropriate person, in the “Attention” field.
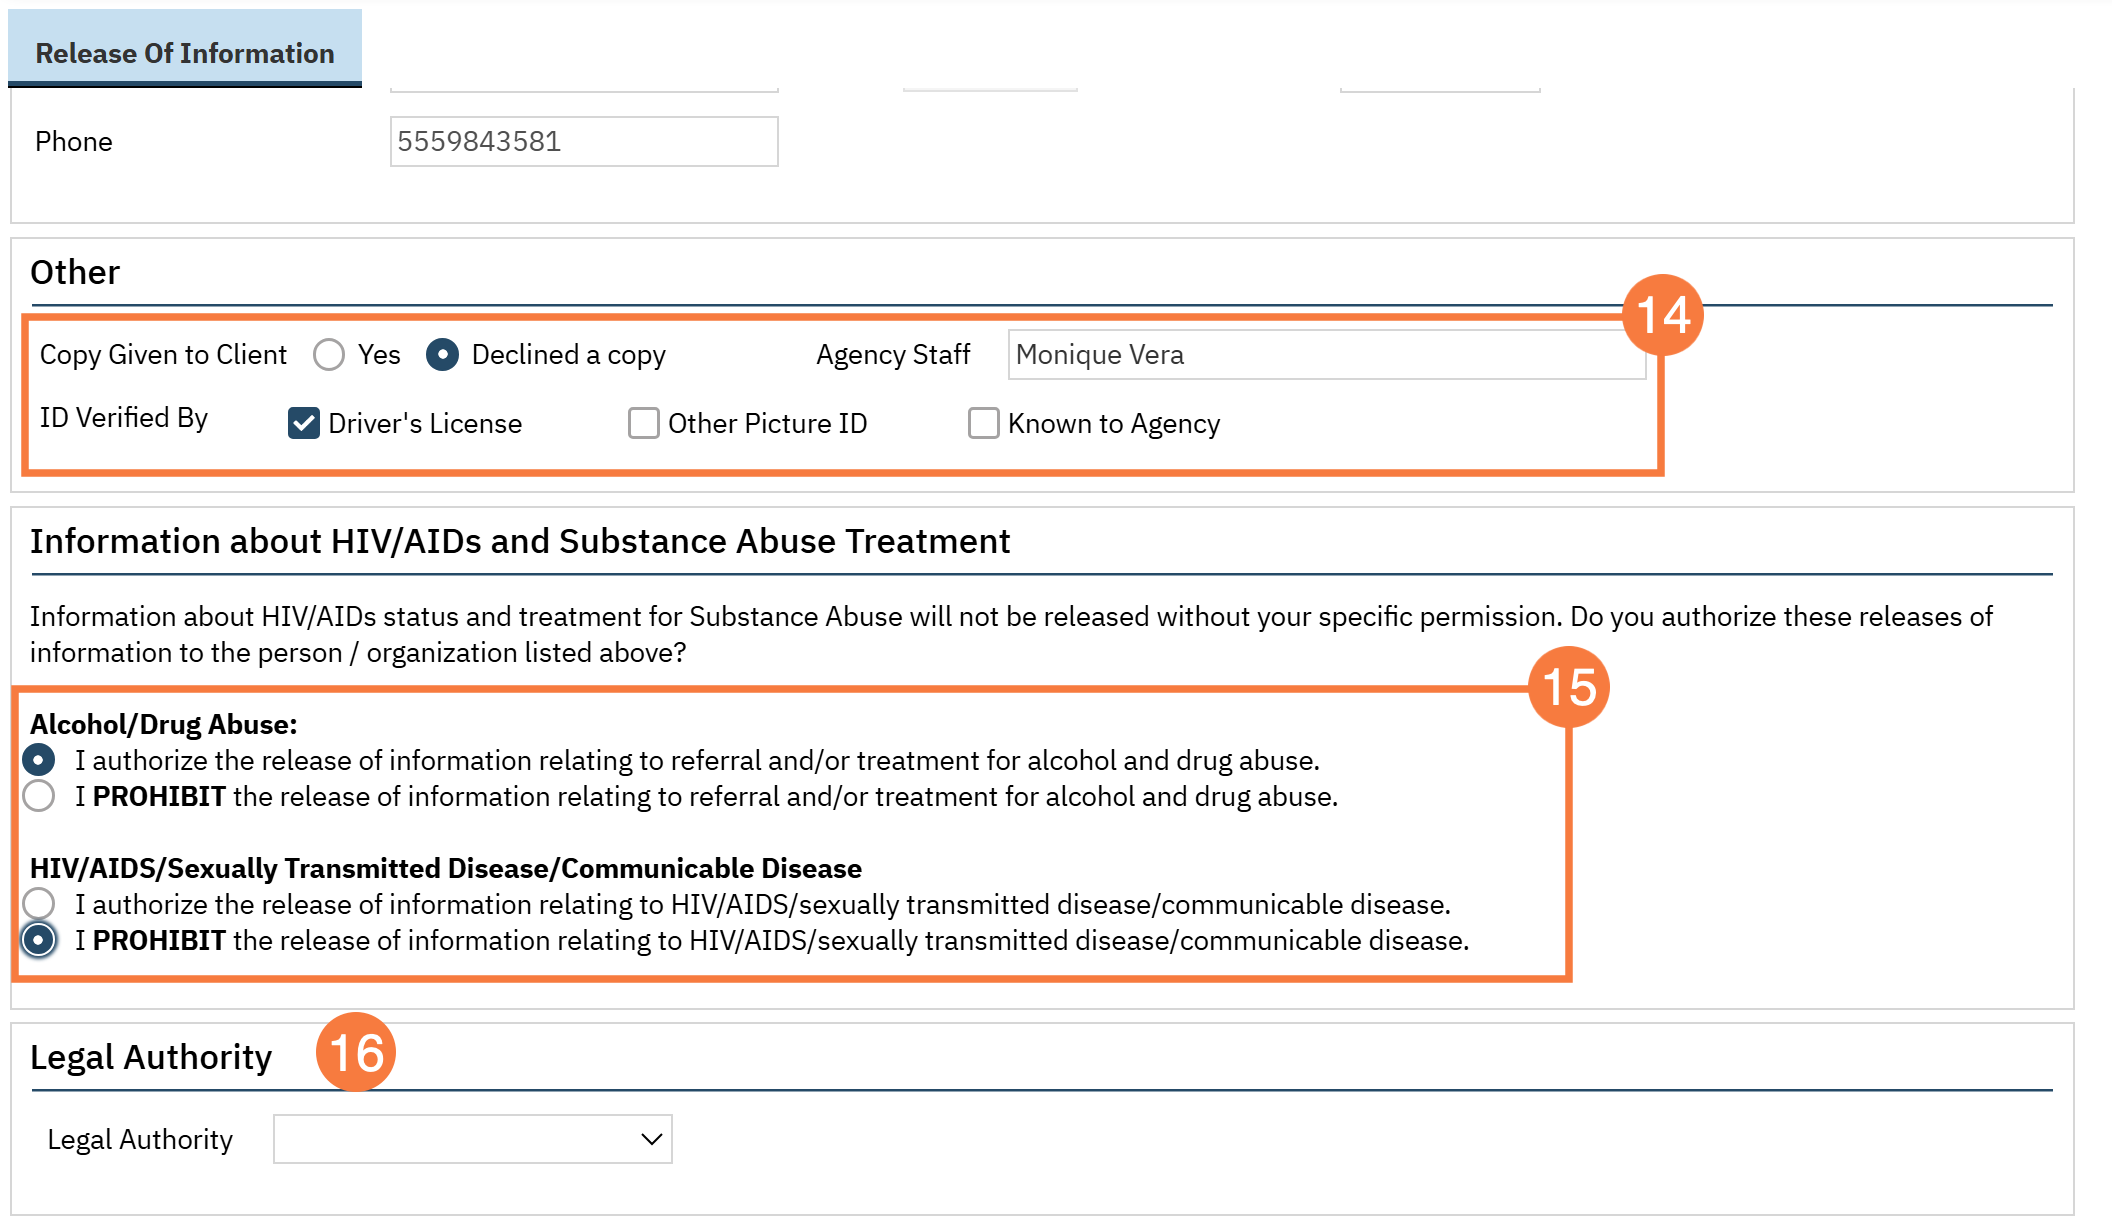
- Document whether the client received or declined a copy of the ROI.
- You can also indicate how you confirmed the client’s identity and enter the name of the person who did so.
- Document whether the client is authorizing or prohibiting the release of SUD and HIV/AIDS information.
- CalMHSA does not use the Legal Authority field, leave this blank
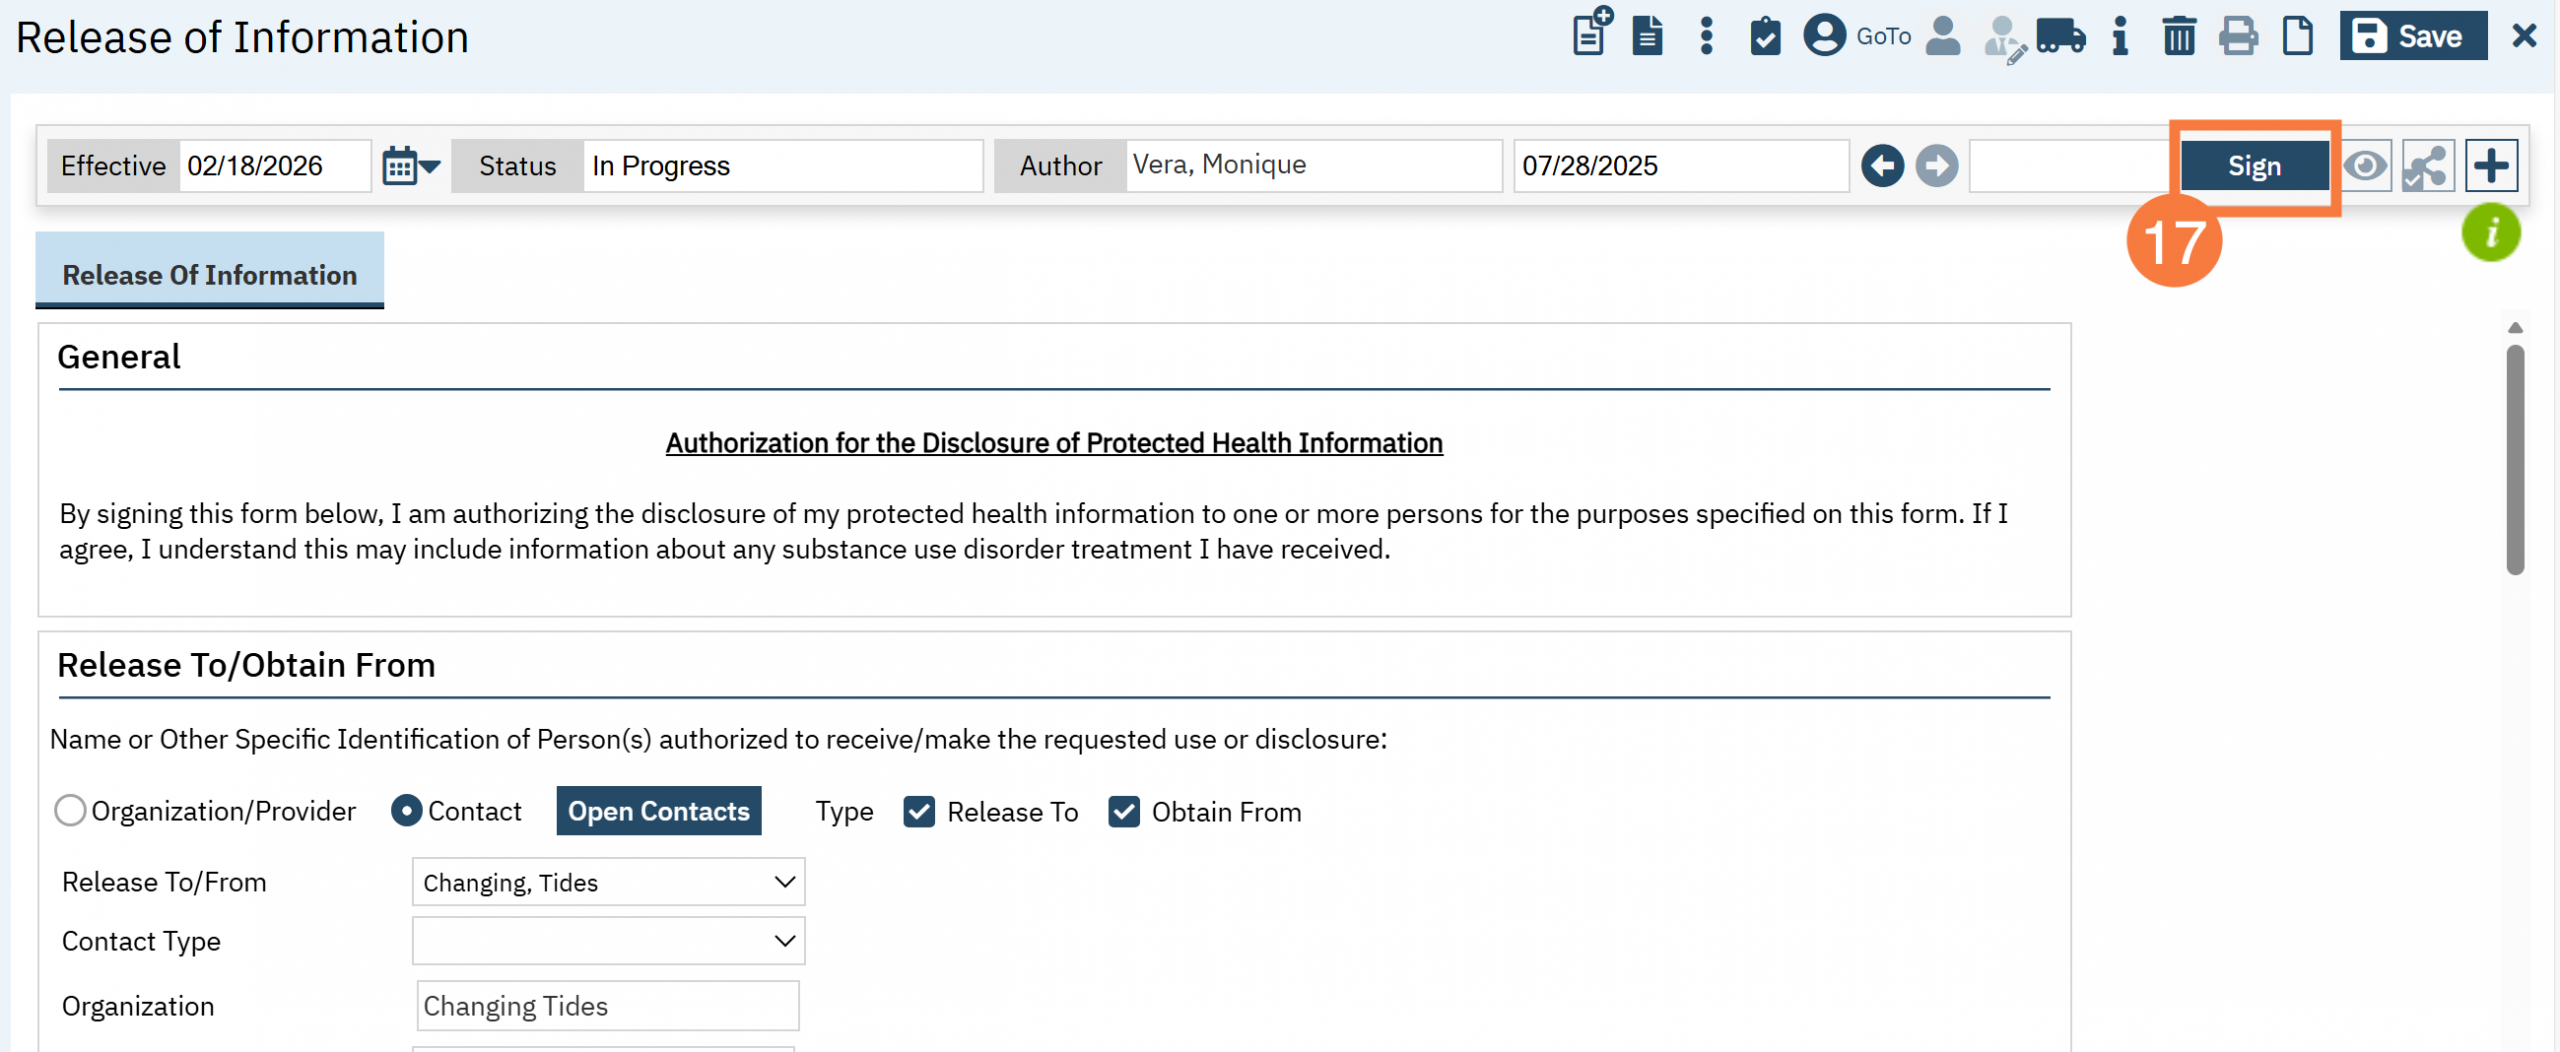
- Once you’ve completed the document, click Sign. This will create the PDF. The document is not considered “complete” until the client and/or guardian co-signs the document. Follow the instructions in How to Have a Client or Guardian Co-Sign a Document for detailed instructions on getting a client’s signature.