Users need to be set up so they can access screens and documents specific to IP/CSU/Residential. As a reminder, this set up is specific to this module and does not include general set up, e.g. degrees, CDAG, etc.
Navigate to Staff/Users (Administration).
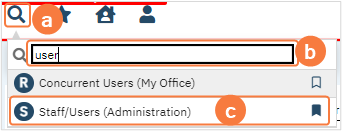
Click on the Search icon.
Type Users.
Only three characters are required before options display.
Select Staff/Users (Administration) from the options.
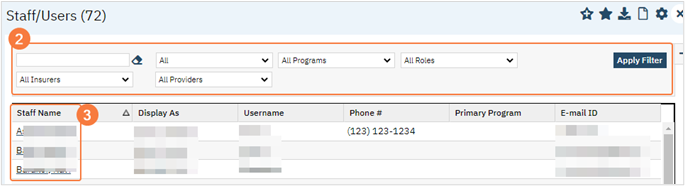
Once on the Staff/Users list page, utilize filters to locate the user.
Click on the Staff Name hyperlink to open Staff Details.
Roles/Permissions
Roles have been created for IP/CSU/Res programs.
These are add on roles and should be used in addition to base roles. Following are county base roles:
LPHA/Clinician
Non-LPHA
Reception/Front Desk
Billing
County Affiliated System Admin
Medical Record/Quality Assurance
Click the Roles/Permissions tab.
Select Grant radio button for IP/CSU/Res role.
All inpatient, CSU, or residential users should have this role.
If appropriate, Select Grant radio button to the Medical IP/CSU/Res role.
This role should be used in addition to the IP/CSU/Res role.
If users is a prescriber ensure they are also granted the Prescriber role.
Click Save in the tool bar.
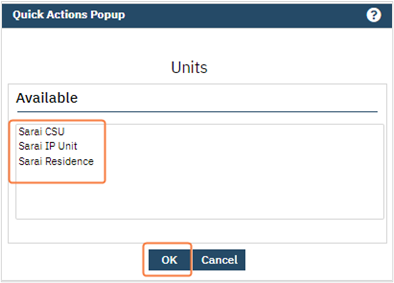
Unit Permissions
Units need to be permissioned so users have access to them. Without unit permission users would not be able to see the beds and client’s associated with the unit.
Note: This set up is not required in TRAIN environment.