Access your NPPES profile at: https://nppes.cms.hhs.gov. You will need your I&A User ID and password.
Note: If you do not remember your user ID or password, click the “Forgot User ID or Password” red button.
- Once on the NPPES main page, select the “Pencil” icon in the Actions column of the NPI you wish to modify.

- Selecting Taxonomy from the left navigation panel
- Selecting Taxonomy on the top progressive bar
- Selecting the “Next” button at the bottom of the screen until arriving to the Taxonomy pageNavigate to the “Taxonomy” page by either:
To change the Primary Taxonomy code, select the radio button next to the Taxonomy to designate which of the codes listed is the primary Taxonomy.
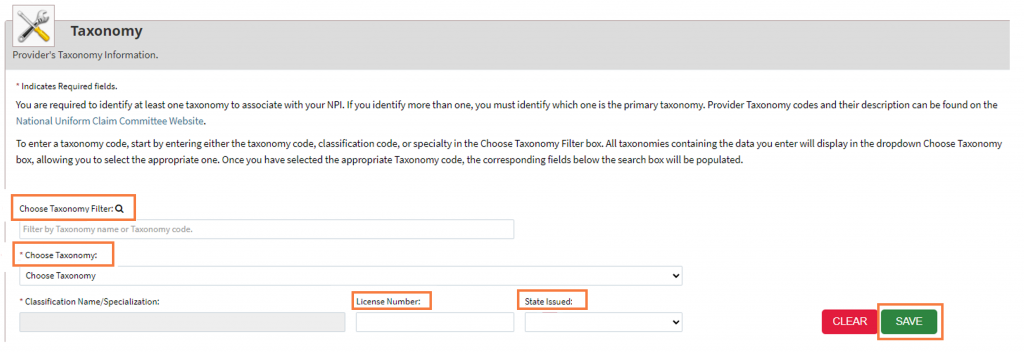
To add or change a Taxonomy code:
- Enter the first few digits of the desired Taxonomy code in the “Choose Taxonomy Filter” field.
- In the “Choose Taxonomy” field, select the Taxonomy you wish to add.
- Enter your license number on the “License Number” field, if applicable.
- Enter the state associated with your license number in the “State Issued” field, if applicable.
- Select “Save” to store the new information and return to a list of all Taxonomy and licenses currently on record.
- To delete a Taxonomy code, select the “Delete” icon associated with the Taxonomy code you wish to remove. The icon can be found under the “Actions” column next to the Taxonomy code.
- Navigate to the “Submission” page by clicking on the “Next” button in the bottom of the screen. Click on “Next” as many times as needed until you arrive at the end of the form.
- On the “Submission Certification” page, read the terms and conditions listed and if you agree, check the certification box.
- Select “Submit.”
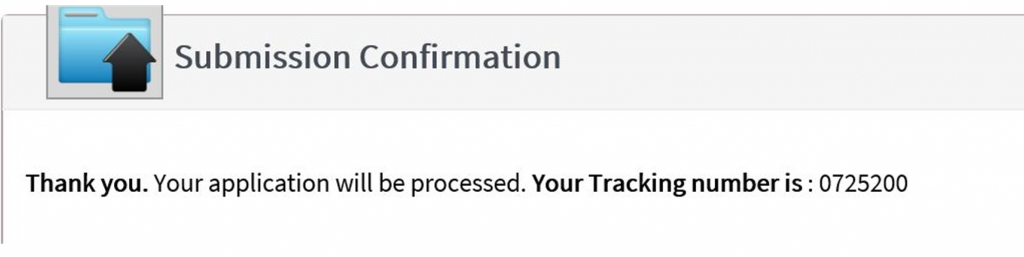
- After submitting the change requested, you will receive a confirmation tracking number, like the one below. If you do not receive a tracking number, it means that you did not fully complete the change.