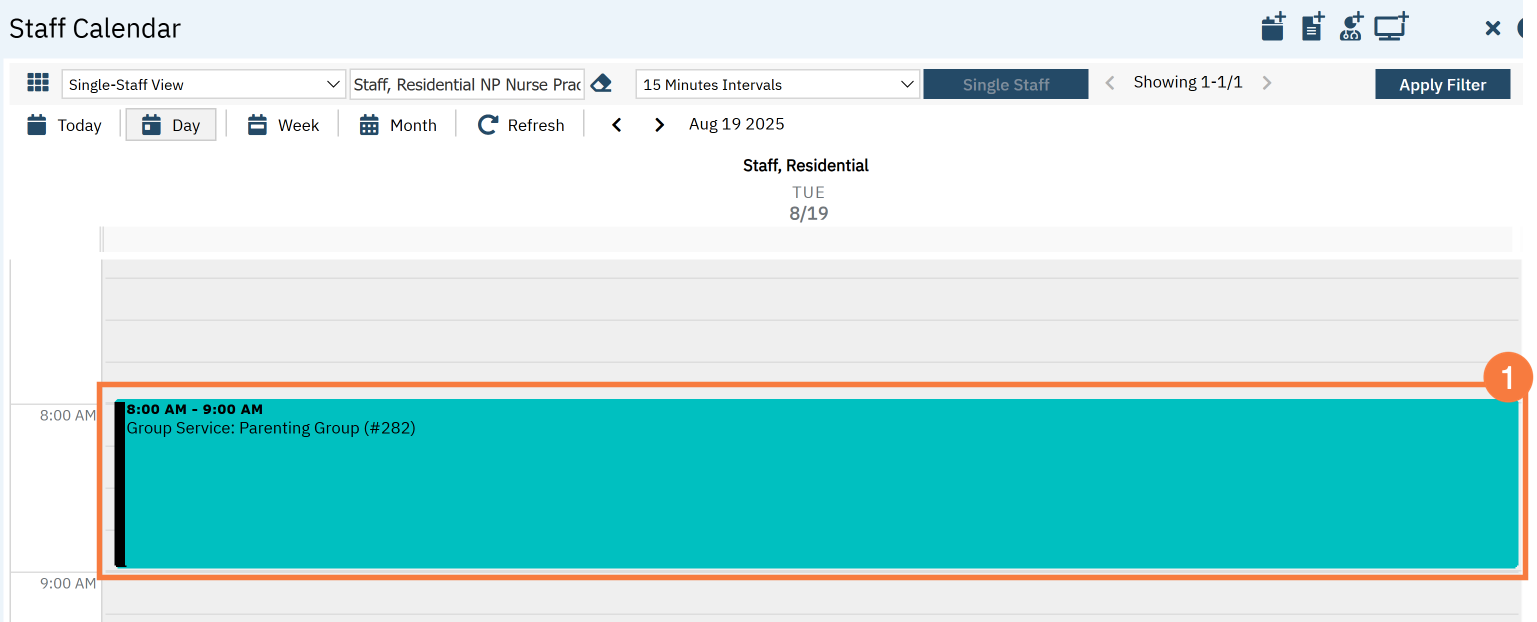
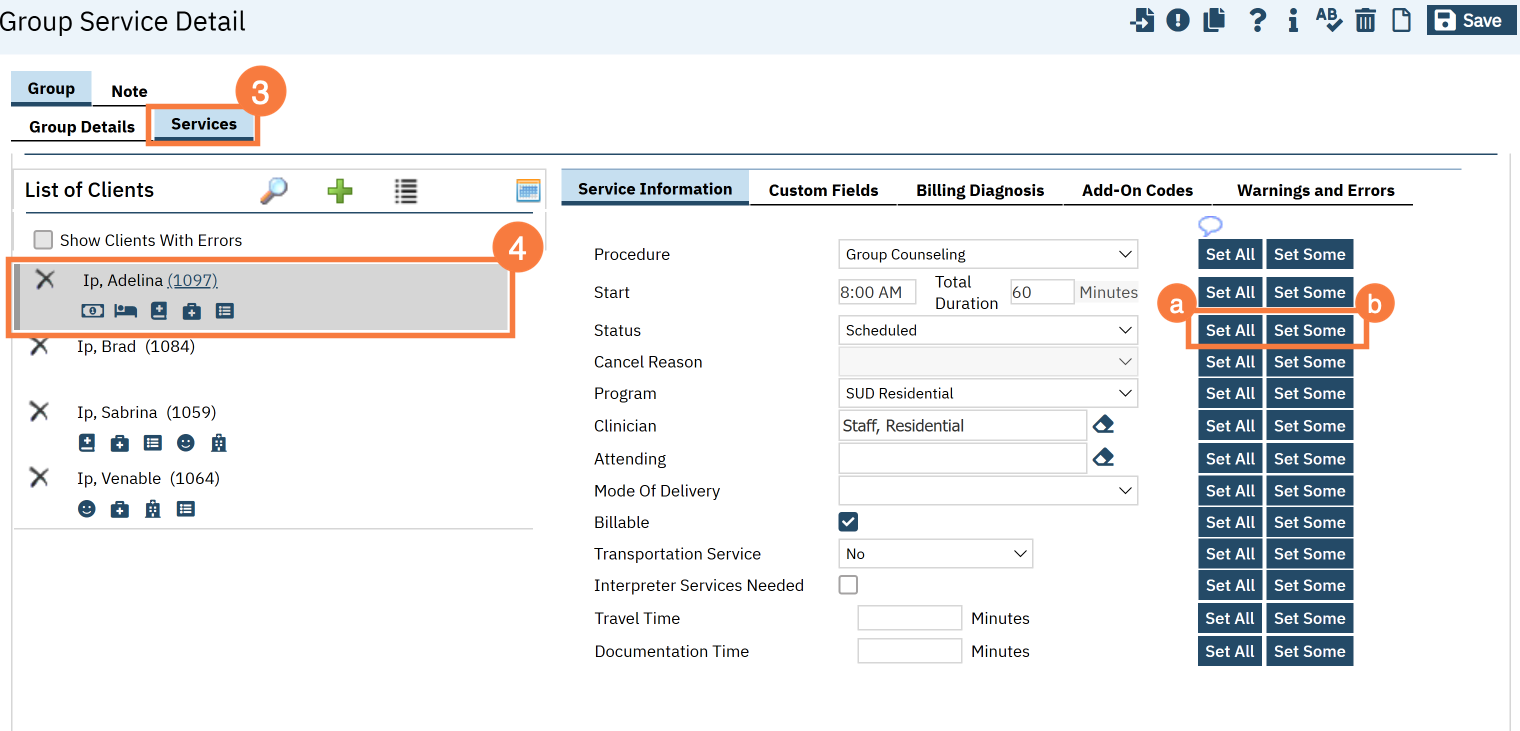
Once you have your group roster set up, move to the service information section. The first client will be highlighted. As you make changes, this will update this particular client. This is where you mark whether clients who were a no-show for the group, or who canceled.
If you want to set this information for all of the clients, click the “Set All” button. You can do this for each item in the service information section.
If you want to set this information for more than one client, but not all of them, click the “Set Some” button.
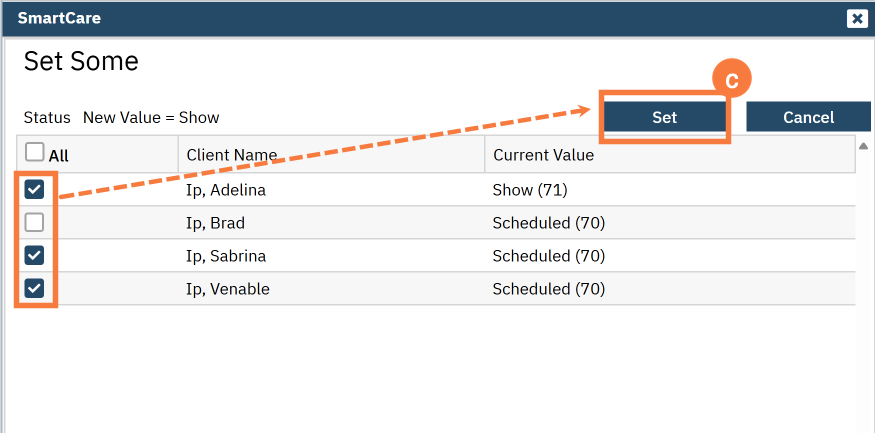
This will bring up the Set Some pop-up window. Select the clients you want to include in this change (e.g. all the clients who you want to mark as “show”). Then click Set.
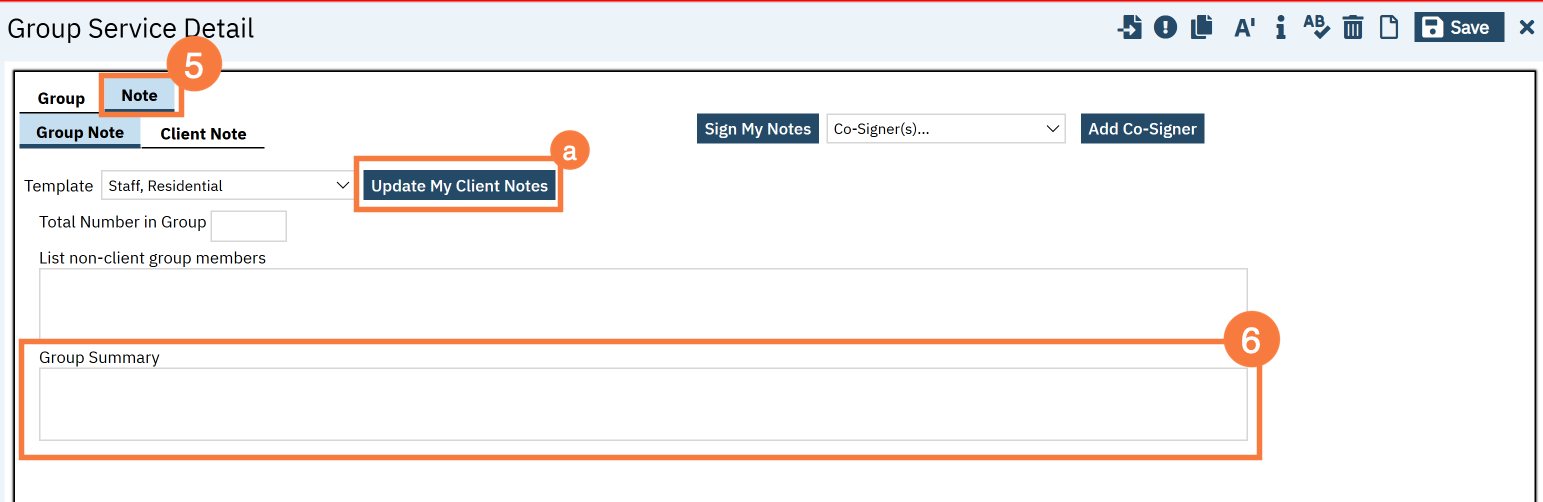
Once you’ve completed the service information, navigate to the Note tab.
Enter the group note summary.
Click the Update My Client Notes button. This will be pushed to all of the group member’s notes.
Navigate to the Client Note tab.
On the left side of the screen, select the client you’re writing the note for.
You can click on the checkbox “Only Show clients where I am the Note Author” to limit the clients on the list.
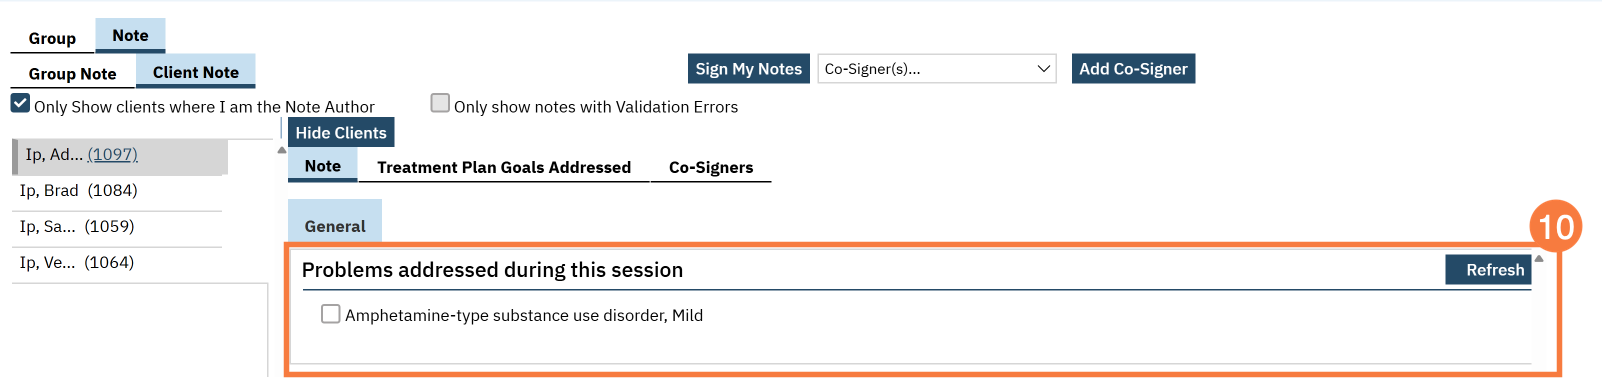
Add problems to the problem list as necessary. See Problem List for more information
Select problems that were addressed in today’s session. If you’ve added any problems to the problem list during this note writing, click Refresh to update this list.
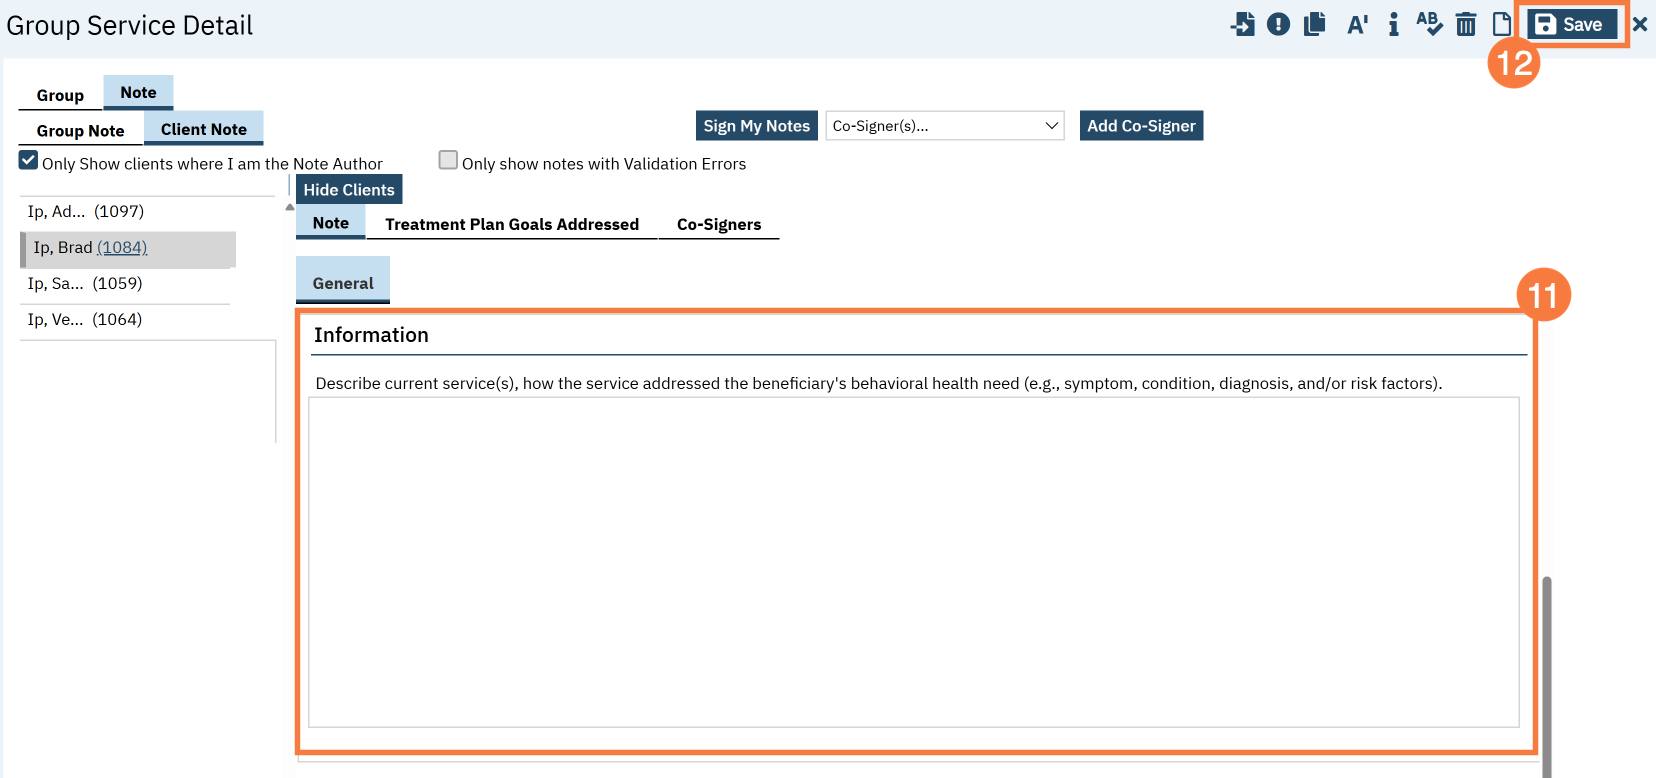
Scroll to the Information section and enter the individual client’s note for this group service.
Click Save.
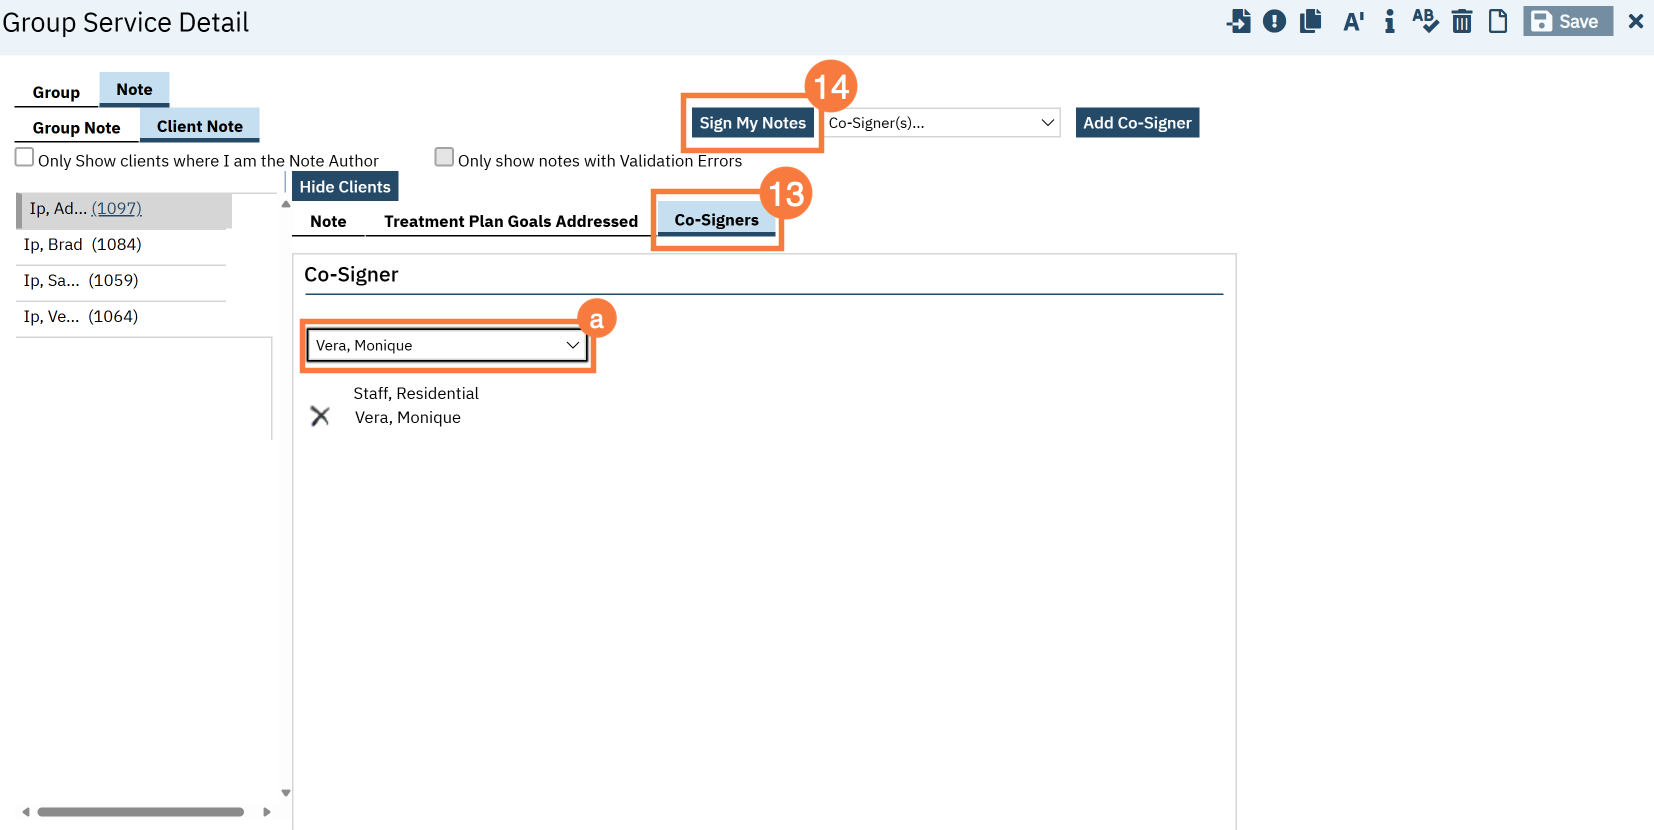
To add Co-Signers as necessary, navigate to the Co-Signers tab.
Select the staff from the dropdown menu. This will add them to the list of people who will be asked to co-sign the note.
Once you’re finished with all of your notes, click “Sign My Notes.”