Skip to content
CalMHSA Learn (LMS System)
Help Desk Ticket (Admin)
Customer Ticket Portal
EHR Bulletin
MENU
Home
Accessing Data in SmartCare
Billing Documentation
CalMHSA Connex
CalMHSA Rx
Clinical Documentation
Contract Provider Data Entry Only
CSU Documentation
EHR LMS Dashboard
Eleos
Events
Frequently Asked Questions
Front Desk Documentation
Inpatient Documentation
Nursing Documentation
Patient Portal
Prescriber Documentation
Policy Playbooks
Protocols
QA/QI and State Reporting
RCM Counties
Reporting System Administration
Residential Documentation
SmartCare Downtime Forms
SmartCare EHR Go Live Migration
SmartCare Known Issues
Substance Use Documentation
Supervisor Workflows
System Administration Documentation
Manage Account
Manage Account
Search
Last updated: January 24, 2024
How to Send a Message
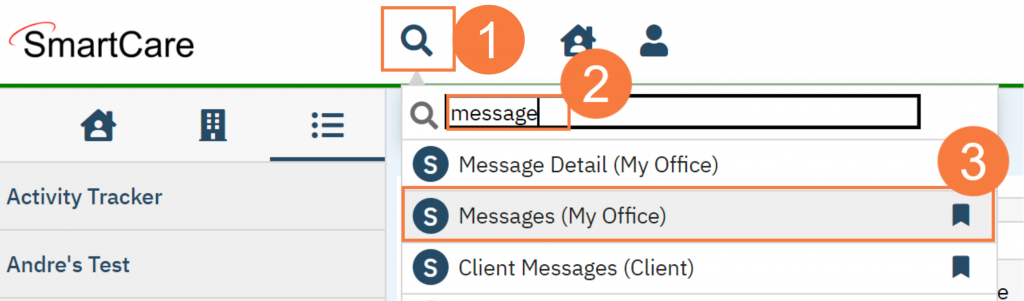
Click the Search icon
.
Type Messages
in the search bar.
Click to select Messages (My Office)
.
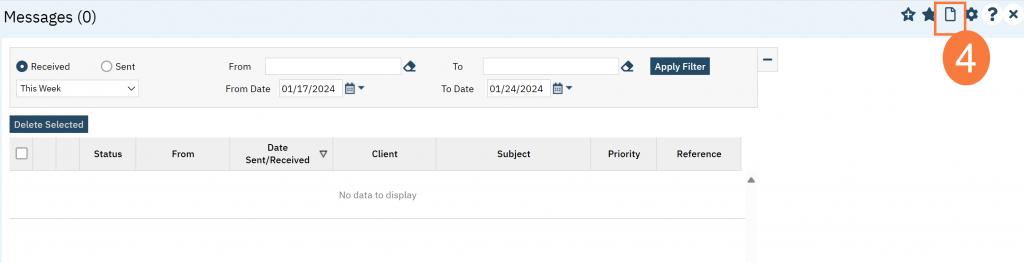
Click the New icon
to create a new message
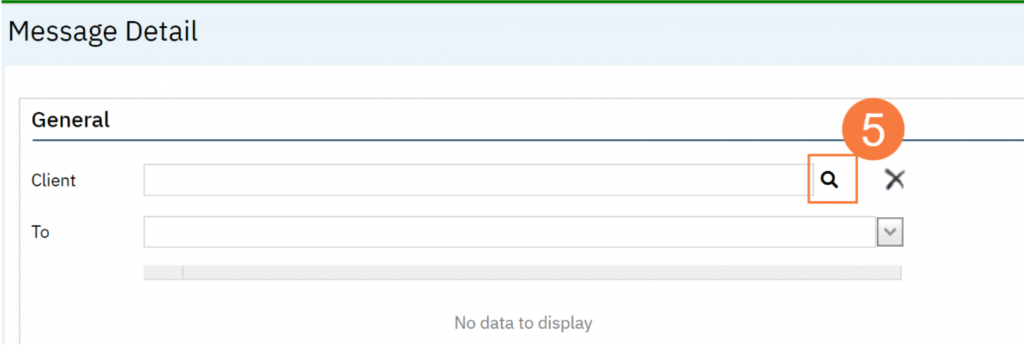
Click the Magnifying glass icon
next to the Client field and search for the client (if applicable).
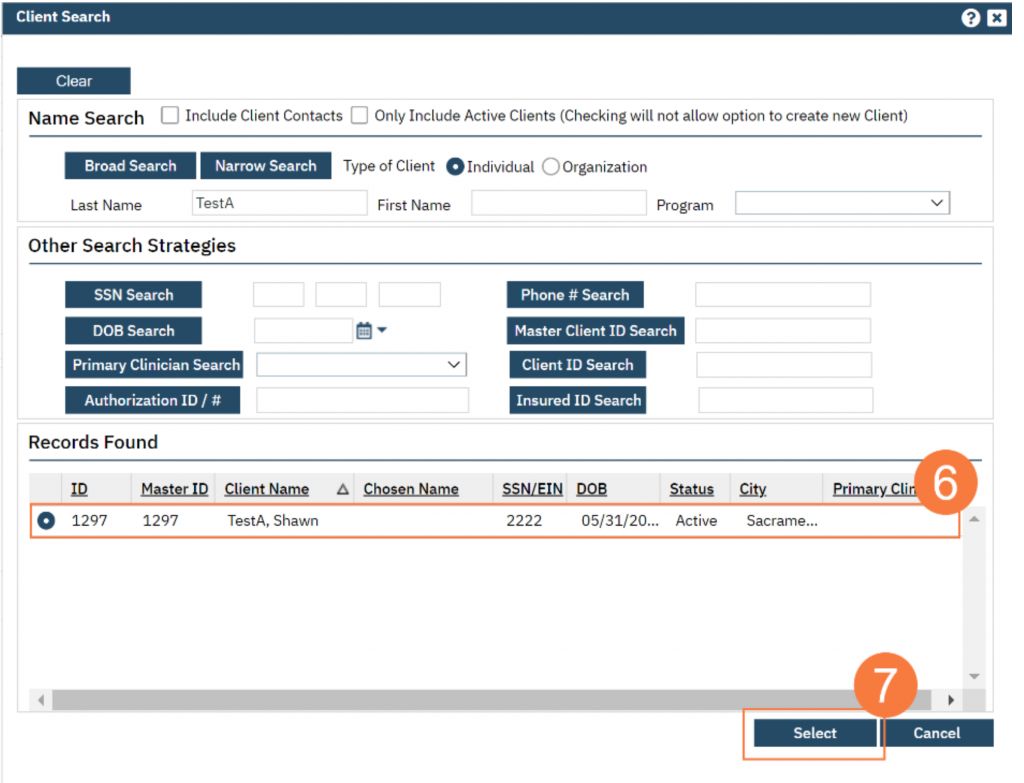
Enter the search criteria
and
click the radio button
to select the patient.
Click Select
.
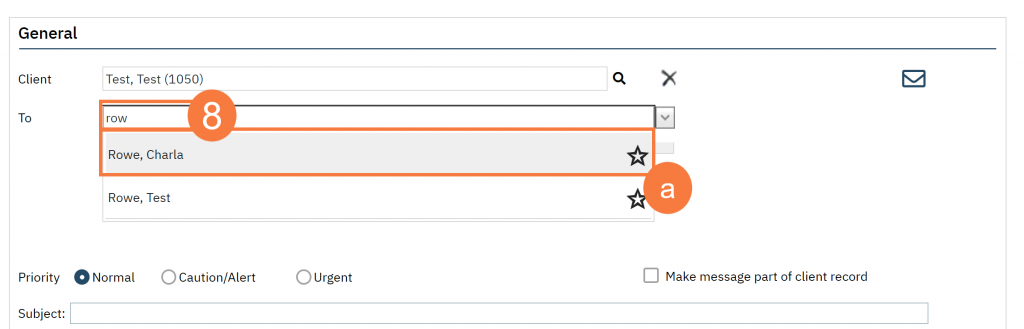
Click in the To box and begin to type the staff member’s name.
To save this person as a favorite click the Star icon.
OR
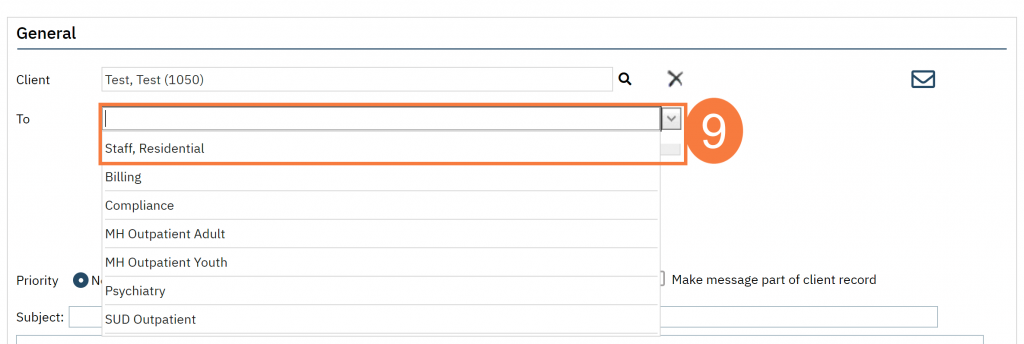
Click the down-down arrow
in the To field and select a group.
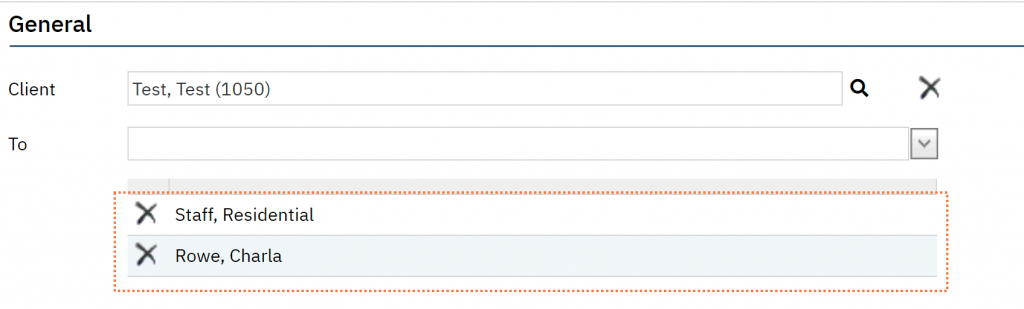
N
ote:
You can add both a group and a single staff member at the same time.
Click the radio button
to change the priority from Normal if it applies
.
Click in the Subject field
and
type an appropriate subject.
Click in the empty box below
and
type the message.
Important: Click the checkbox
to
Make message part of the client’s record
.
Click the mail icon
to send the message.
Last updated: January 24, 2024