The client must have a status of Occupied before you can schedule the client On Leave.
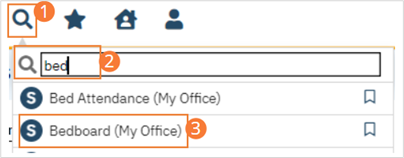
Click the Search icon.
Type ‘Bedboard’ into the search bar. (Or, ‘Residential’.)
Click to select Bedboard (My Office). [Or, Residential (My Office)].
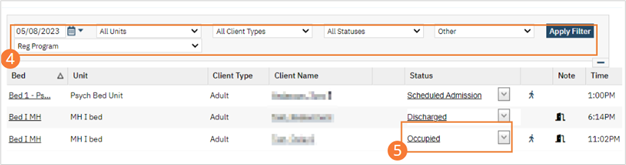
If desired, filter the list to determine the records that are shown.
Find the client who you want to set On Leave.
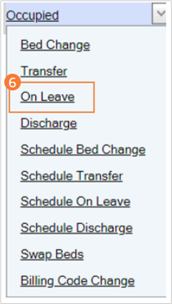
Click the drop-down arrow in the Status column of the client you want to set to On Leave and select On Leave. The Census Management – On Leave screen opens.
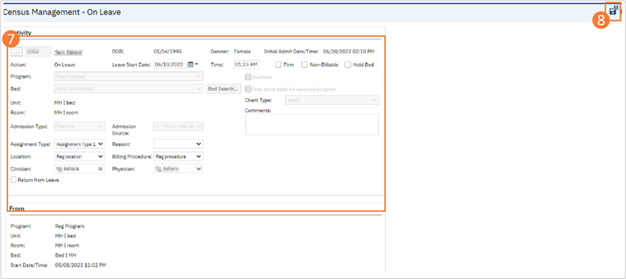
Complete the required and necessary fields on the Census Management – On Leave screen.
When the screen is complete, click the Save and Close button in the tool bar. The list page opens. A second record for the client is shown with the status of On Leave.