The following list page is used by Nursing / Clinical Support and Clinical Support when admitting a client. This document is only going through navigating the admission version of this screen. You will notice different options when navigating the inpatient activity details screen through later workflows. Please see the MAR 2023.calmhsa.org website for additional workflows.
Note: There are 3 ways to get to this screen:
- Whiteboard (My Office)
- Residential (My Office)
- Bedboard (My Office)
Please follow the appropriate admission user guides if you need assistance navigating to this screen.
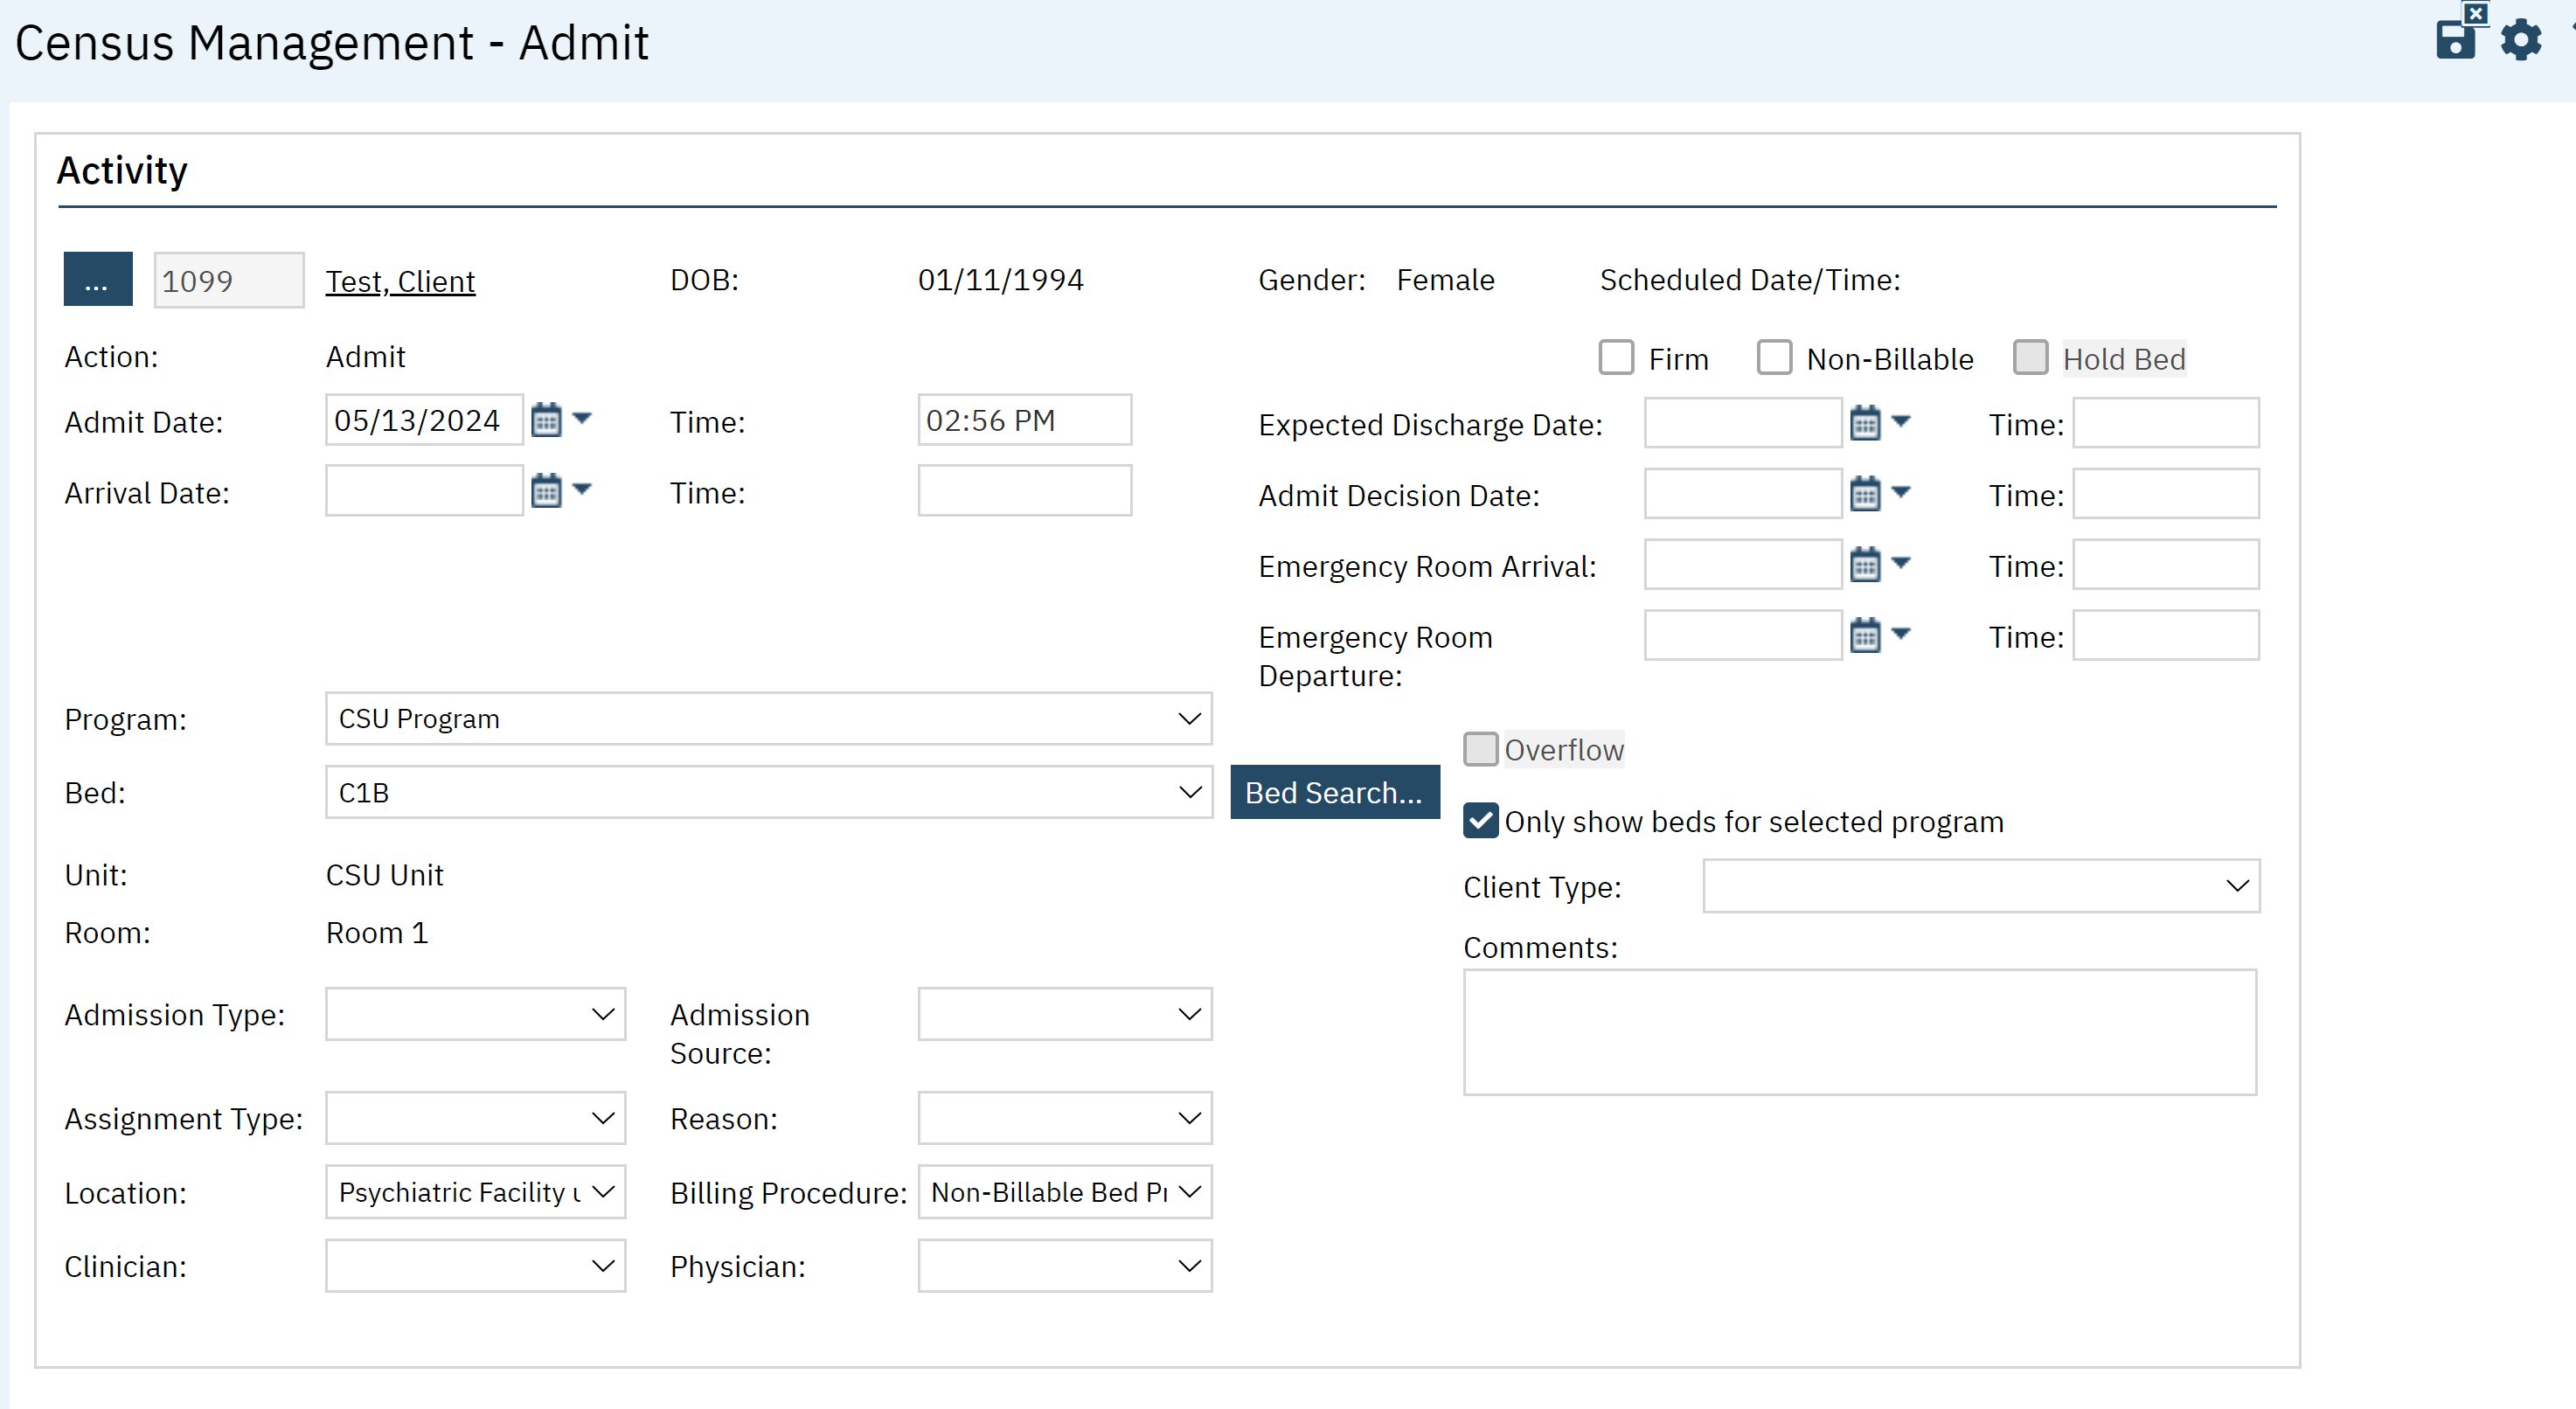
Field Definitions
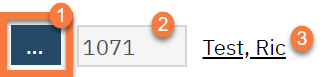
- Ellipsis button: Click this button to display the Client Search window. You have the ability to search / change the clients name here.
- Client ID: The client’s ID appears from the client’s registration information.
- Client Name: Client’s name is displayed last name and first name. Click the hyperlinked name to display the Client Summary.
- DOB: The client’s date of birth is displayed.
- Gender: The client’s gender is displayed
- Schedule Date / Time: Identifies a scheduled admission. If the client does not have a scheduled admission, this field is blank.

- Action: Identifies the action you are taking for the client. For this procedure, it should display Admit.

- Firm Check Box: this is noting that the information you are placing for what is scheduled is “confirmed”, checking the firm check box will change the disapled status on the bedboard from “Scheduled Discharge” to “Scheduled Discharge C”
- Non – Billable Check Box: Select this check box to identify the admission is non-billable.
- Hold Bed Check Box: CalMHSA Is not currently using, this check box is actively disabled
- Admit Date Time: The current day’s date is supplied in the field.

- Expected Discharge Date / Time: Enter the client’s expected discharge date, if known. This will appear on the whiteboard screen under the EDD column. This date will also appear in the Notes column of the bedboard (my office) screen

- Arrival Date / Time: Enter the date and time the client is expected to arrive at the unit.

- Admit Decision Date / Time: Enter the date and time when the admission was decided on.

- Emergency Room Arrival / Time: Enter the date and time when the client arrived at the emergency room, if applicable.

- Emergency Room Departure/ Time: Enter the date and time when the client is expected to leave or left the emergency room, if applicable

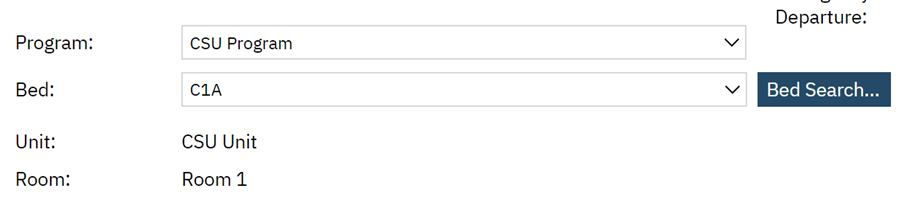
- Program: Identifies the program the client is being admitted to. Click the drop-down arrow to change the program. Note: The client must be enrolled in the program to select a program in this field.
- Bed: Identifies the bed the client is being admitted to. Click the drop-down arrow to change the bed selection.
- Unit: Unit where the client is being admitted
- Room: Room selected from the bed search, or the room attached to the bed that was selected from either the Whiteboard, Residential or Bedboard screen.
- Bed Search button: Click this button to search for an open bed.
- Overflow: This check box is disabled.
- Only show beds for selected program check box: Select this check box so when using Bed Search, only the beds available for the selected program are displayed.

- Client Type*: This identifies whether the client is an Adult, Adolescent or Child. This is used to filter patients by this type on the Bedboard (My Office) screen
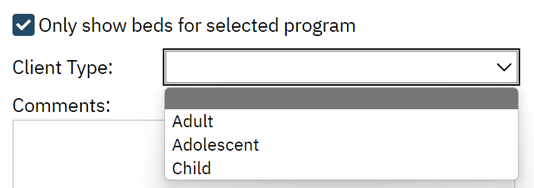
- Comments: Enter comments as needed for the admission. An unlimited number of characters is allowed.
- Admission Type*: Select the Admission Type. Identifies the immediacy of the admission. For example, options might be Elective, Emergency, Information not known, or Urgent.
- Admission Source: Source of the admission. Inpatient Psychiatric Hospital and any facility using an 837i for billing, must fill this out.
- Assignment Type: CalMHSA is not currently using this field. This is used for an Assignment Type. Assignment type is a customizable set of categories that can be used by each organization as needed. Please reach out to your sys admin if you’d like to use these.
- Reason: Reason for the admission.
- Location: Location of the facility. Inpatient Psychiatric Hospital and any facility using an 837i for billing, must fill this out.
- Billing Procedure: Inpatient Psychiatric Hospital and any facility using an 837i for billing, must fill this out.
- Clinician: Add Client’s clinician [Drop down menu will contain clinicians recognized by smartcare]
- Physician: Client’s physician [Drop down menu will contain physicians recognized by smartcare] Inpatient Psychiatric Hospital and any facility using an 837i for billing, must fill this out.

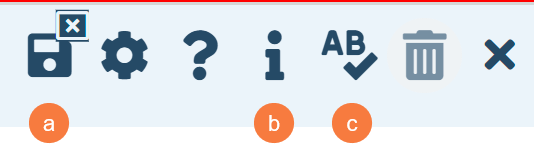
Upper Right-Hand Icons
- Save & Close: This save icon is unique to smart care. In most screens, you will see the word “Save” in a rectangle button. On the Census Management – Admit screen, you will only be able to save the information when you are ready to close this screen. You will NOT be able to come back to the Admit screen to change any information. Instead, there are designated workflows you can find on the 2023.calmhsa.org website when a change must be made, such as the procedure code.
- Information: Hover over this icon on any screen to see who created a document and when it was last modified. On the Census Management – Admit screen, this will show the user who is entering the Admit information in and the current date.
- Spell Check: Click on this icon to double check your spelling. When you click on the icon, a spell check will run. You will receive a pop up window “Spell Check” if any words are incorrect.