The client must have a status of Occupied before you can schedule the client On Leave.
Click the Search icon.
Type ‘Bedboard’ into the search bar. (Or, ‘Residential’.)
Click to select Bedboard (My Office). [Or, Residential (My Office)].
If desired, filter the list to determine the records that are shown.
Find the client who you want to set on leave.
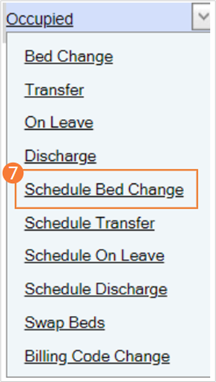
Click the drop-down arrow in the Status column of the client you want to schedule on leave and select Schedule On Leave. The Census Management – Schedule On Leave screen opens
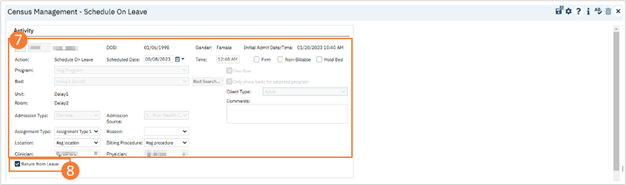
Complete the required and necessary fields on the screen
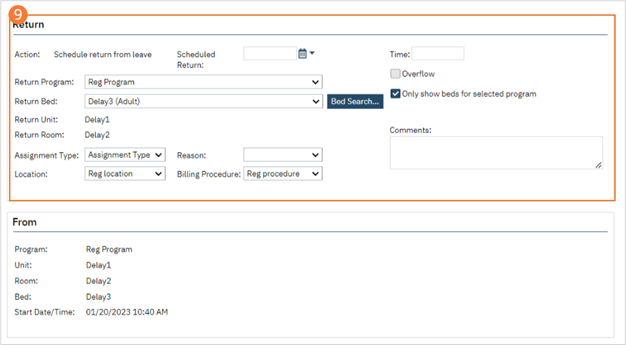
To Schedule Return from Leave for this client at this time, select the Return from Leave check box. The Return section appears at the bottom of the Census Management – Schedule Return On Leave screen.
Complete the Return section.
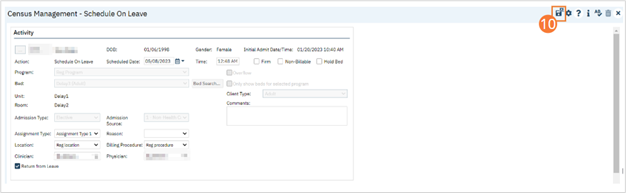
When the page is complete, click the Save and Close button in the tool bar.