This process will show you how to manage transition of care between multiple providers for a client in CalMHSA Rx.
Preferences in System Settings
In order to begin, ensure the preference in system settings has been enabled. Follow the steps below:
Note: If this setting is not enabled, contact your system administrator.
Click the Menu icon, in the upper left-hand corner of your screen.
Click Settings.
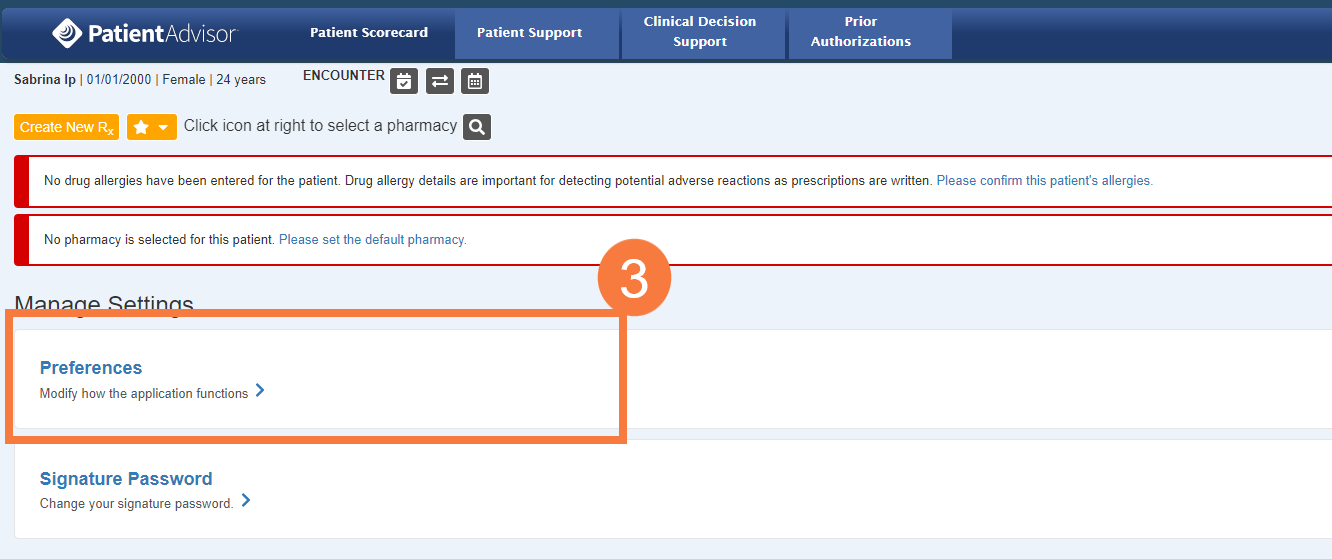
Click Preferences.
Make sure the following two checkboxes are enabled. If they are not, contact your system administrator.
Patient Profile in CalMHSA Rx
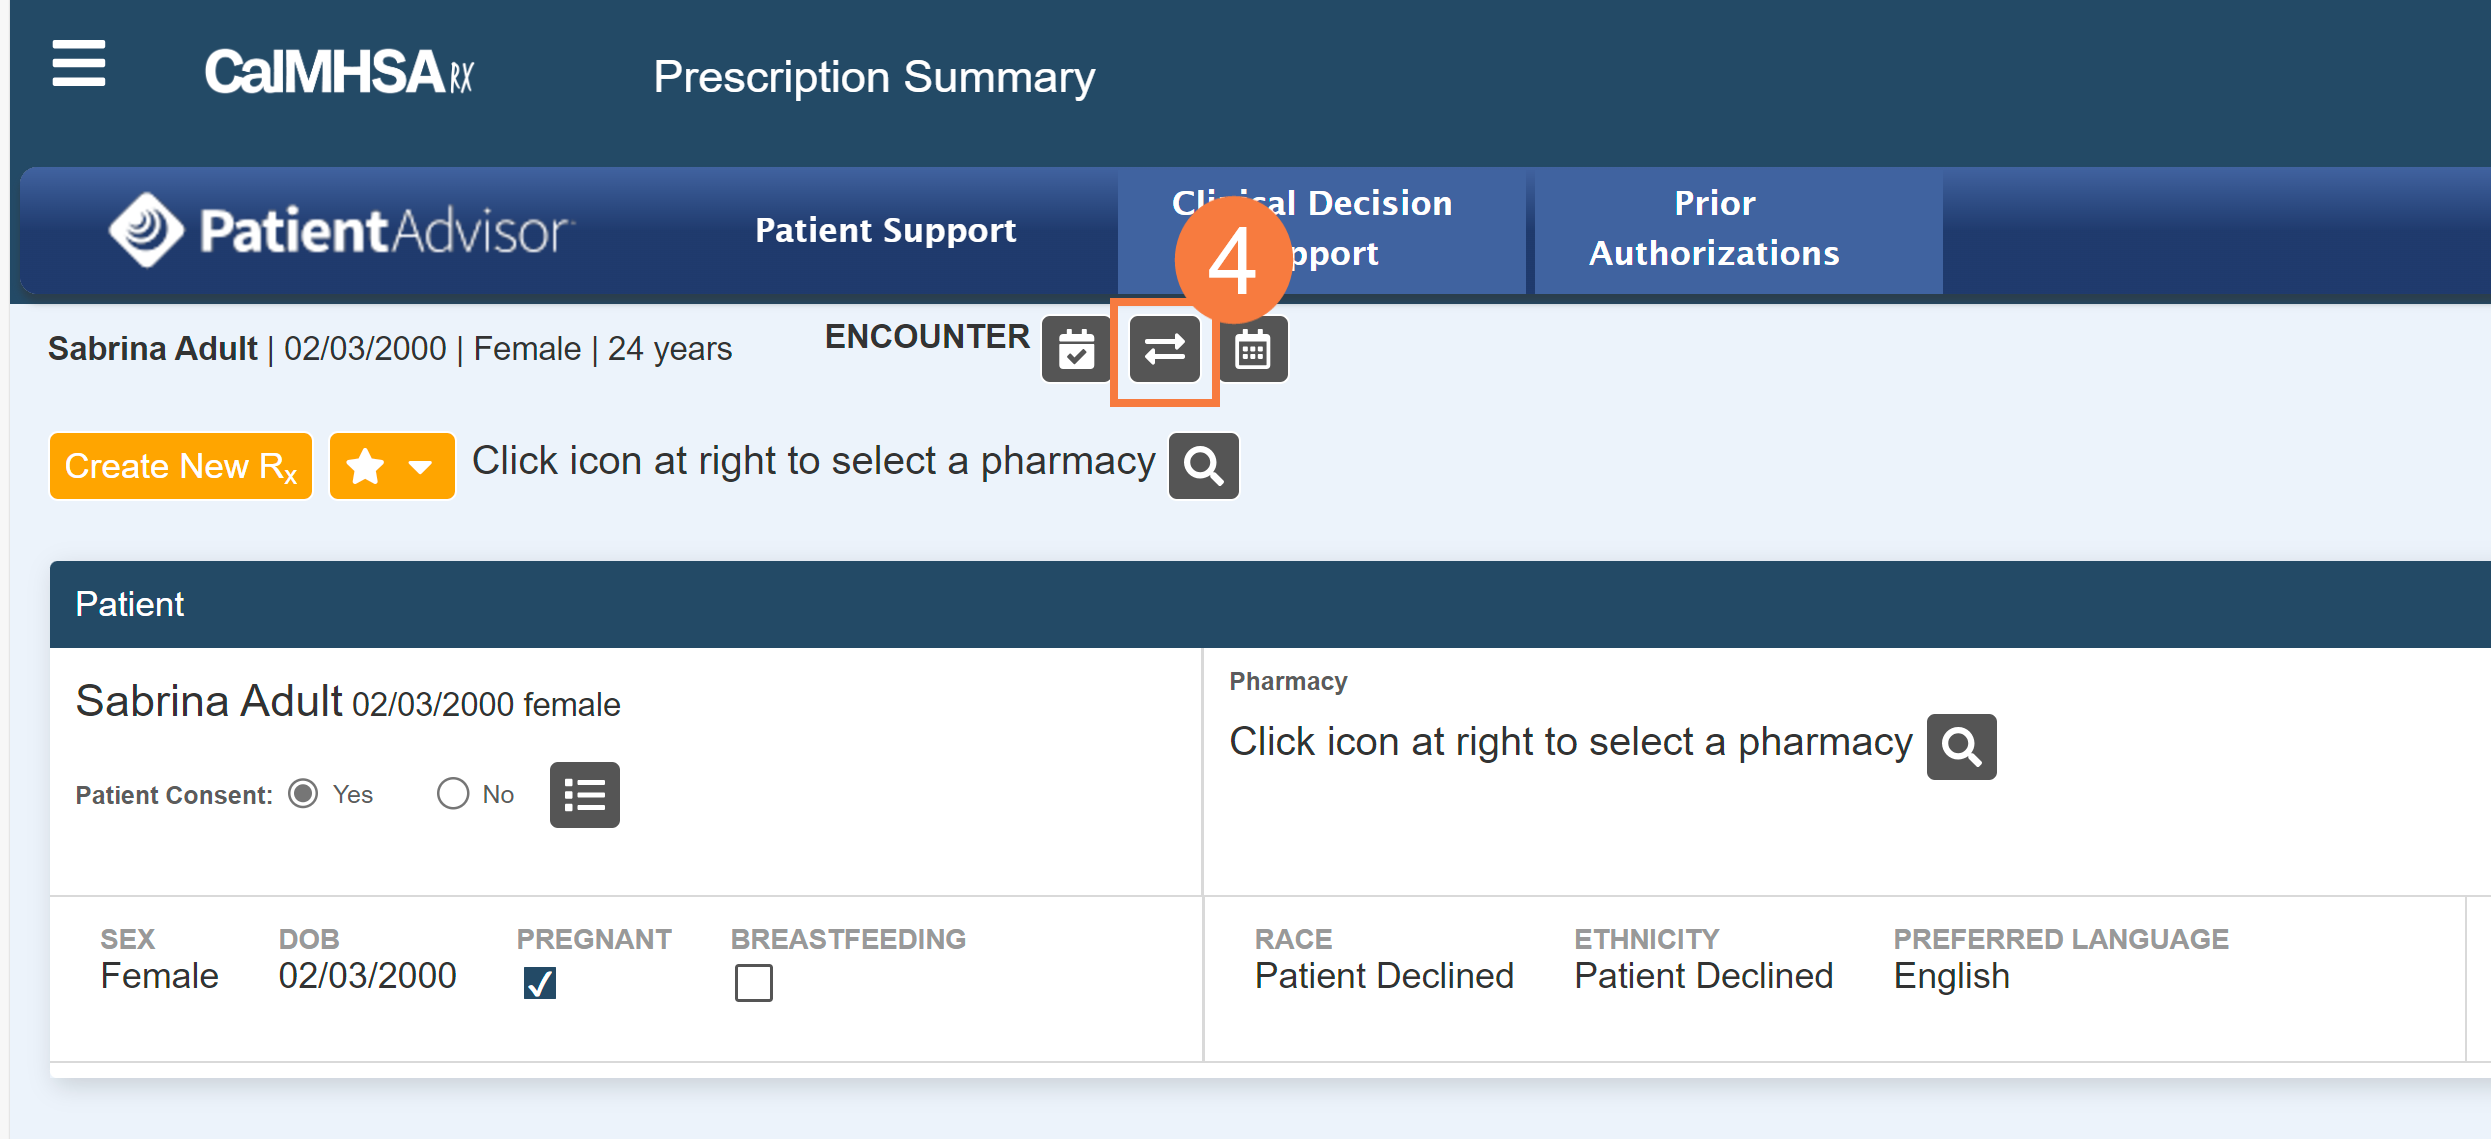
After your administrator has enabled the setting, navigate to the Patient Profile screen.
Click the TOC to provider – Today button. This enables the transition of care logging.
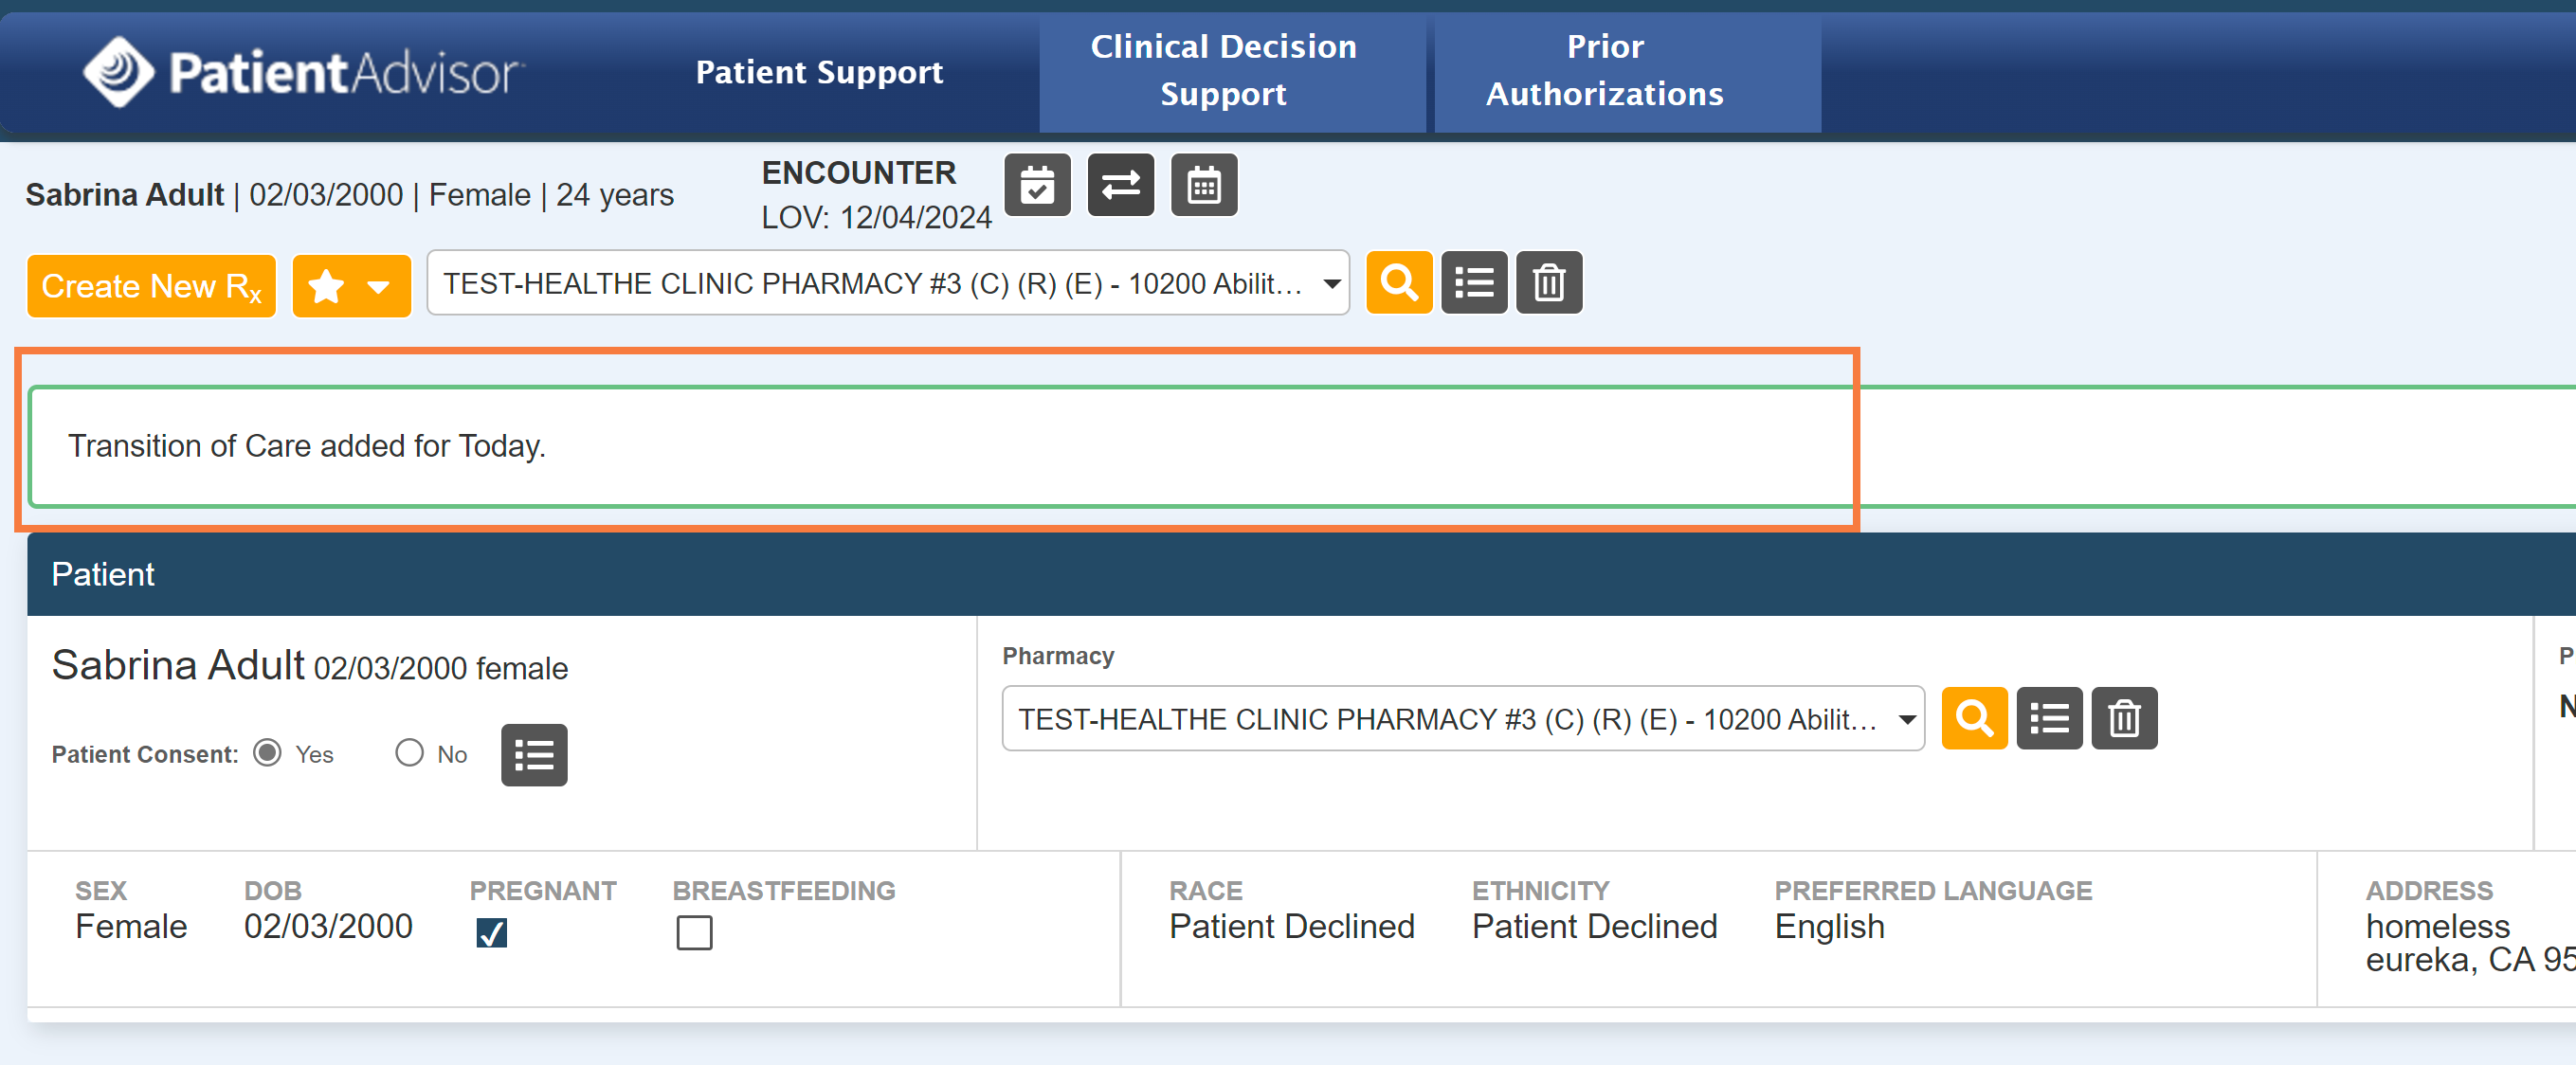
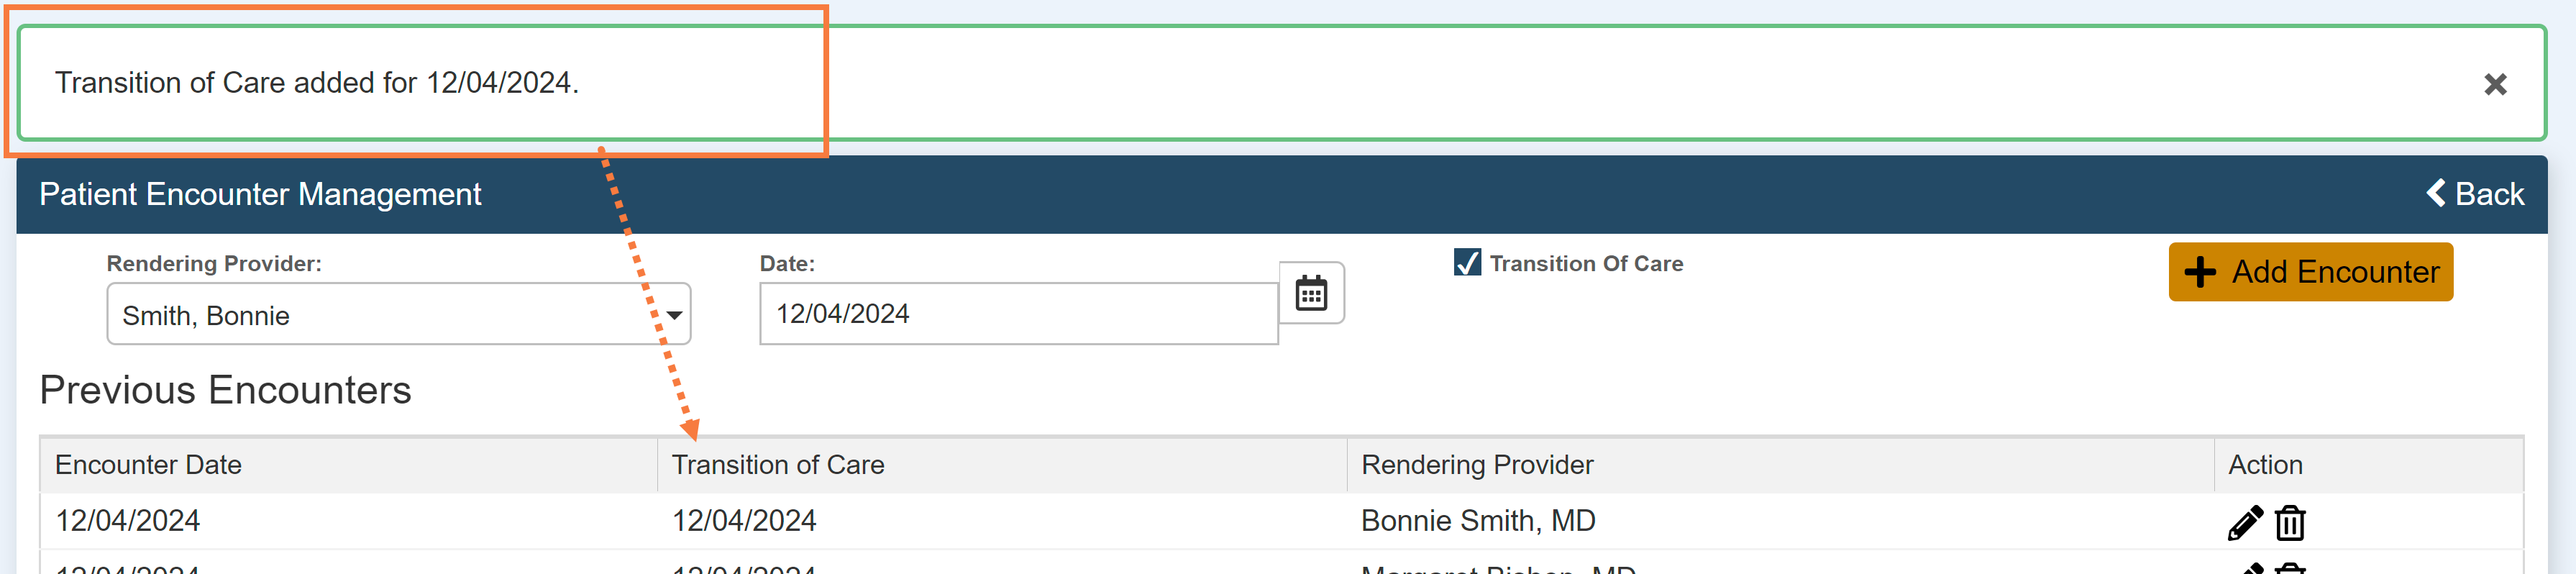
Note: You will see a green confirmation message stating: Transition of Care added for Today.
Click the Patient Encounter Management button to view entire log of transition of care for this client among multiple providers.
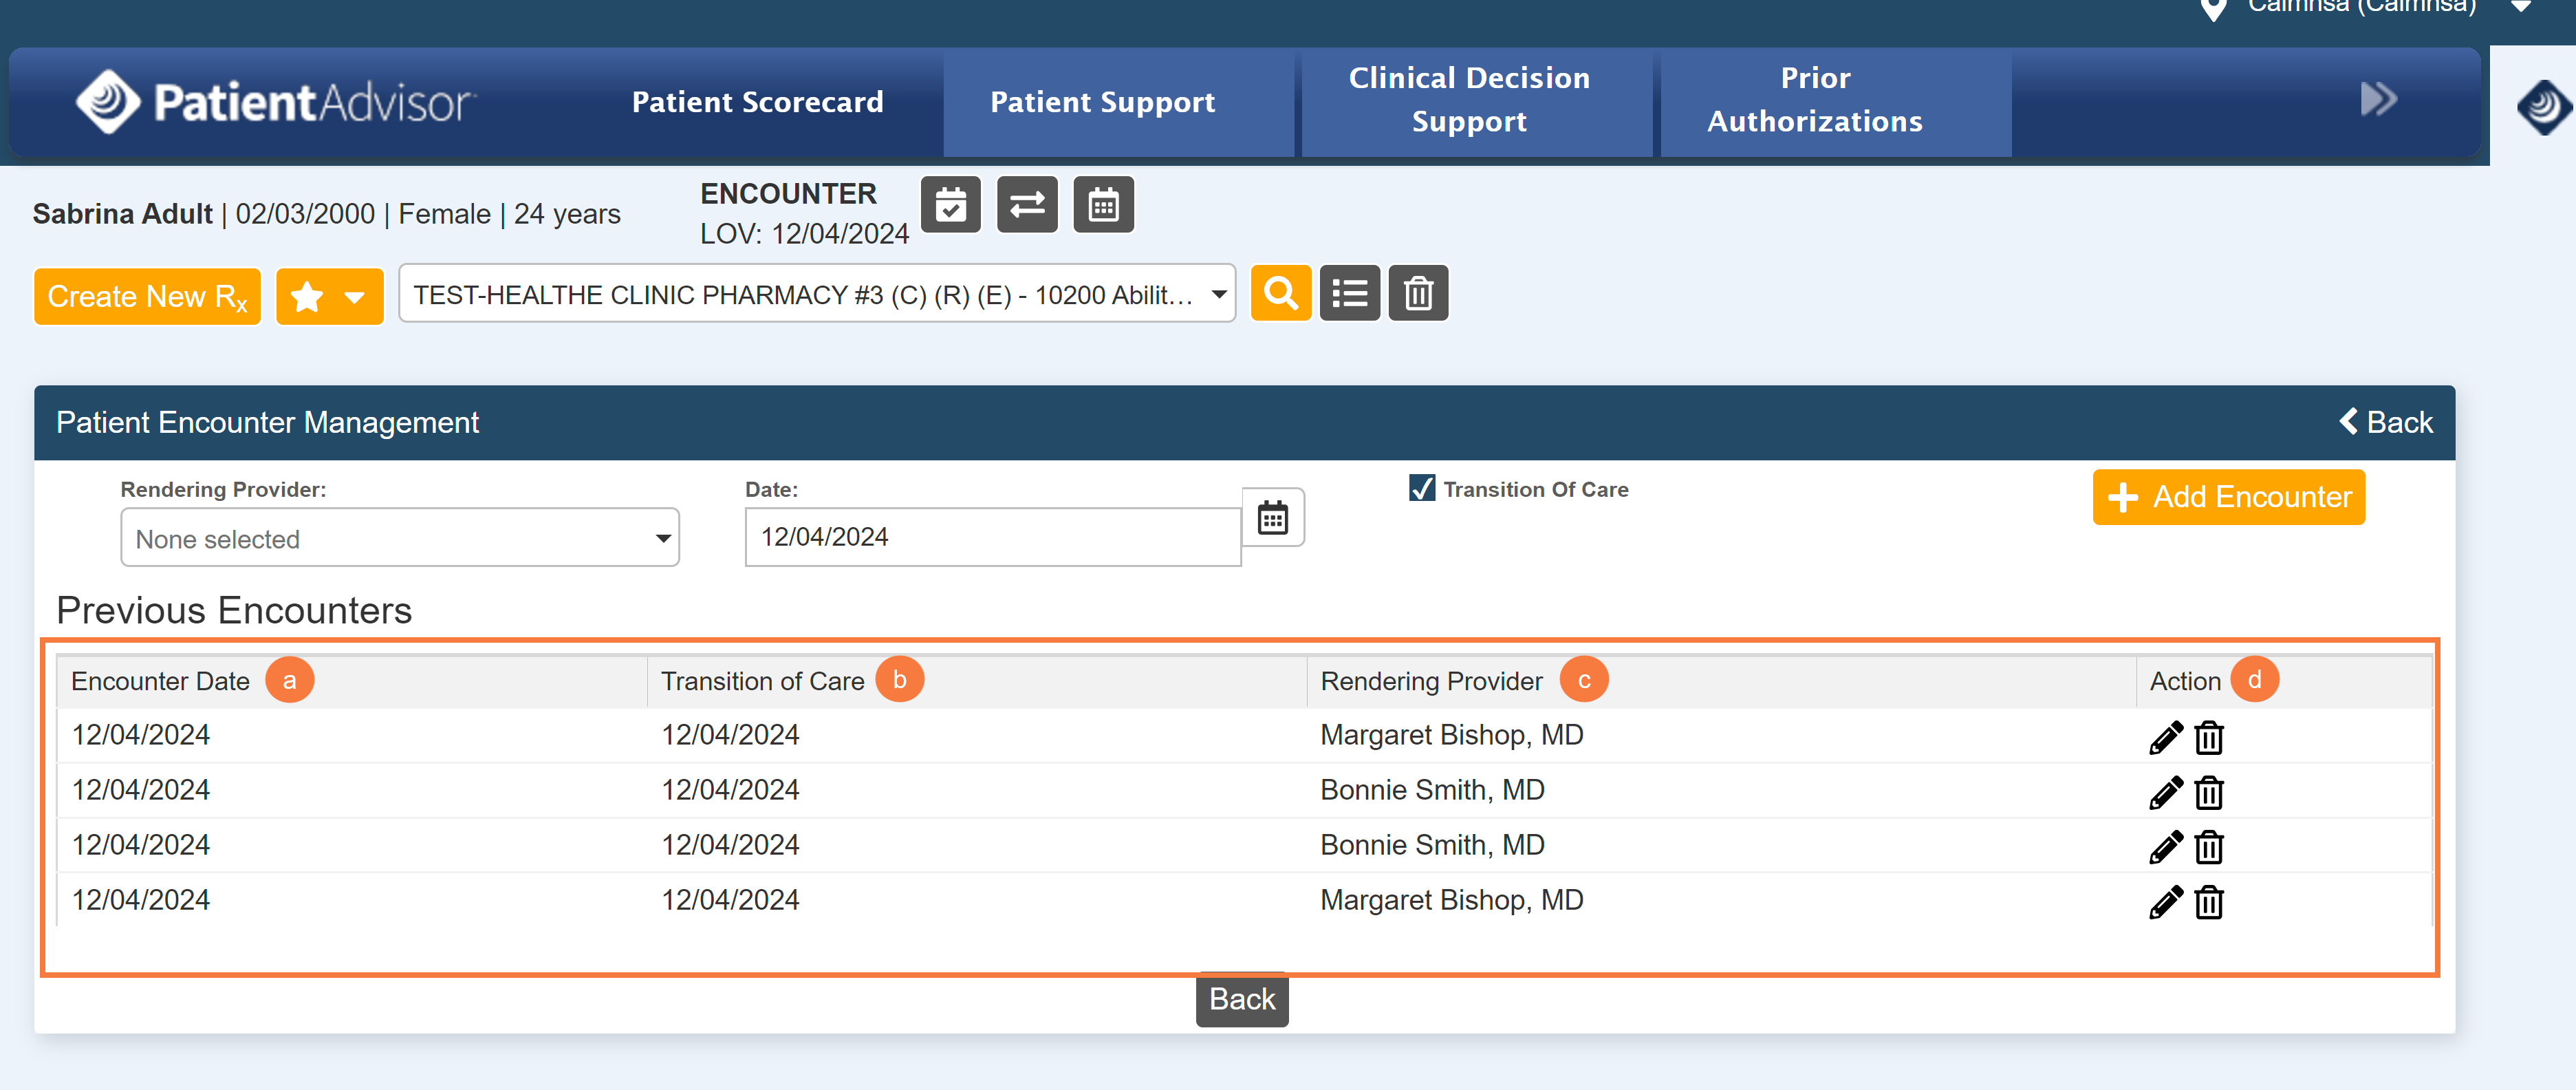
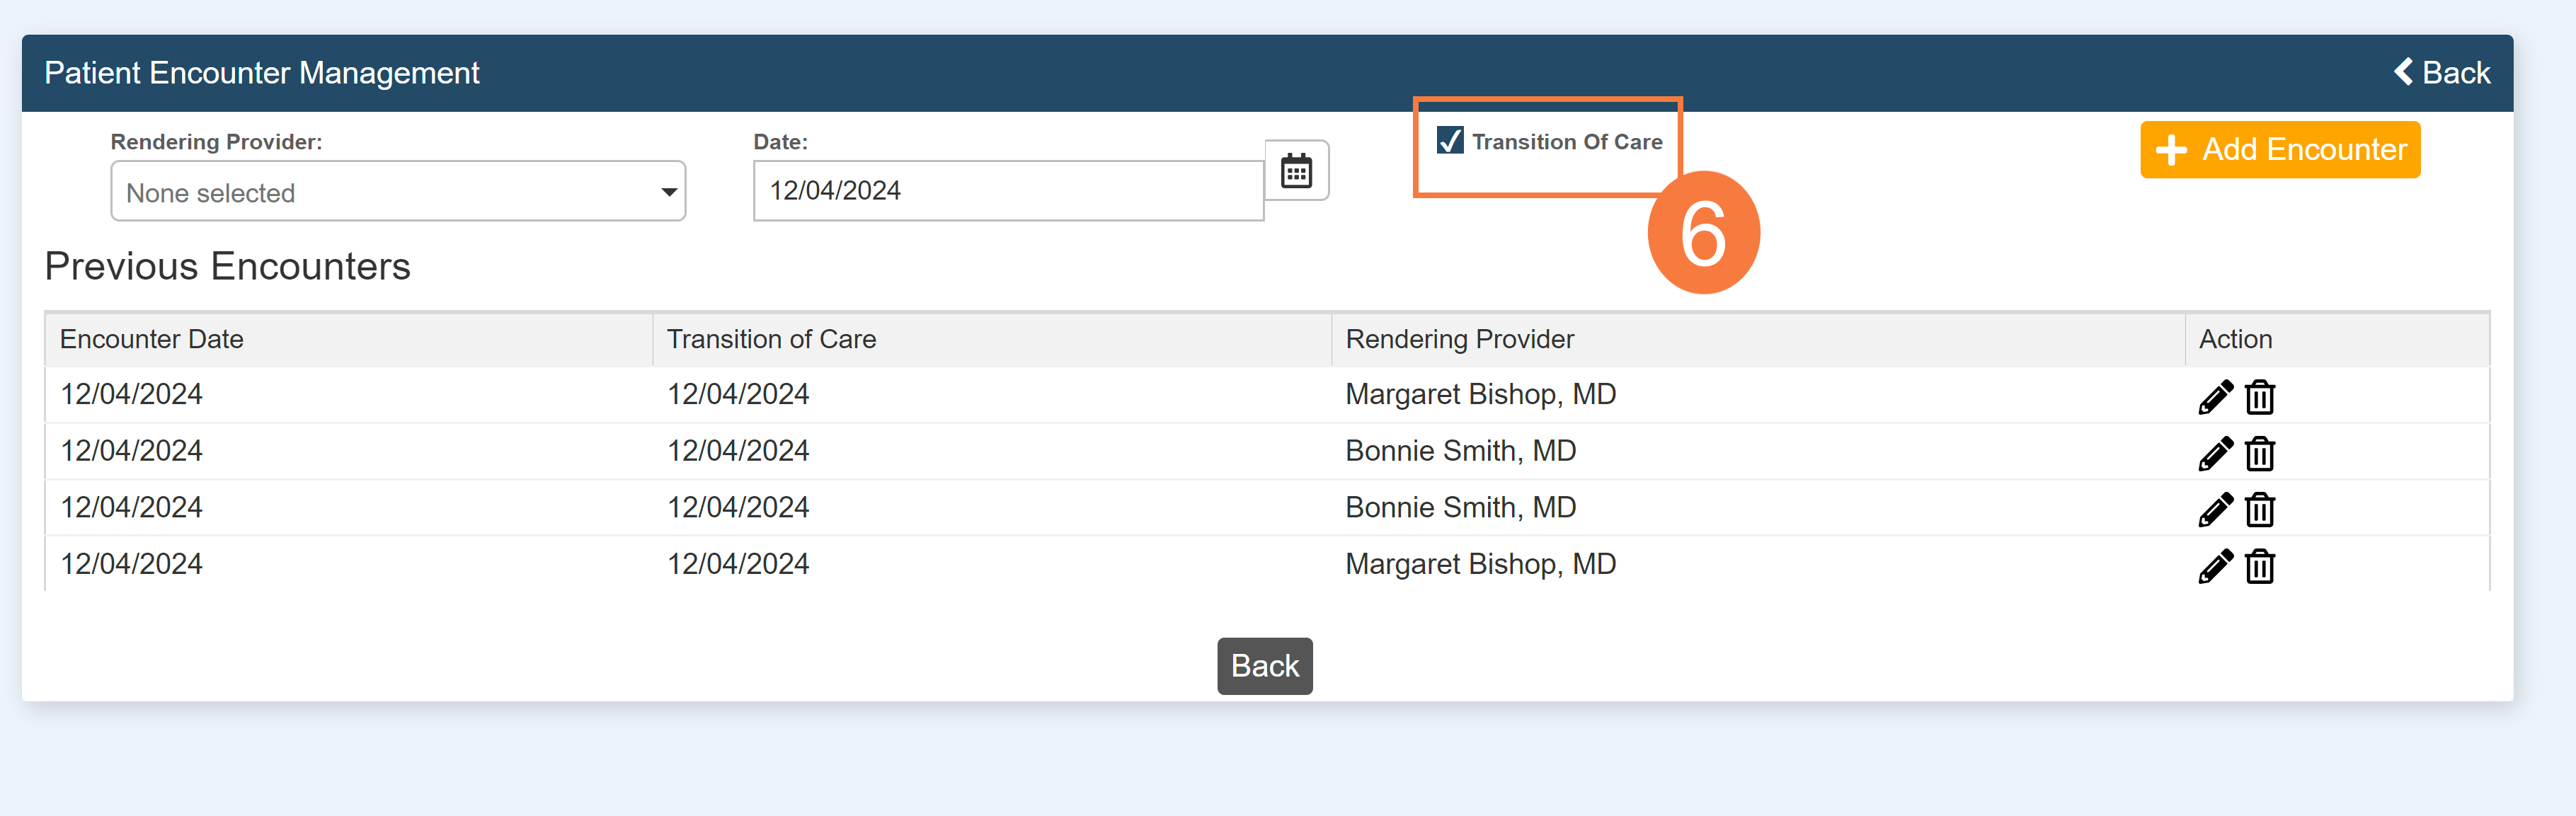
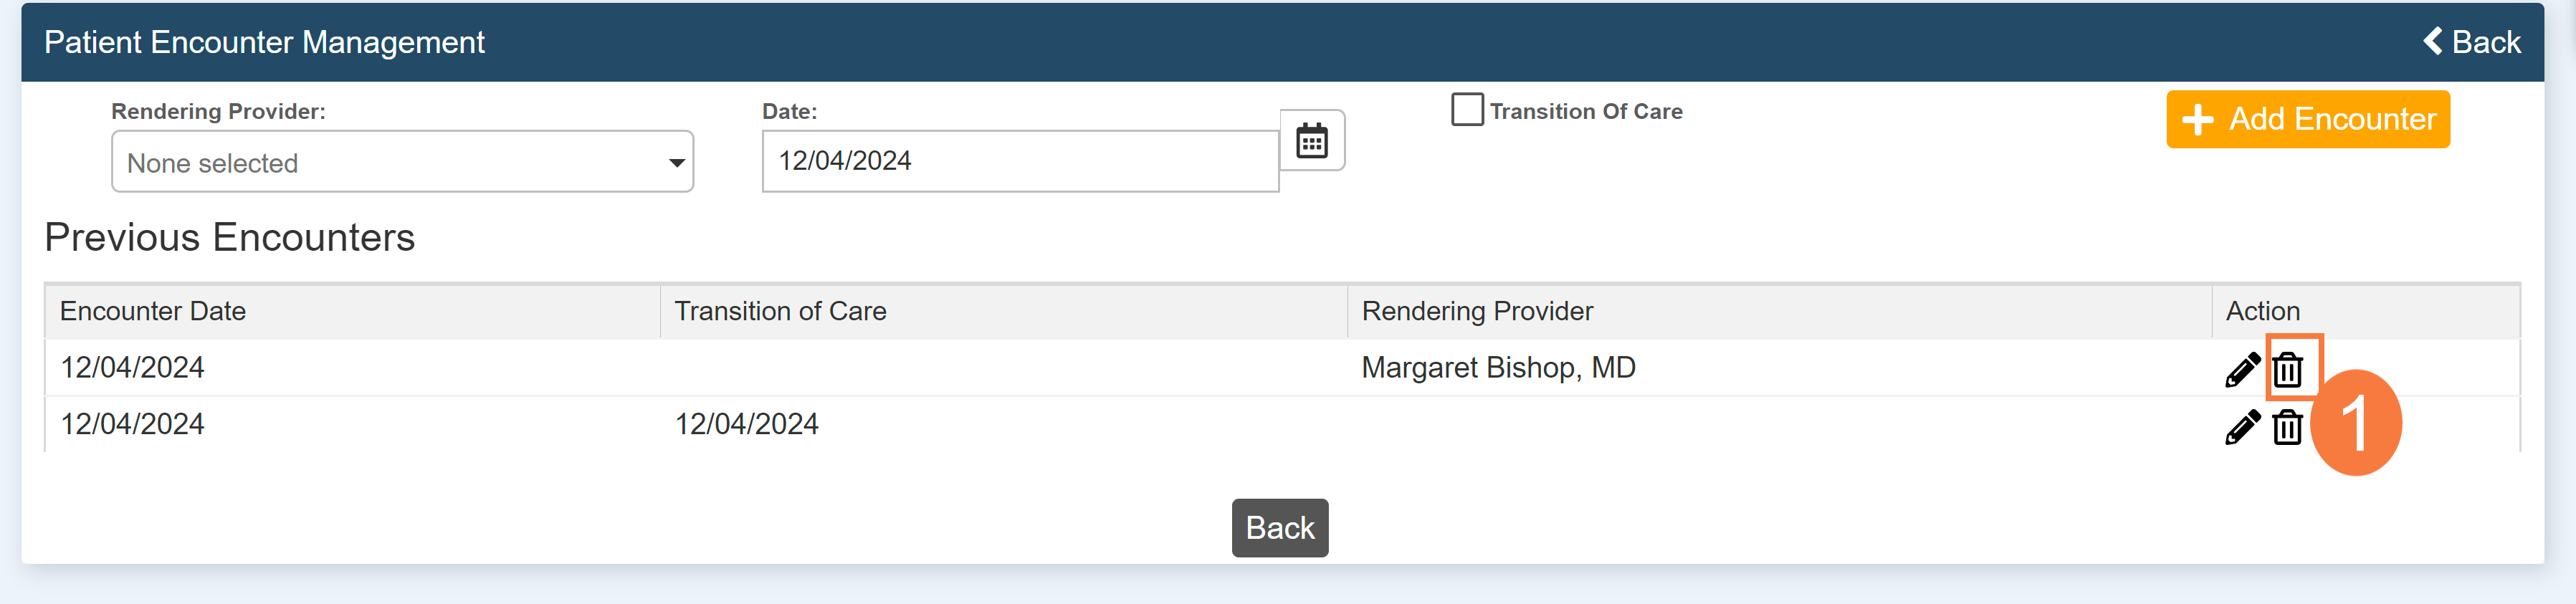
The Patient Encounter Management screen will open. It will display information on the transition of care log encounters for this client. A list of previous encounters will include:
Encounter Date
Transition of Care Dates
Rendering Provider (if data was filled by the provider)
Actions
Update button
Delete button
Click the Transition of Care checkbox.
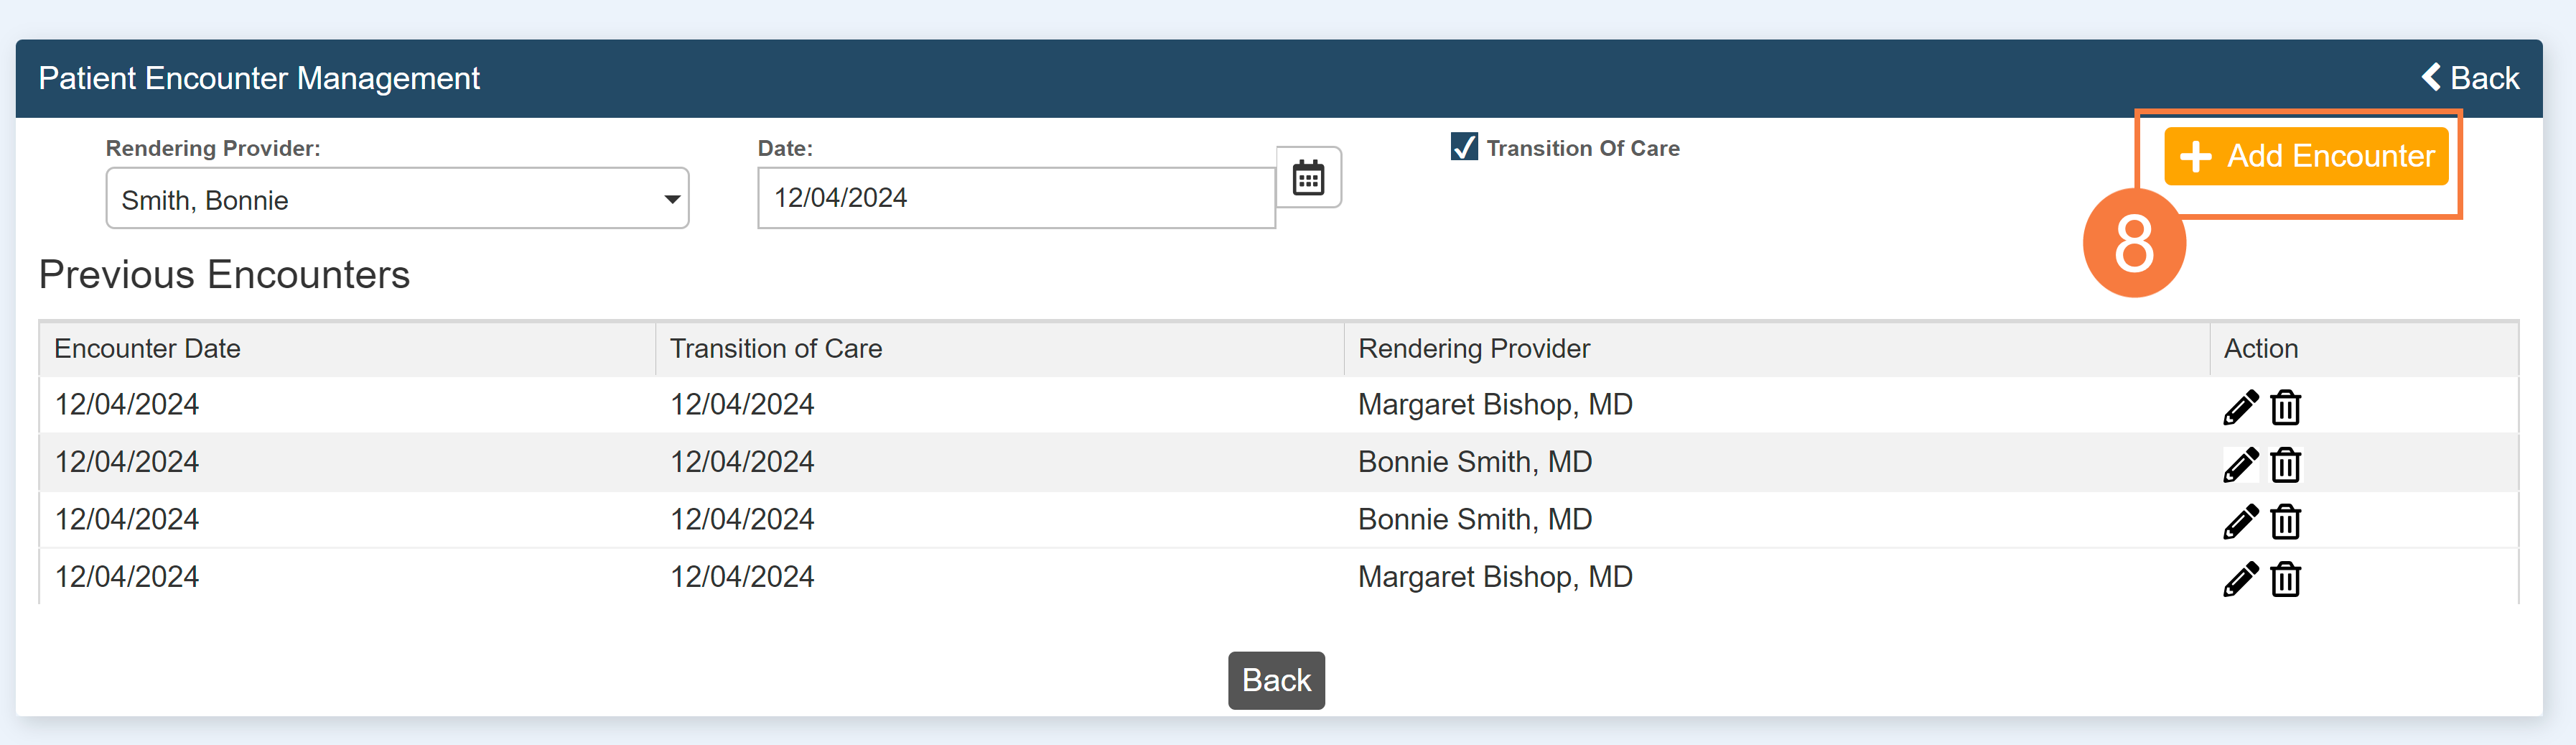
Click the Rendering Provider field and select your name (or the rendering provider).
Click the Add Encounter button to add to the log.
An encounter will be added.
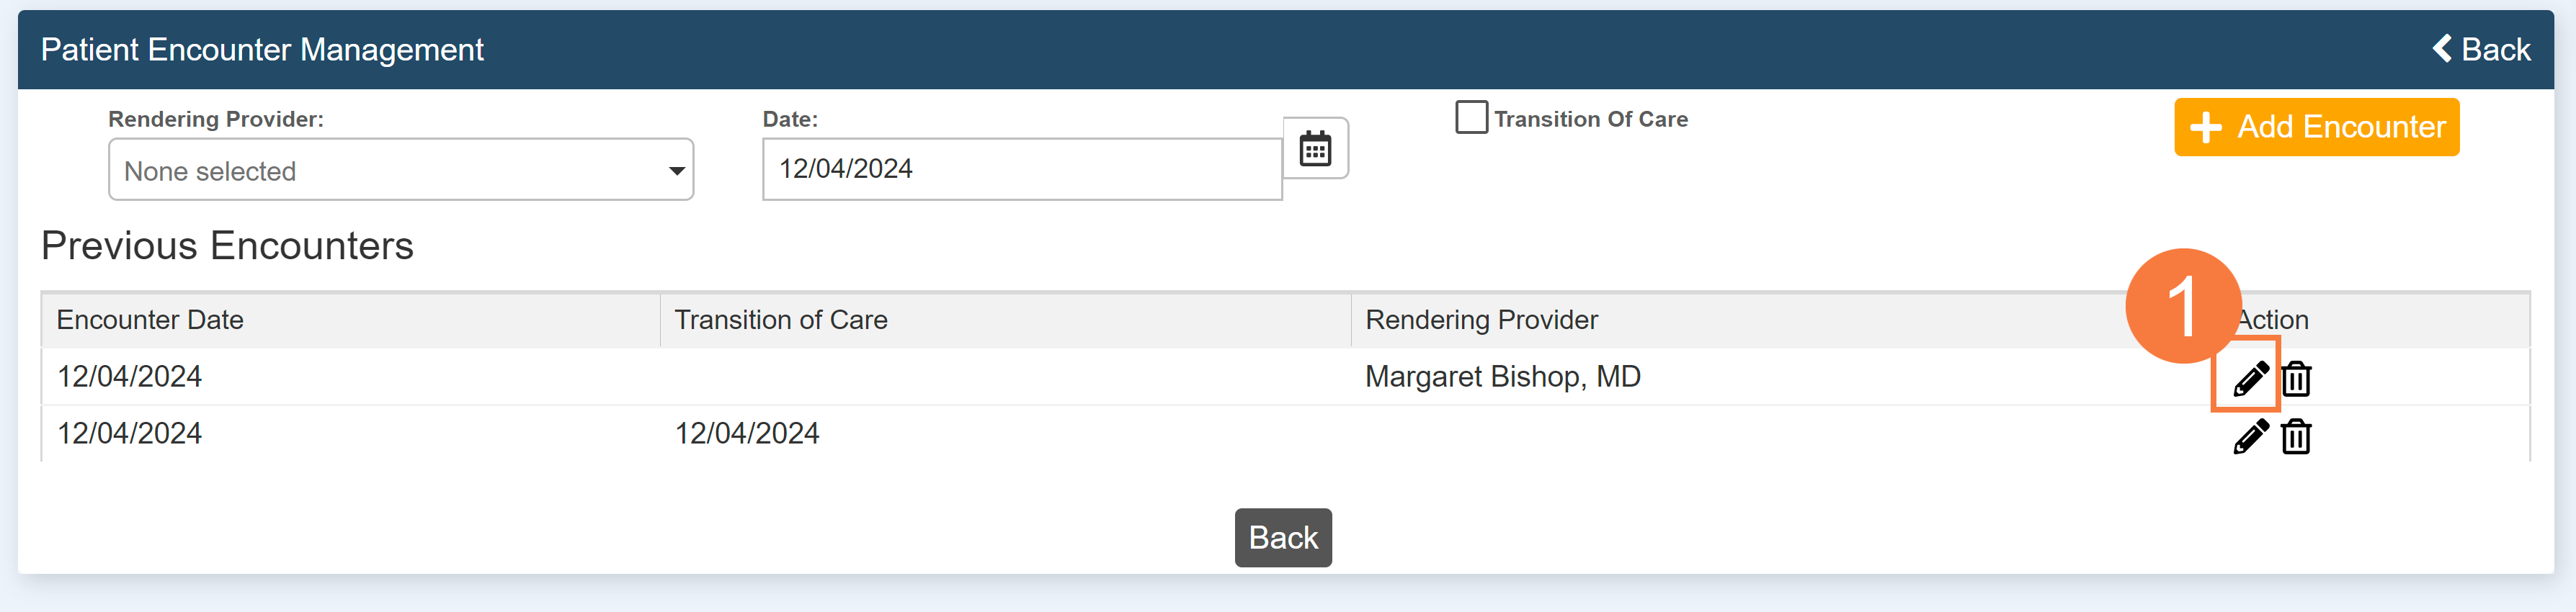
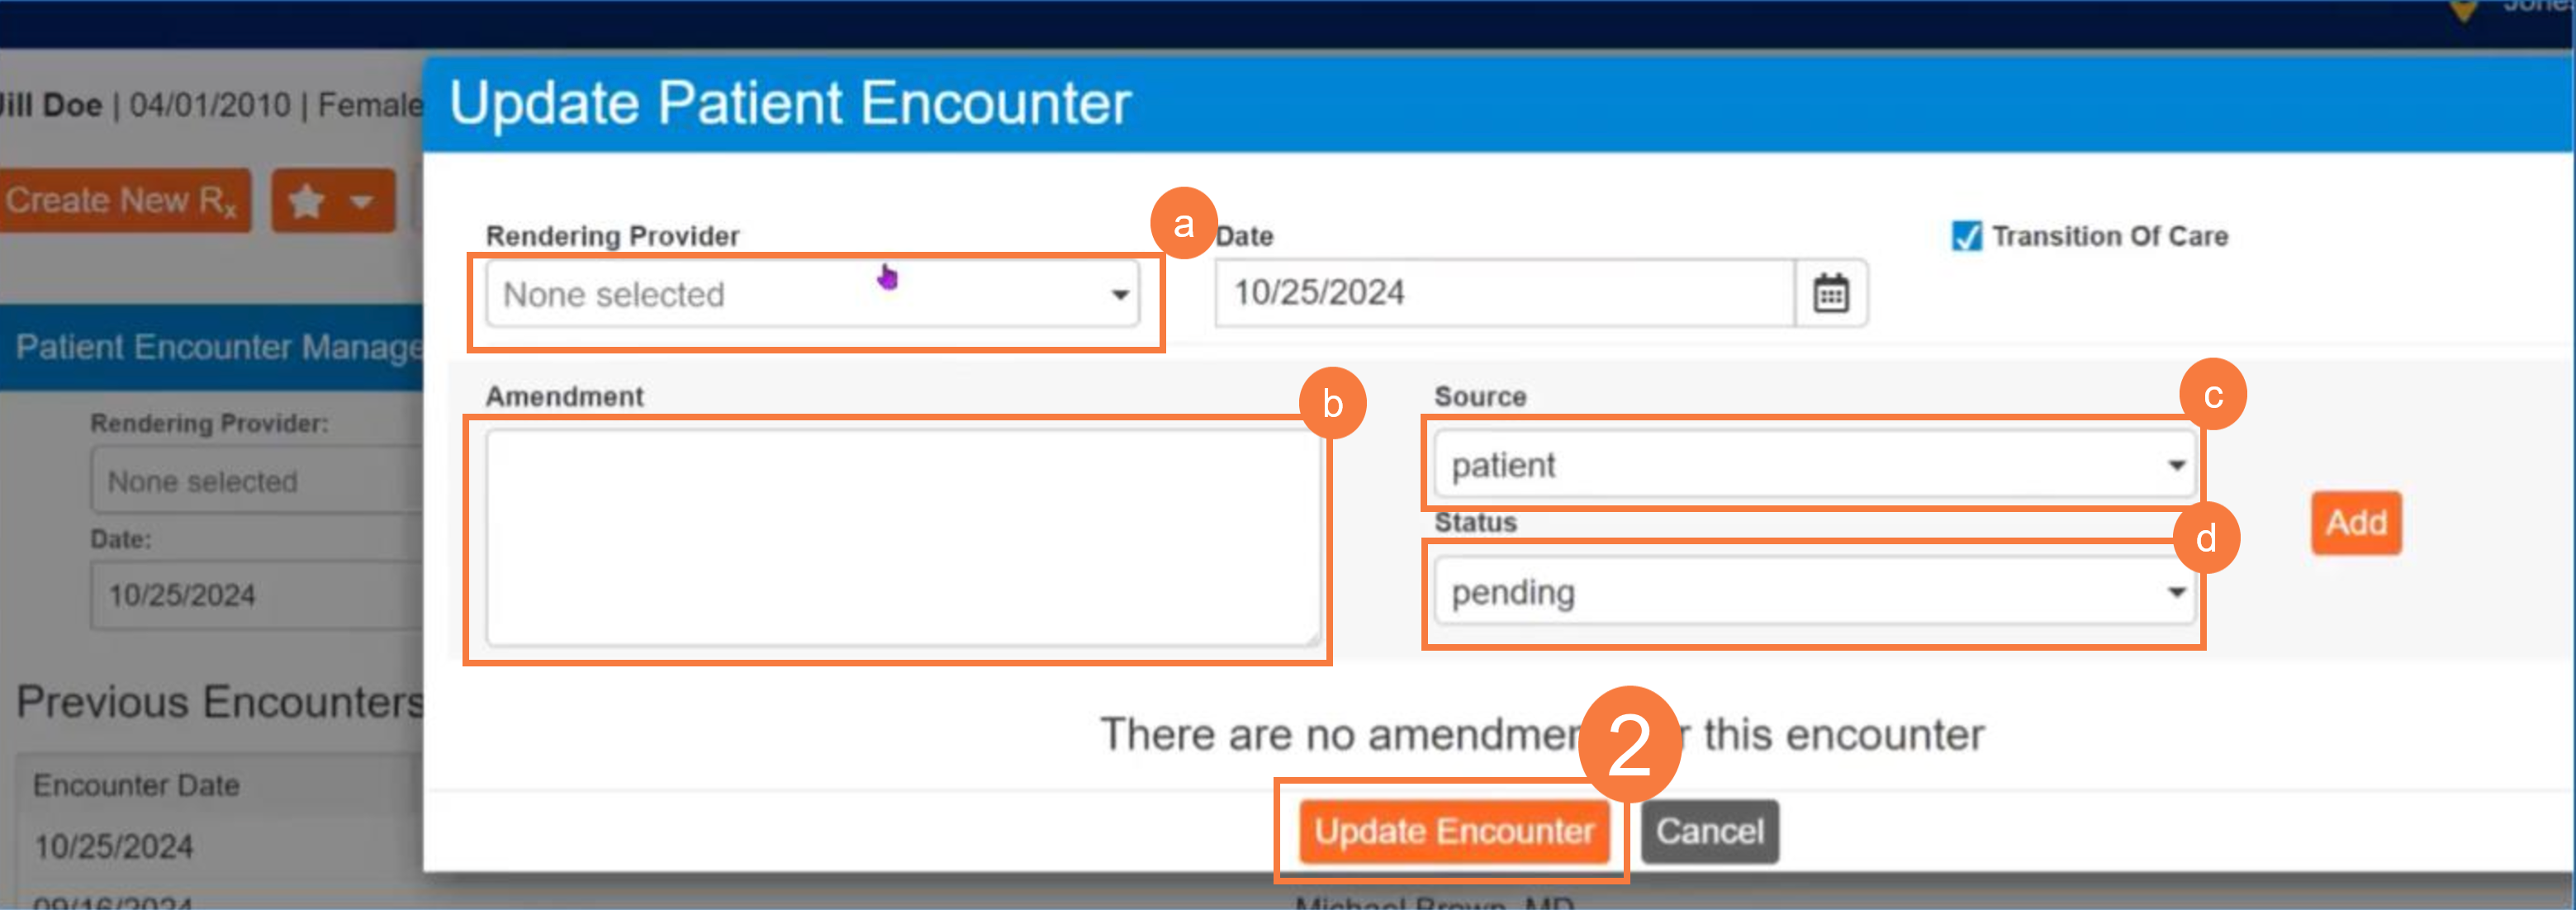
How to Update an Encounter
Click the edit icon.
You can update any of the following information:
Rendering Provider
Write an amendment
Source
Status
Click Update Encounter.
How to Delete an Encounter
Click the Delete icon.
In the confirmation pop-up, click Delete Encounter.