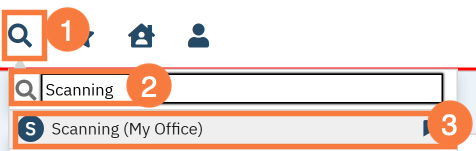
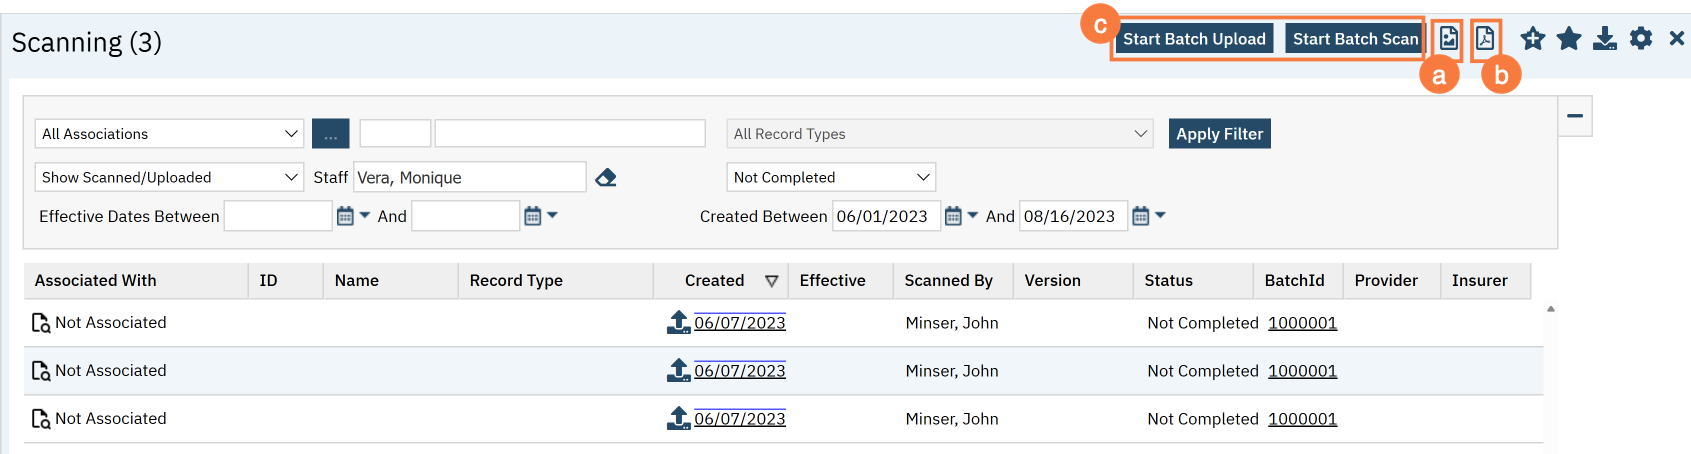
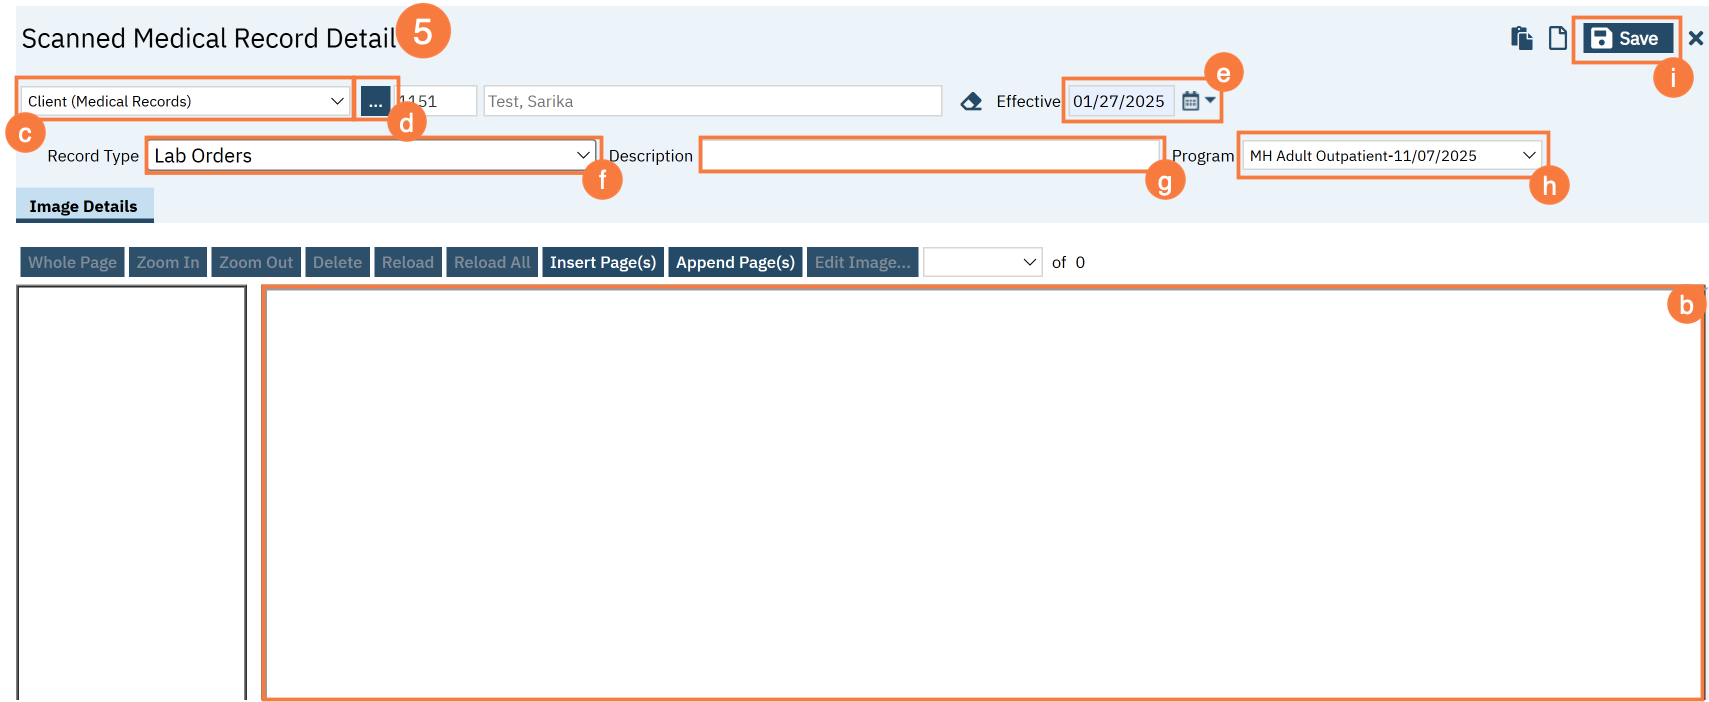
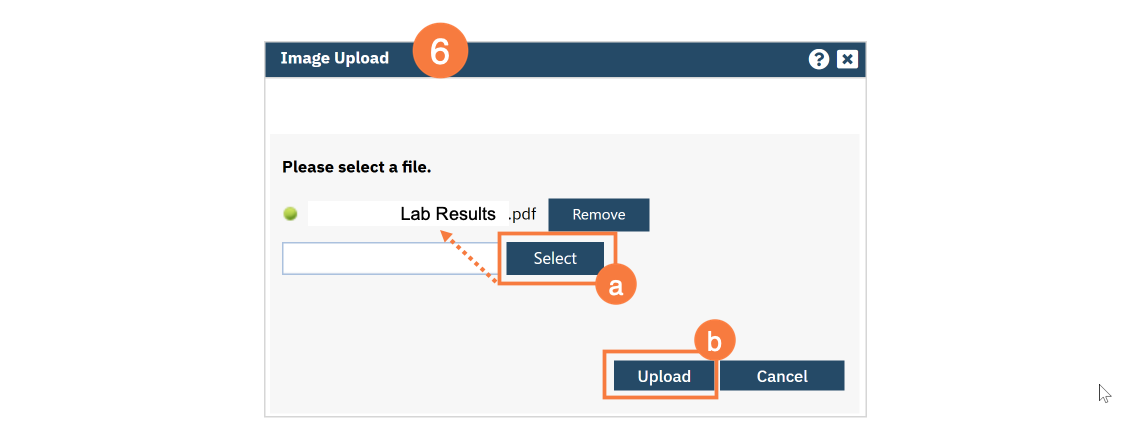
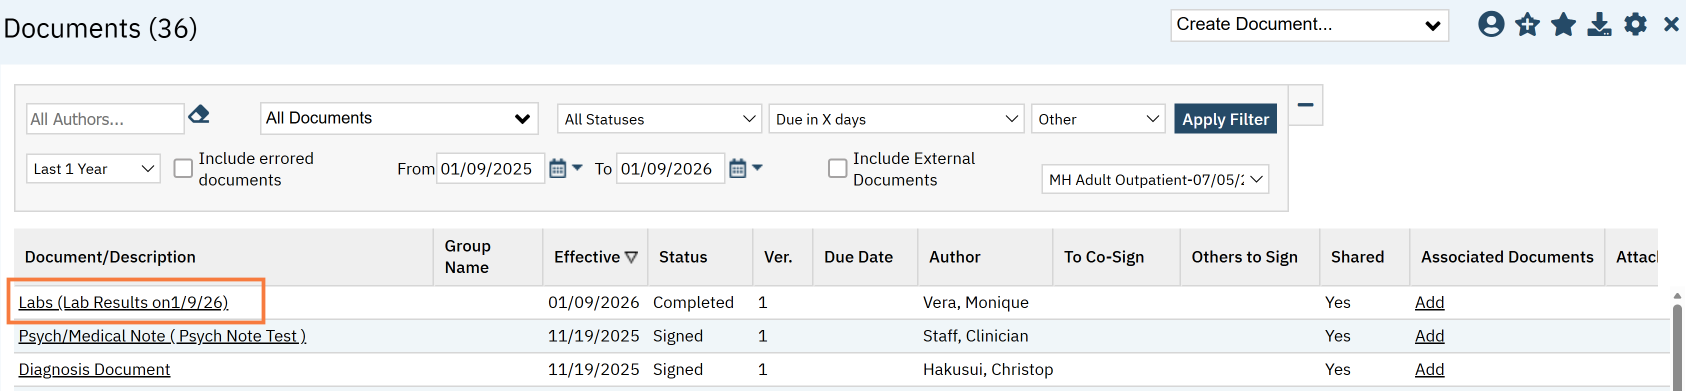
Lab results received from a lab that does not have an interface are scanned into the client’s documentation using the Scan/Upload feature.
- Click the Search icon.
- Type “Scan” into the search bar.
- Click to select Scanning (My Office). The Scanning list page will open.
- Select the icon for the type of document import you wish to perform.
- Click Scan New Document to use scanning hardware to convert paper documents into electronic images and import them into SmartCare.
- Click Upload New Images to take existing electronic files on your computer and import them into SmartCare.
- If you have bulk uploads you can use the batch options.
- If you selected Scan, the Scan page will open
- Your scanning hardware will initialize. Follow organizational workflows to operate your scanning hardware.
- An image will display in the center pane when a file has been successfully scanned.
- Select Client (Medical Records) from the dropdown menu.
- Click the ‘…’ button to perform a client search. Follow the normal client search workflow.
- Select Labs for the record type.
- Set an effective date.
- Type a Description into the text field.
- Select the appropriate program to tie the lab results to.
- Click Save.
- If you selected Upload, the Upload pop-up will open.
- Click Select.
- Select your desired file from your computer file browser.
- Next complete the Upload File detail
- The image will display in the center pane.
- Select Client (Medical Records) from the dropdown menu.
- Click the ‘…’ button to perform a client search. Follow the normal client search workflow.
- Select Labs for the record type.
- Set an effective date.
- Type a Description into the text field.
- Select the appropriate program to tie the lab results to.
- Click Save.
- With the client open, navigate to the client documents screen.
- Click the Search icon.
- Type Documents into the search bar.
- Click to select Documents (Client).
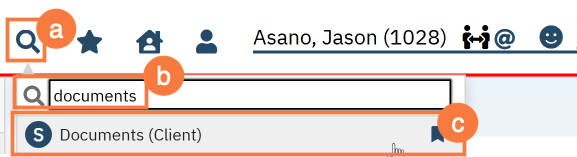
Lab results can be found here.