There are different types of documents, such as service notes, scanned document types, and letters. However, all of these are considered documents in SmartCare and all can be deactivated with this process. Deactivating a document means it should no longer show in the search results when using the Search icon. Any historical records that used this document type will still be available because the associated screen will still be active. No new documents of this type will be able to be created. Any in-progress documents of this type will not be able to be signed.
Deactivating a document will automatically remove the Document Code (Edit) permission record for that document, so you won’t be able to find it on the Role Definition screen. The corresponding Document Code (View) and Screens permissions may still exist, as historical records may exist.
NOTE: that if you deactivate a service note type document that is associated with a procedure code, your billing processes will be disrupted. Reactivating this service note type document may not reinstate it as the associated note type for any procedure codes it was previously associated with.
- Navigate to the Document Management list page.
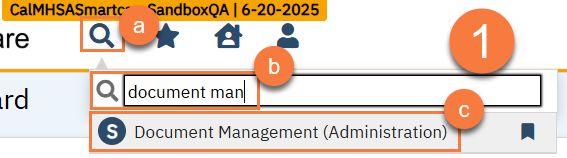
- Click on the Search icon.
- Type “Document Management” in the search bar.
- Click to select “Document Management (Administration)” from the search results.
- Use the filters to find the document you want to deactivate. Click Apply Filters.
- Click on the document you want to deactivate.

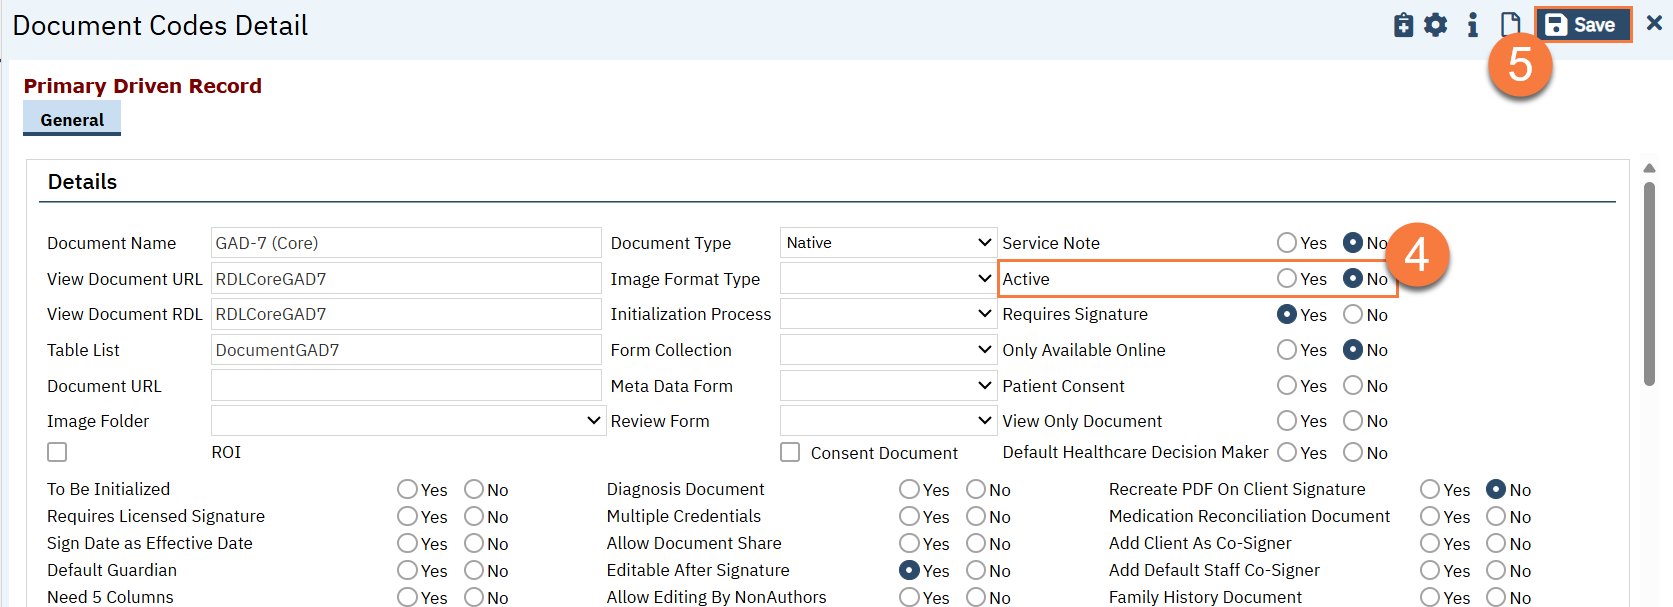
- This will take you to the Document Code Details screen. Click to set the radio button for “Active” to “No”.
- Click Save.
Documents have associated QuickLinks, which show up in the left-hand menu. The QuickLink should have the same name as the Document. If the document is deactivated, the associated QuickLink is not automatically deactivated. To get more information on how to deactivate a quicklink, see How to Deactivate a QuickLink.
How to Reactivate a Document
Follow the same steps above, but in step 4, set the radio button for “Active” to be “Yes”.