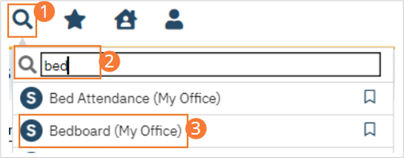
Type ‘Bedboard’ into the search bar. (Or, ‘Residential’.)
Click to select Bedboard (My Office). [Or, Residential (My Office)].
If desired, filter the list to determine the records that are shown.
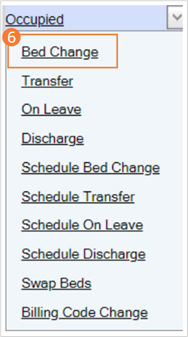
Click the drop-down arrow in the Status column for the client who is changing beds
Select Bed Change from the drop-down list. The Census Management – Bed Change screen opens.
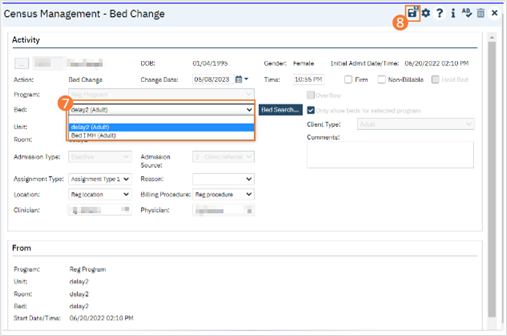
Select the new bed from the drop-down list in the Bed field
Click the Save and Close button in the tool bar. The list page opens. Notice that the Status on the client’s record is changed to Bed Changed. A second record line appears below which shows the new bed with a status of Occupied.