Type Last Name, First Name into the search bar (or enter client ID number)
Hover over the correct client and click to select Coverage from the right-hand side menu.
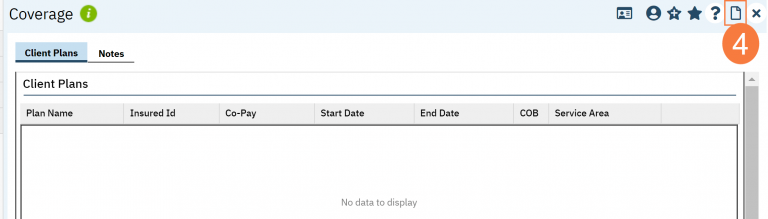
From the Coverage screen, click the New icon.
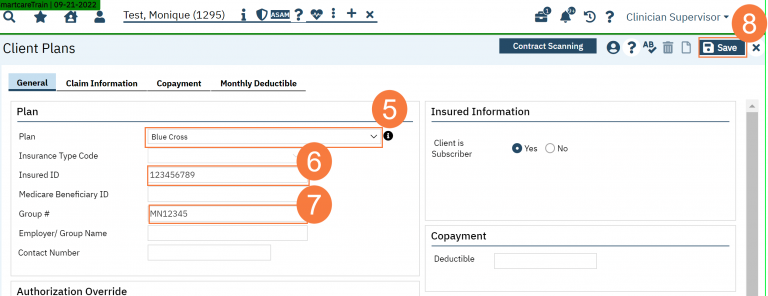
Click the Plan drop down menu to select the client’s plan. This field is required.
Enter the Insured ID number. This field is required.
If the client has a group number, enter in the corresponding field.
Note: The Client is Subscriber radio button automatically defaults to Yes
Click Save.
Repeat the above steps to add additional Coverages.
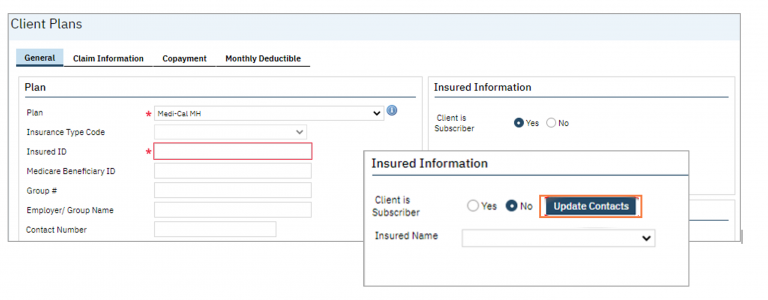
Note: If the subscriber has not been added to the client’s contacts, select the Update Contacts button and add the subscriber’s information to the client’s contacts
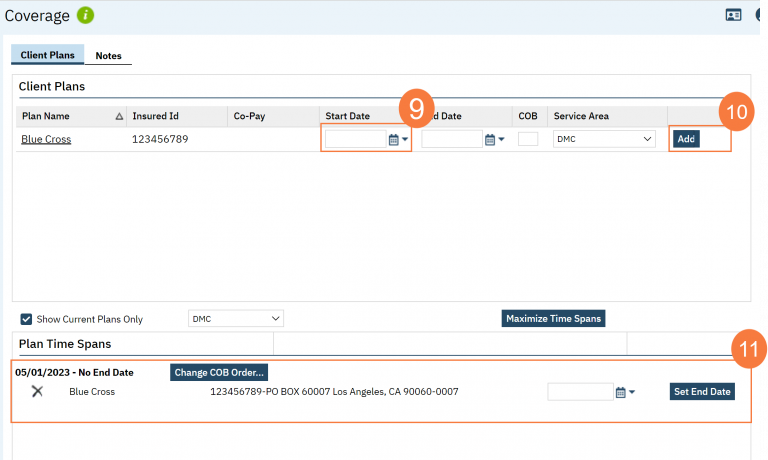
Plan Time Spans
Back on the Coverage screen, enter the Start Date.
If applicable you can also add an end date.
Click Add.
The plan will be added to the Plan Time Spans This is where the active plans display.
Note: To view coverages for a client that have an end day, deselect the “Show Current Plans Only” checkbox
COB
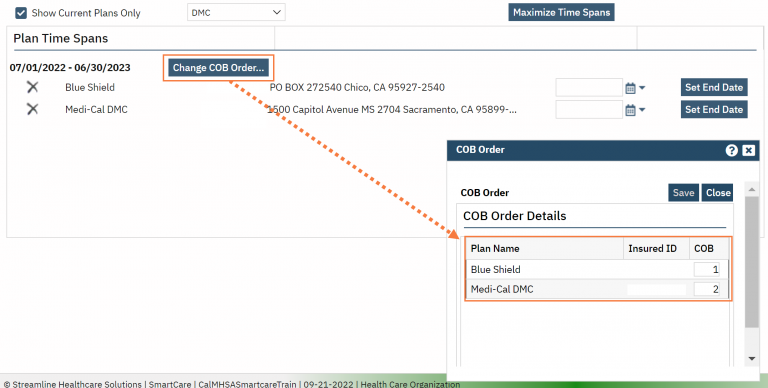
Managing COB in SmartCare is easy with the tools available. Assigned to each Plan is a coordination of benefits (COB) order in the setup, and this helps the system automatically add client coverages in the correct order. Below are steps to update manually the COB order.
On the Plan Time Spans section of the Coverage screen select the Change COB Order button
Enter the correct order for each Plan.
Click Save and then Close.
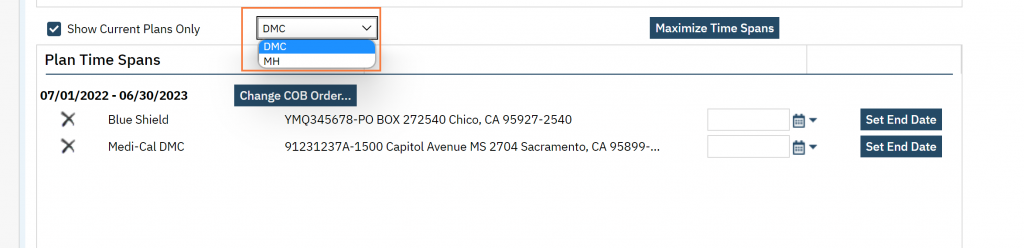
Note: Clients who have both coverages for SUD and MH, can be switched in the Plan Time Span section. See below.