This process will show you how to add allergies of a client on CalMHSA Rx. The options to add a pharmacy can be accessed in multiple ways from Patient Profile i.e. from Client Summary Screen or Prescription Summary Screen or Pharmacy messages Screen, or Utilities, as shown below.
Note:
‘Client’ is same as ‘Patient’
‘County’ is same as ‘Practice’
‘Location’ is same as ‘Program’
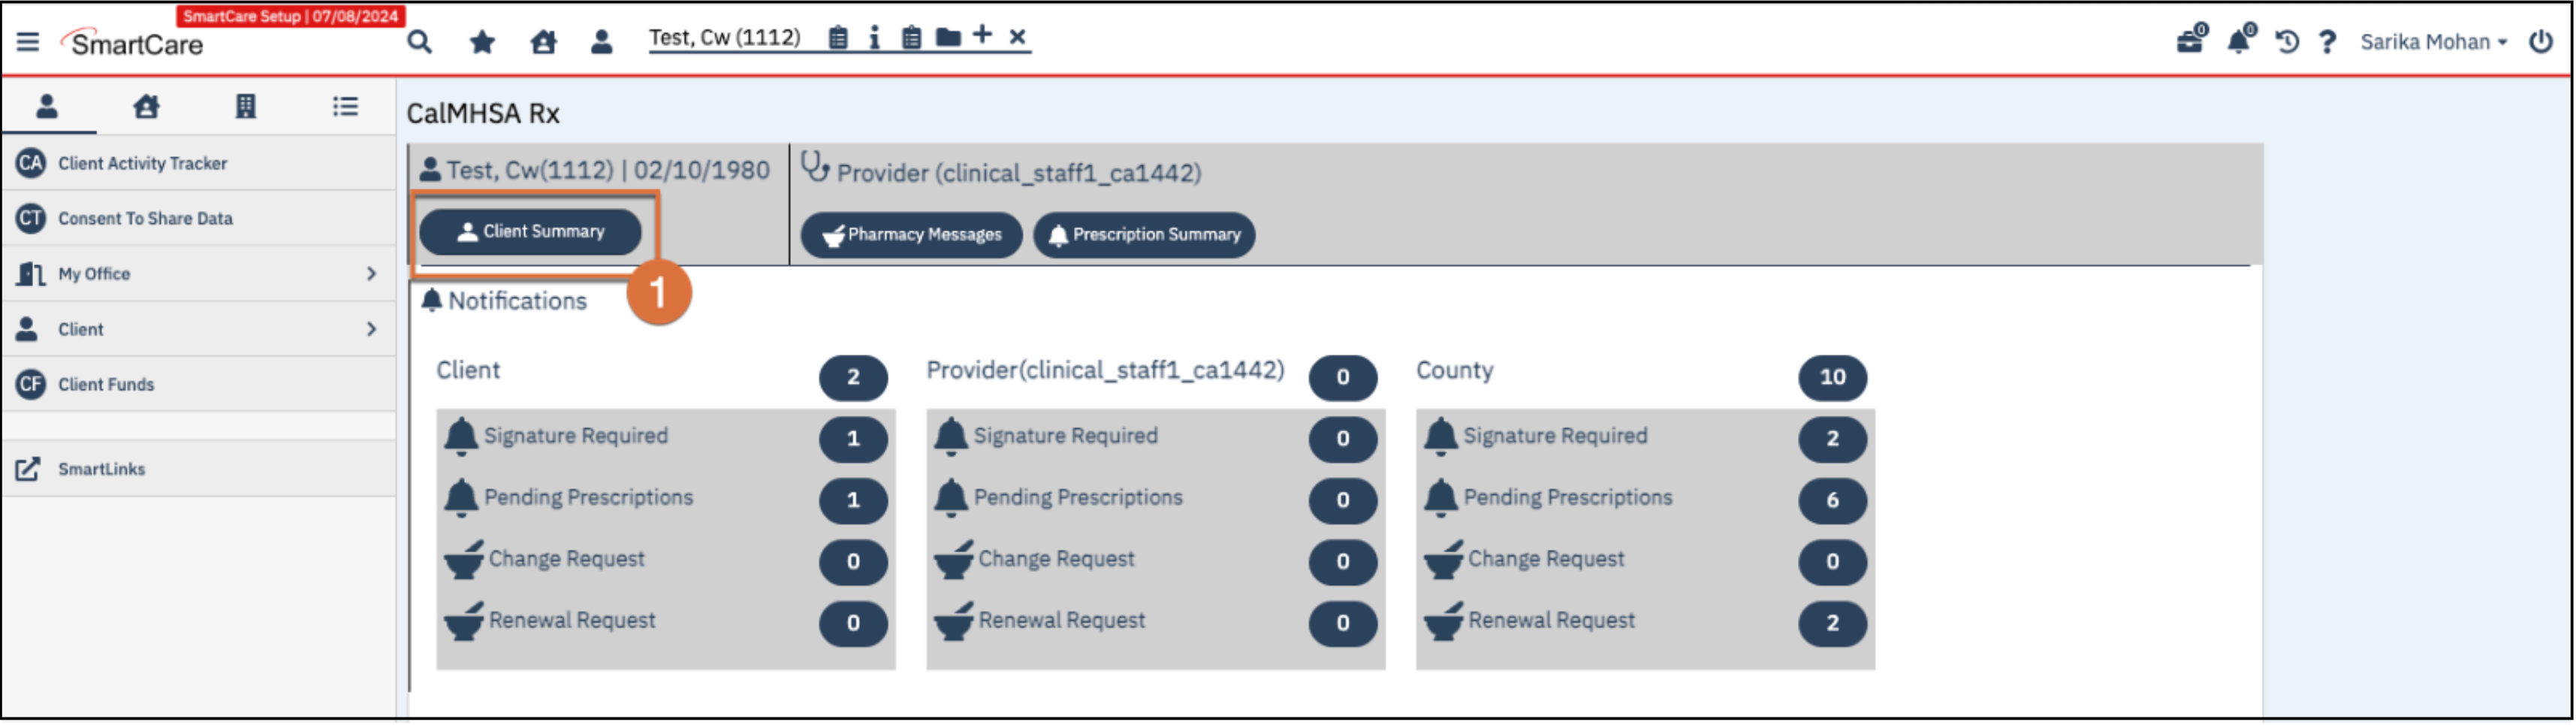
Click Client Summary on SmartCare CalMHSA Rx.
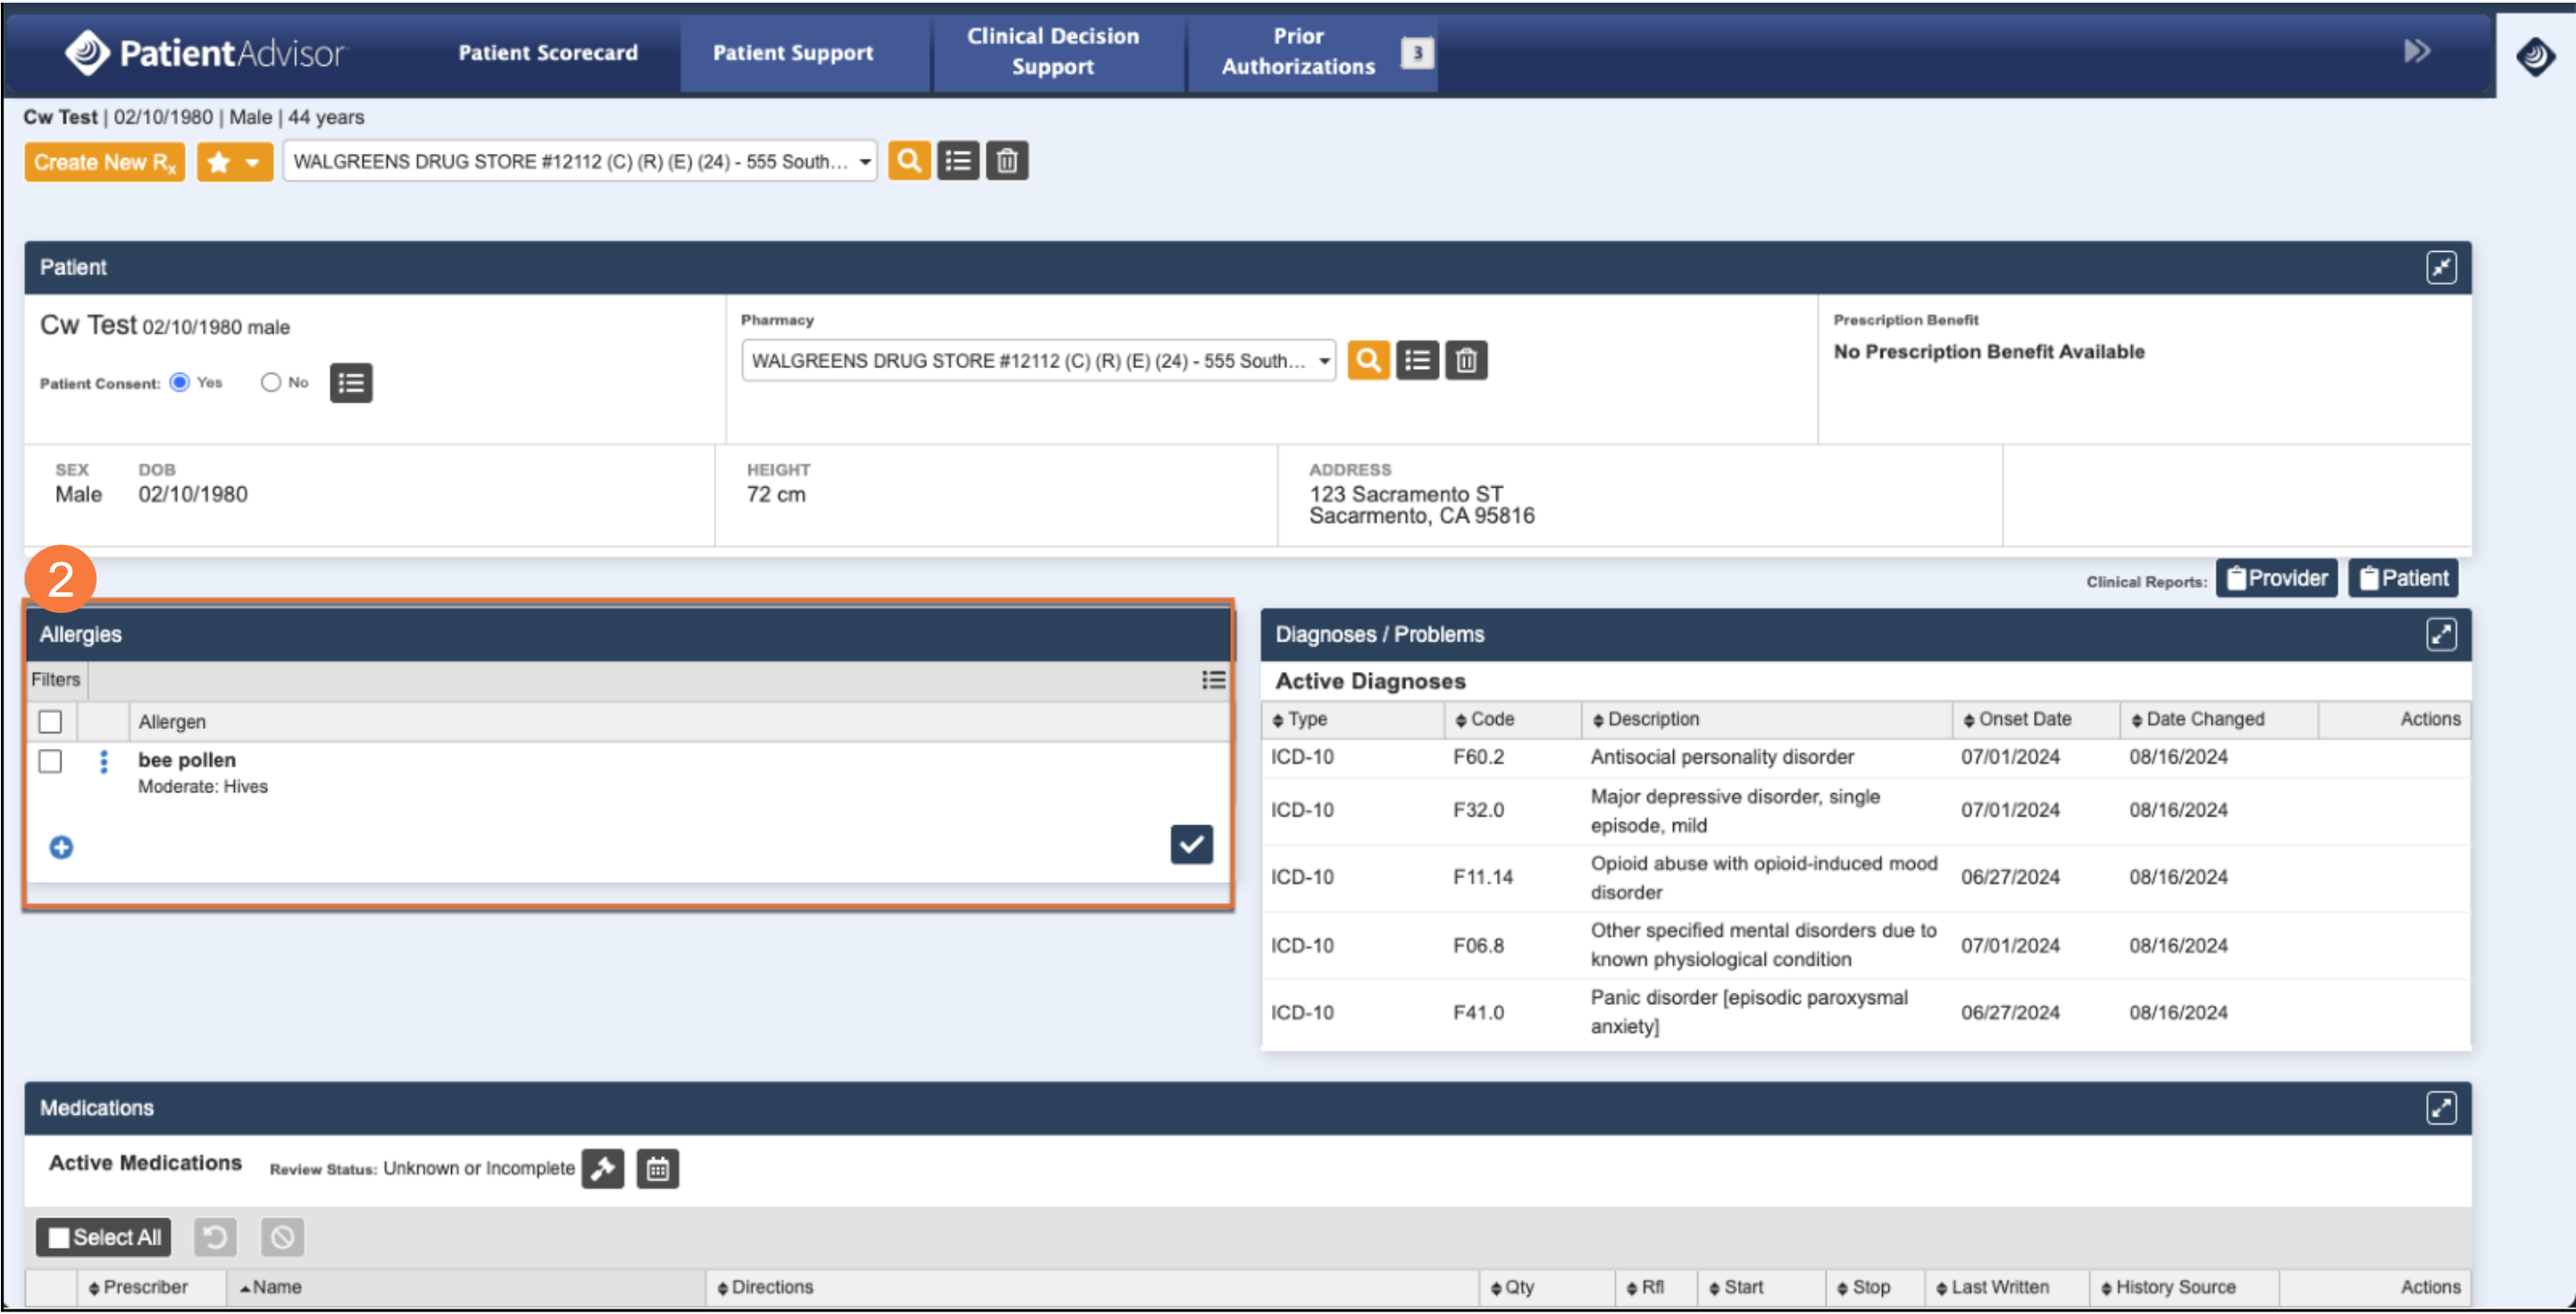
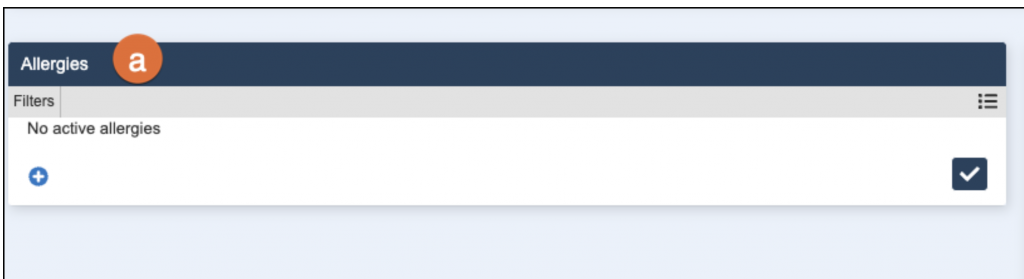
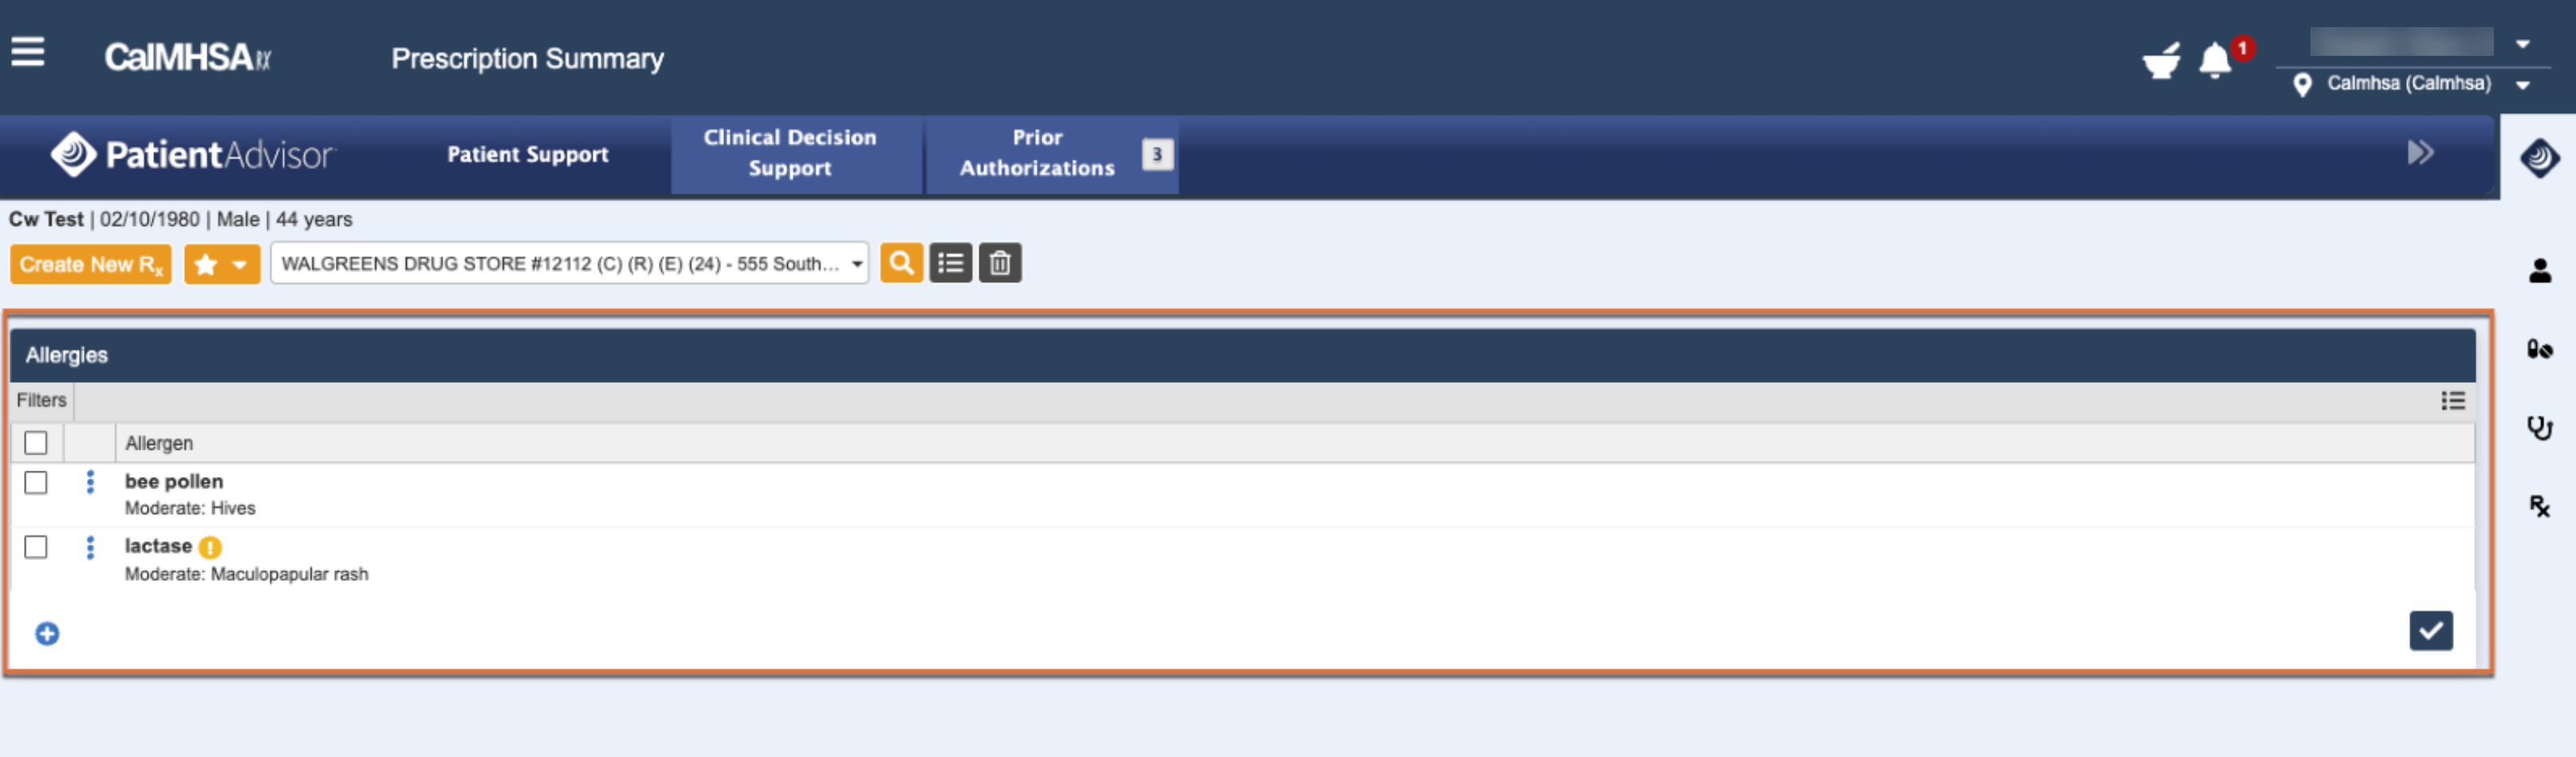
You have logged in Client Summary Screen in CalMHSA Rx. This screen shows a section on Allergies, as shown below. Allergies will display all existing allergies to the type of allergen and severity, if any.
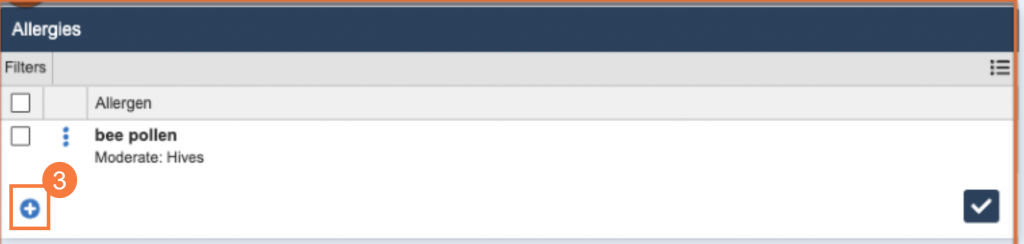
Click the + Sign on left down in Allergies will allow prescriber to add allergens
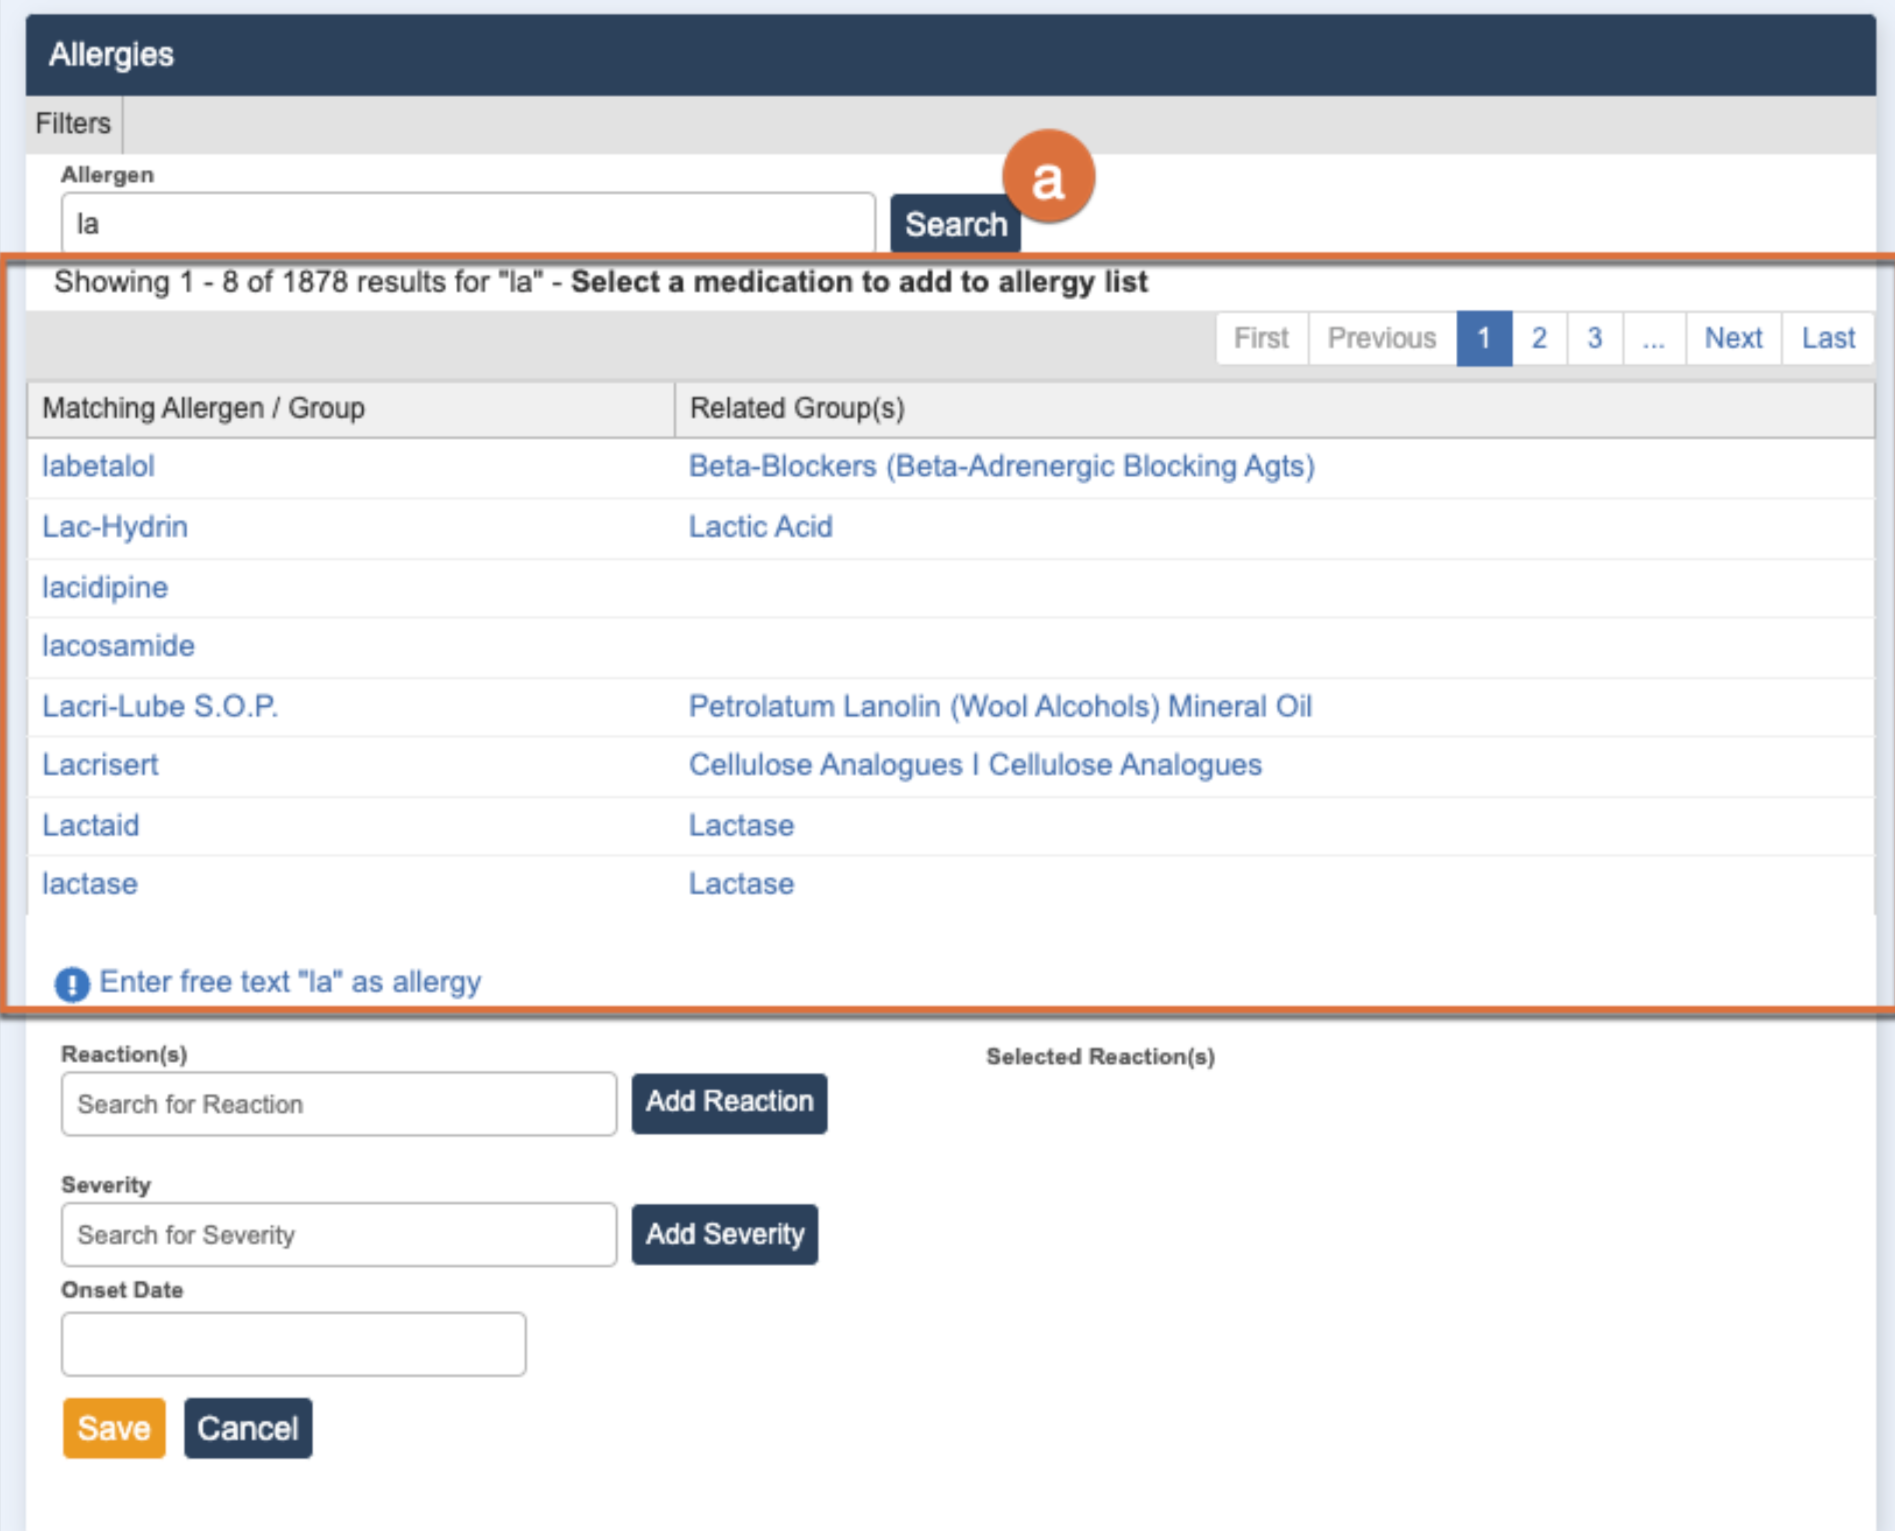
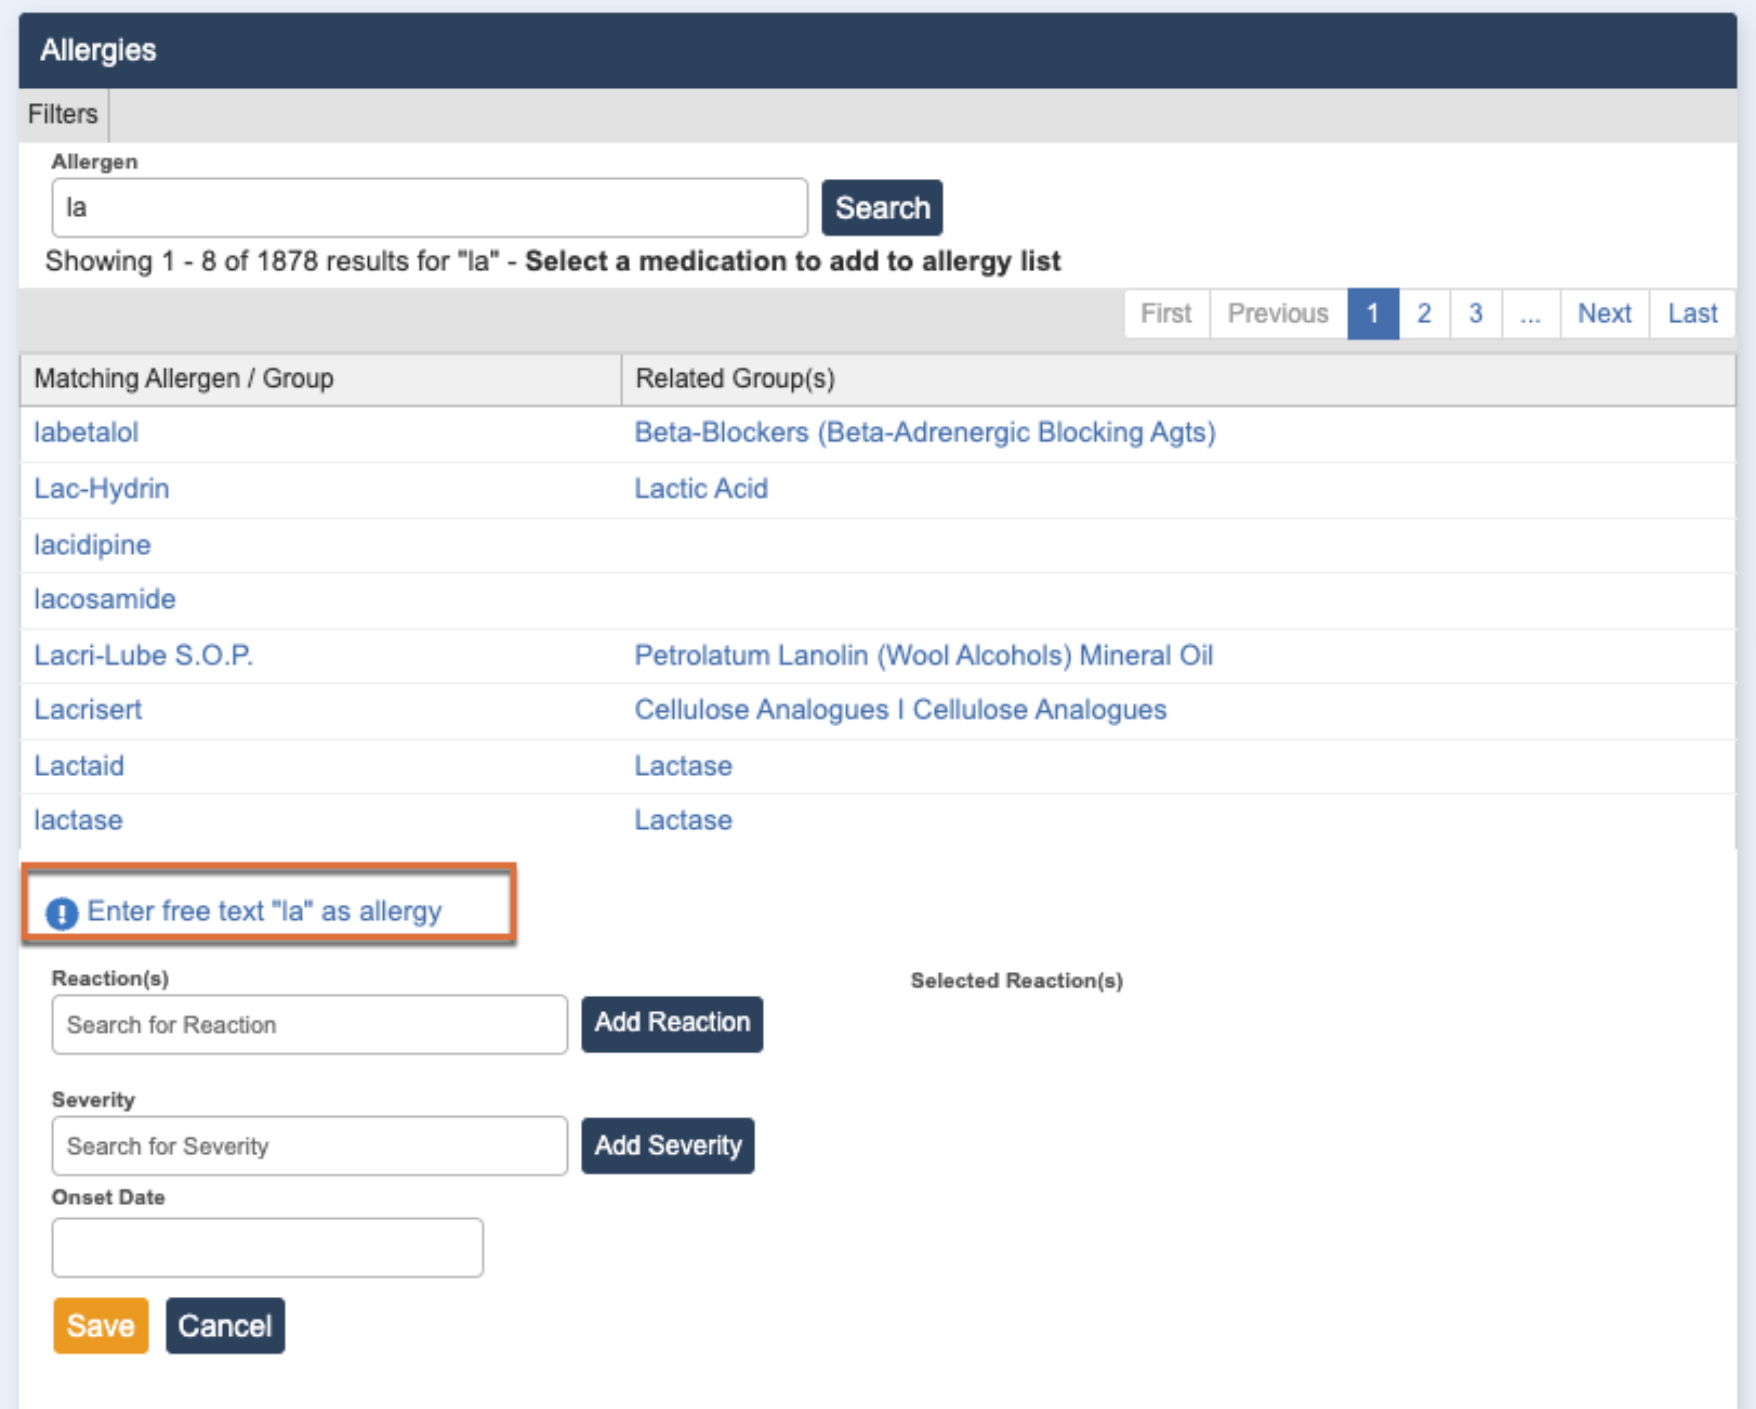
This will open a screen inside Allergies for adding information as given below:
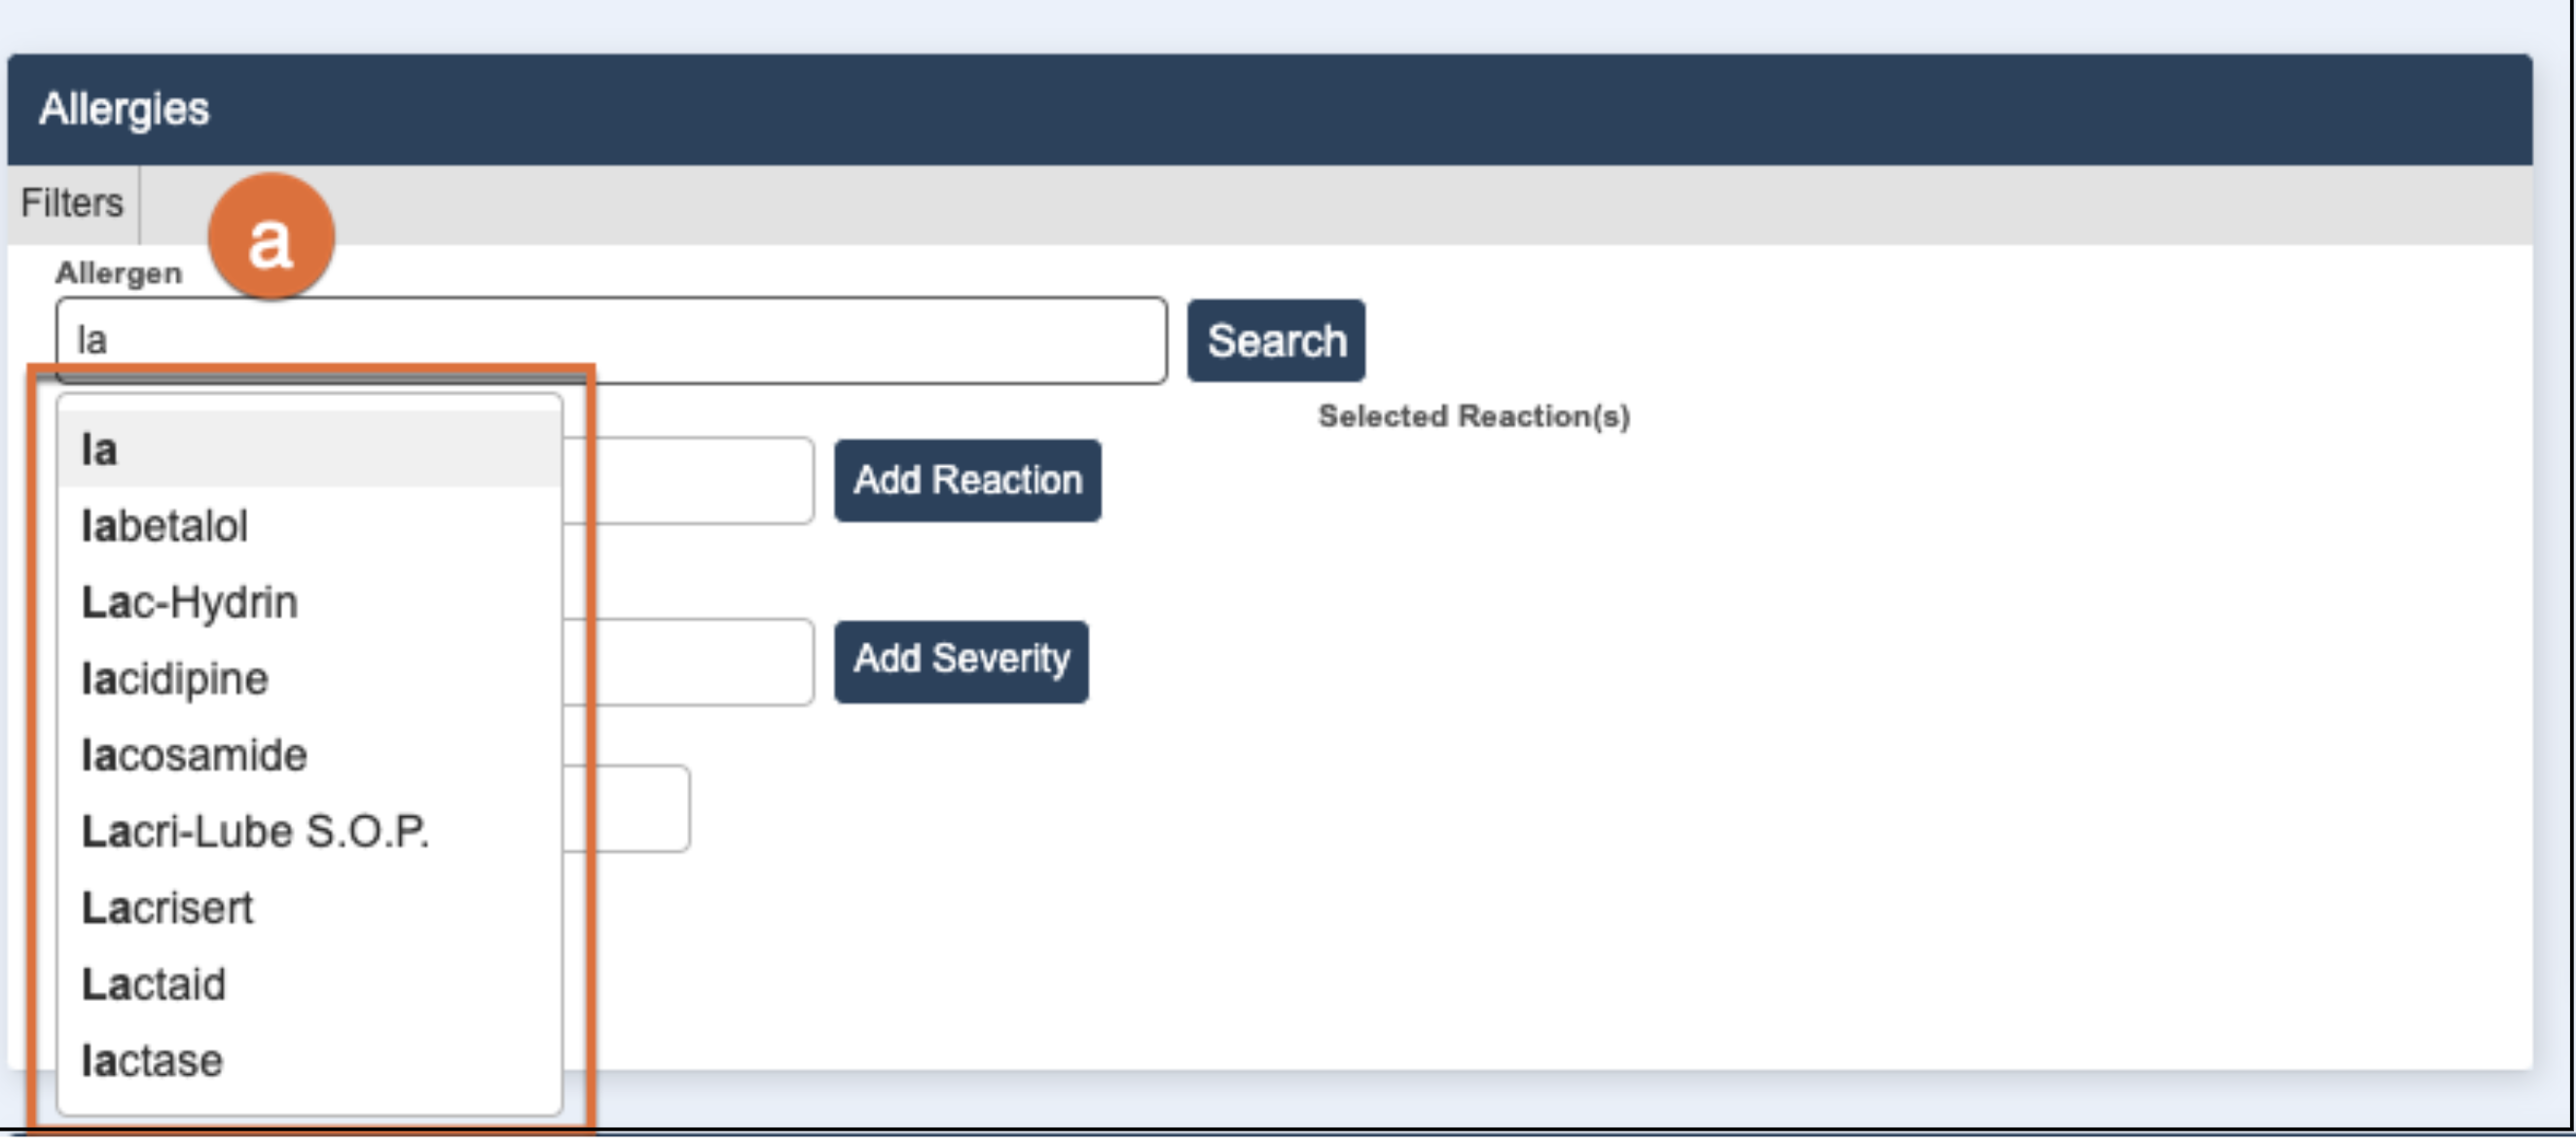
Type of Allergen through Search button –
Typing first 2 alphabets of name of allergen will result in dropdown list of allergens from which the prescriber can choose the allergen and select.
Other option to add allergen is to click Search button after entering first 2 alphabets of name of allergen.
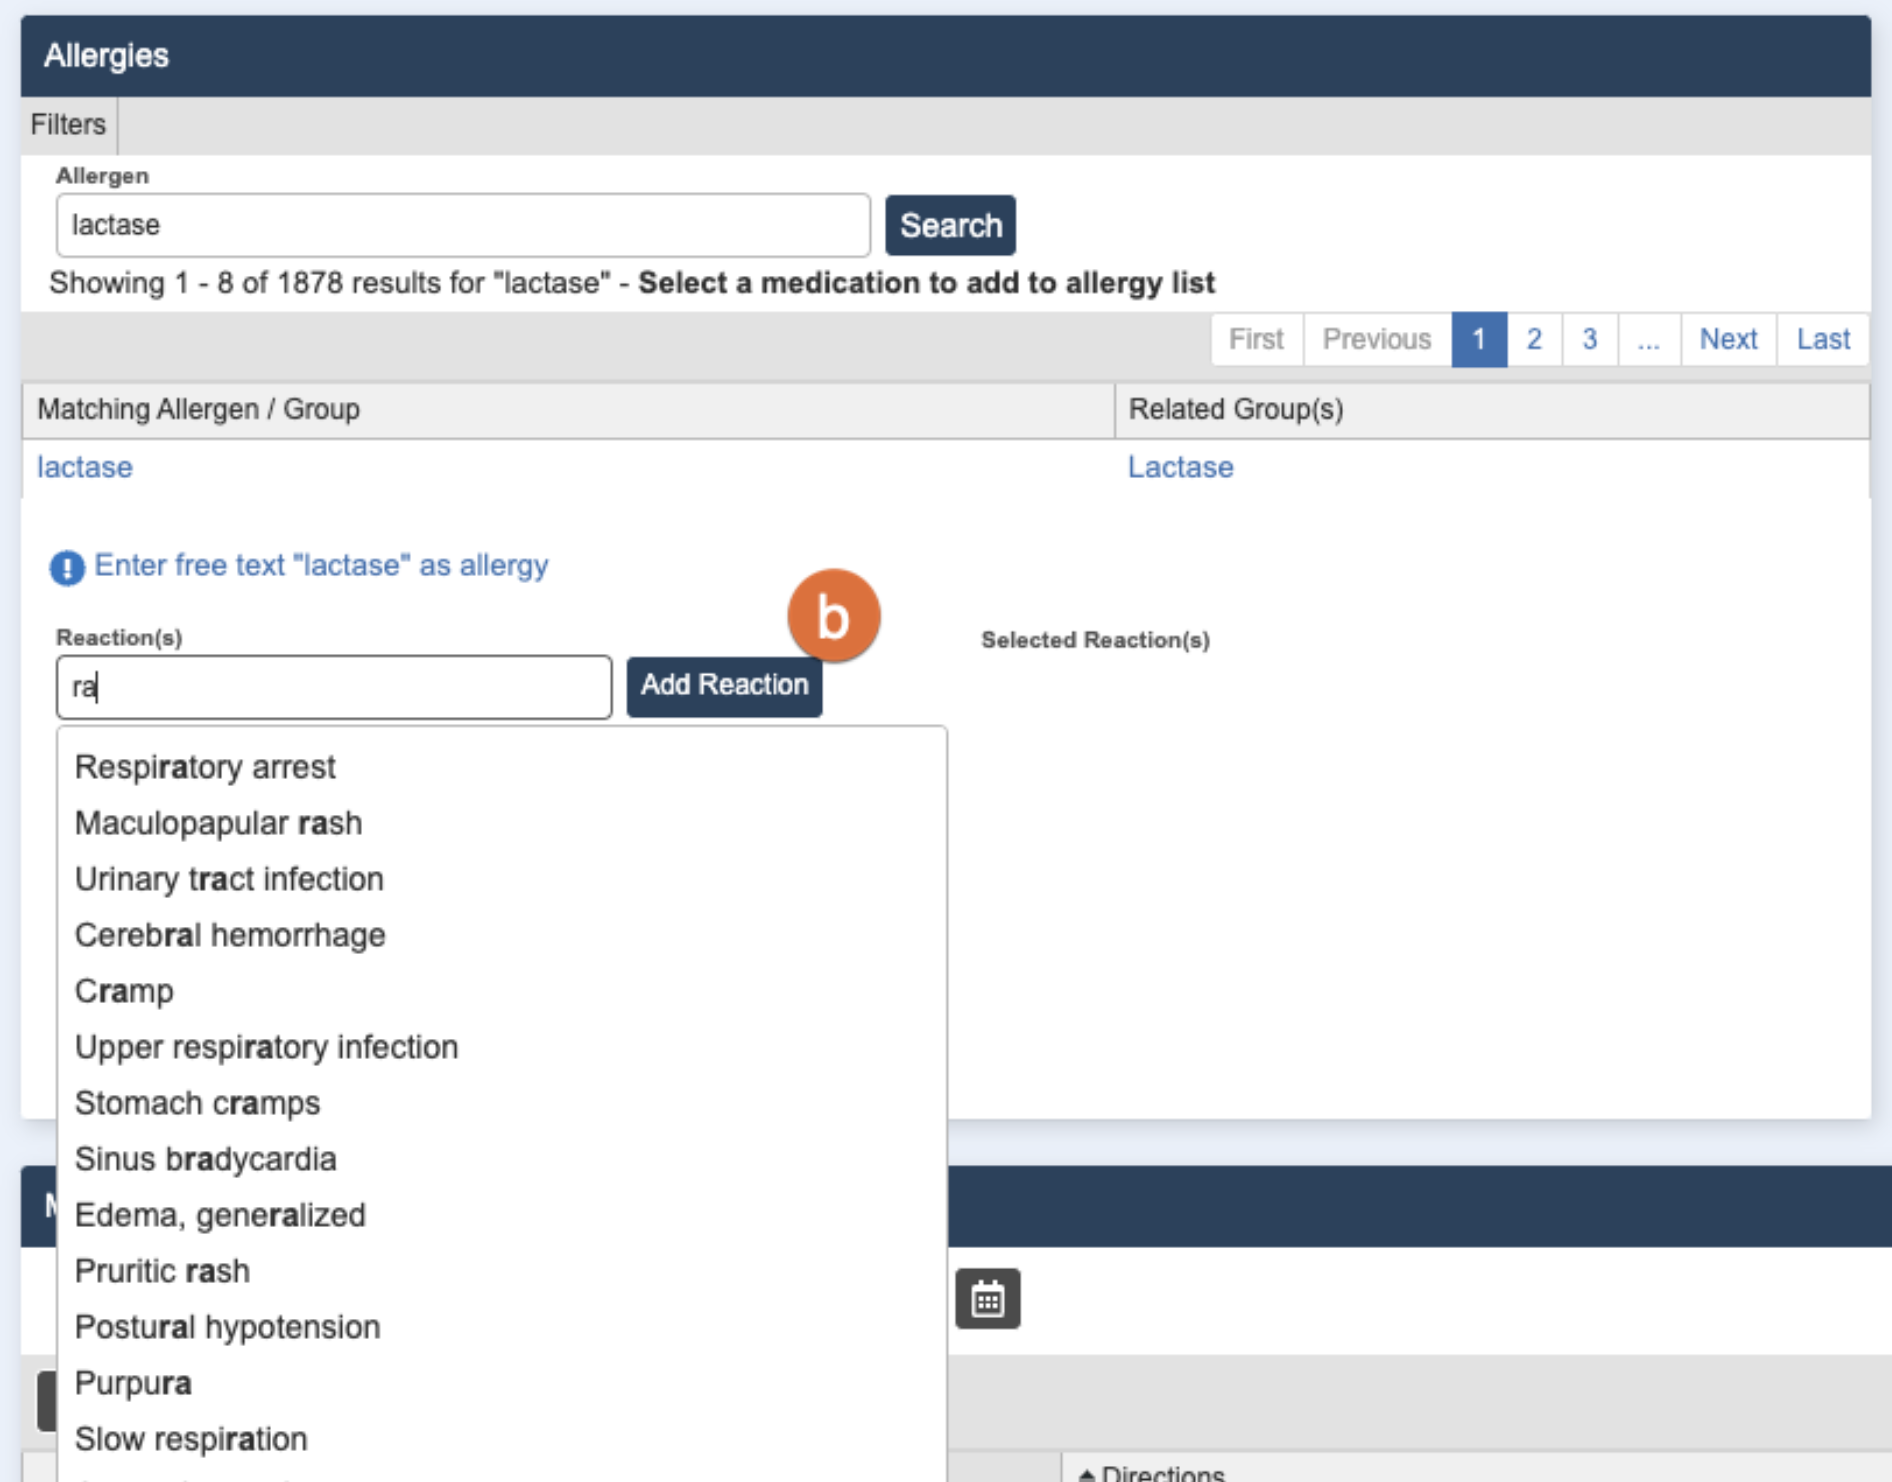
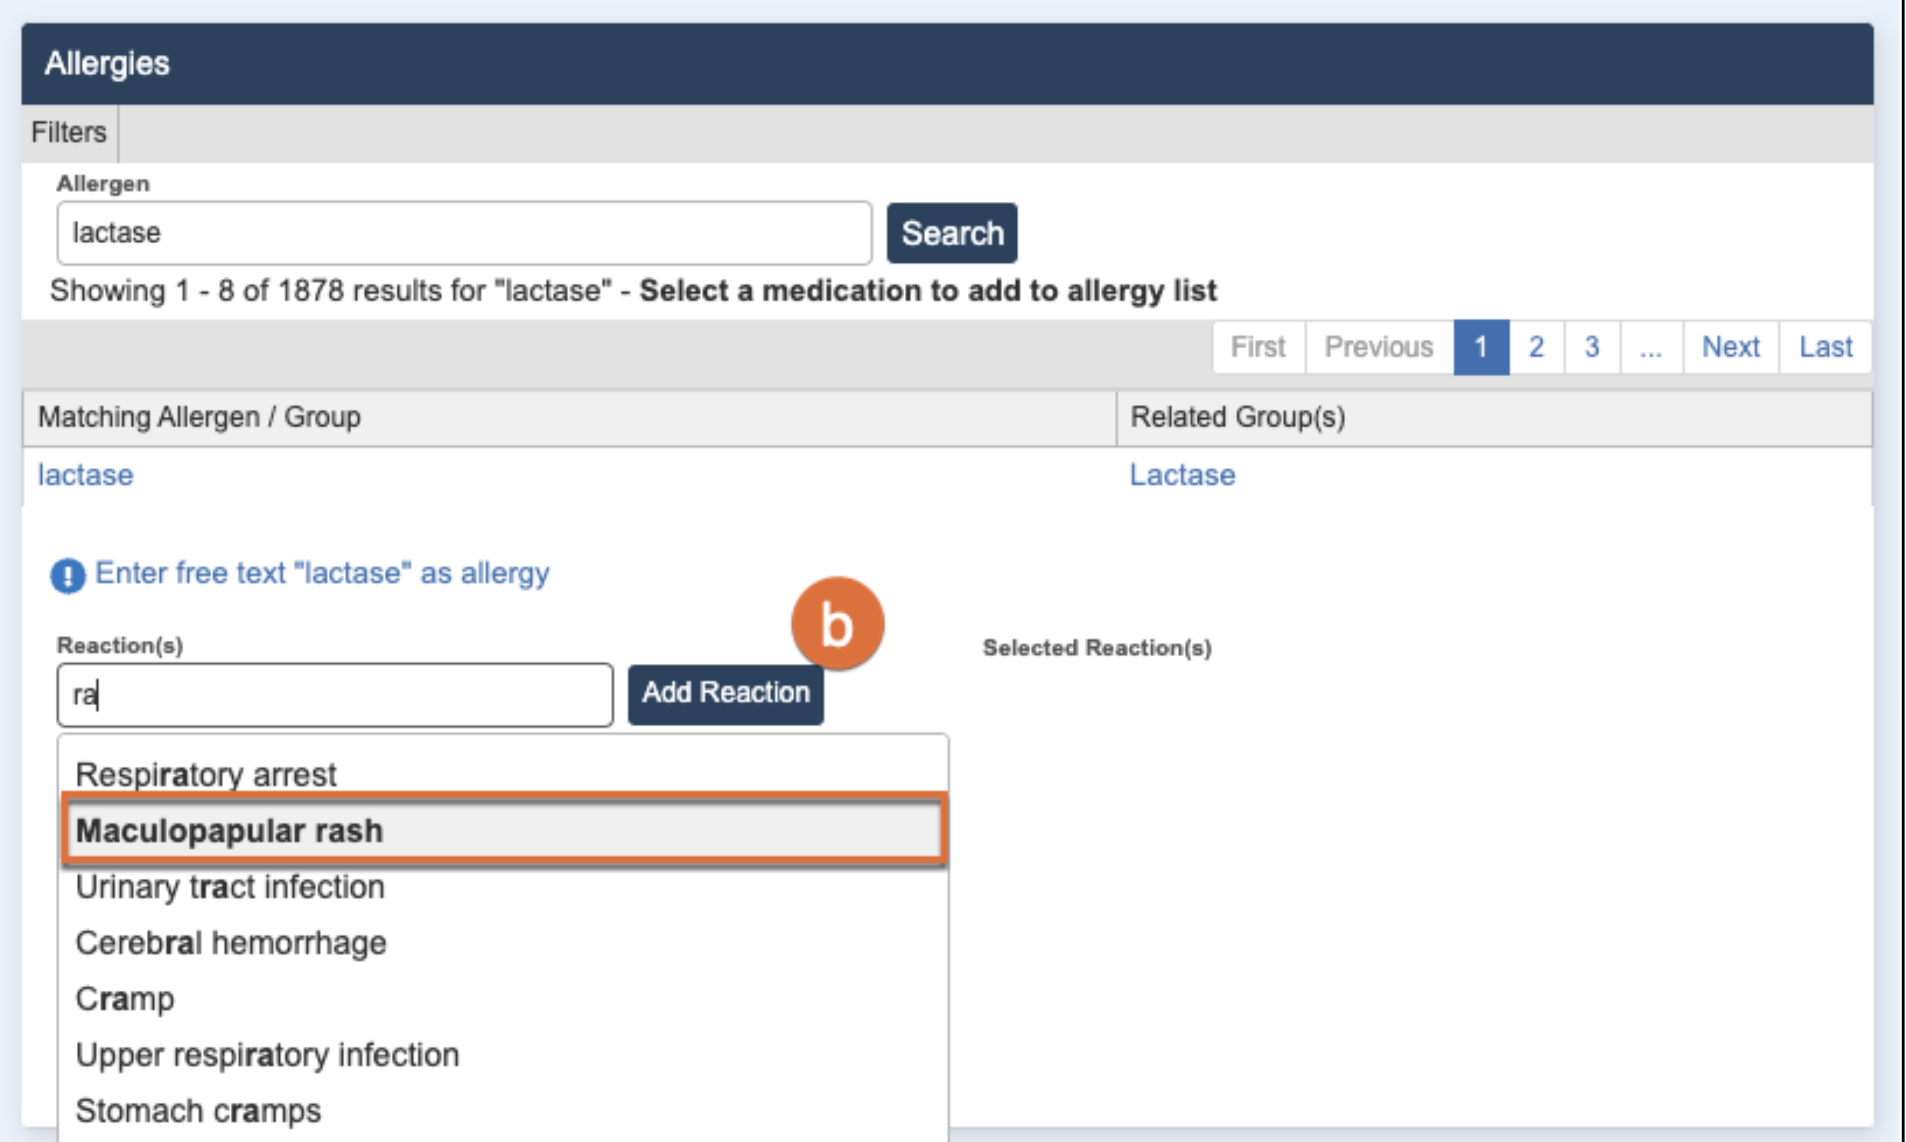
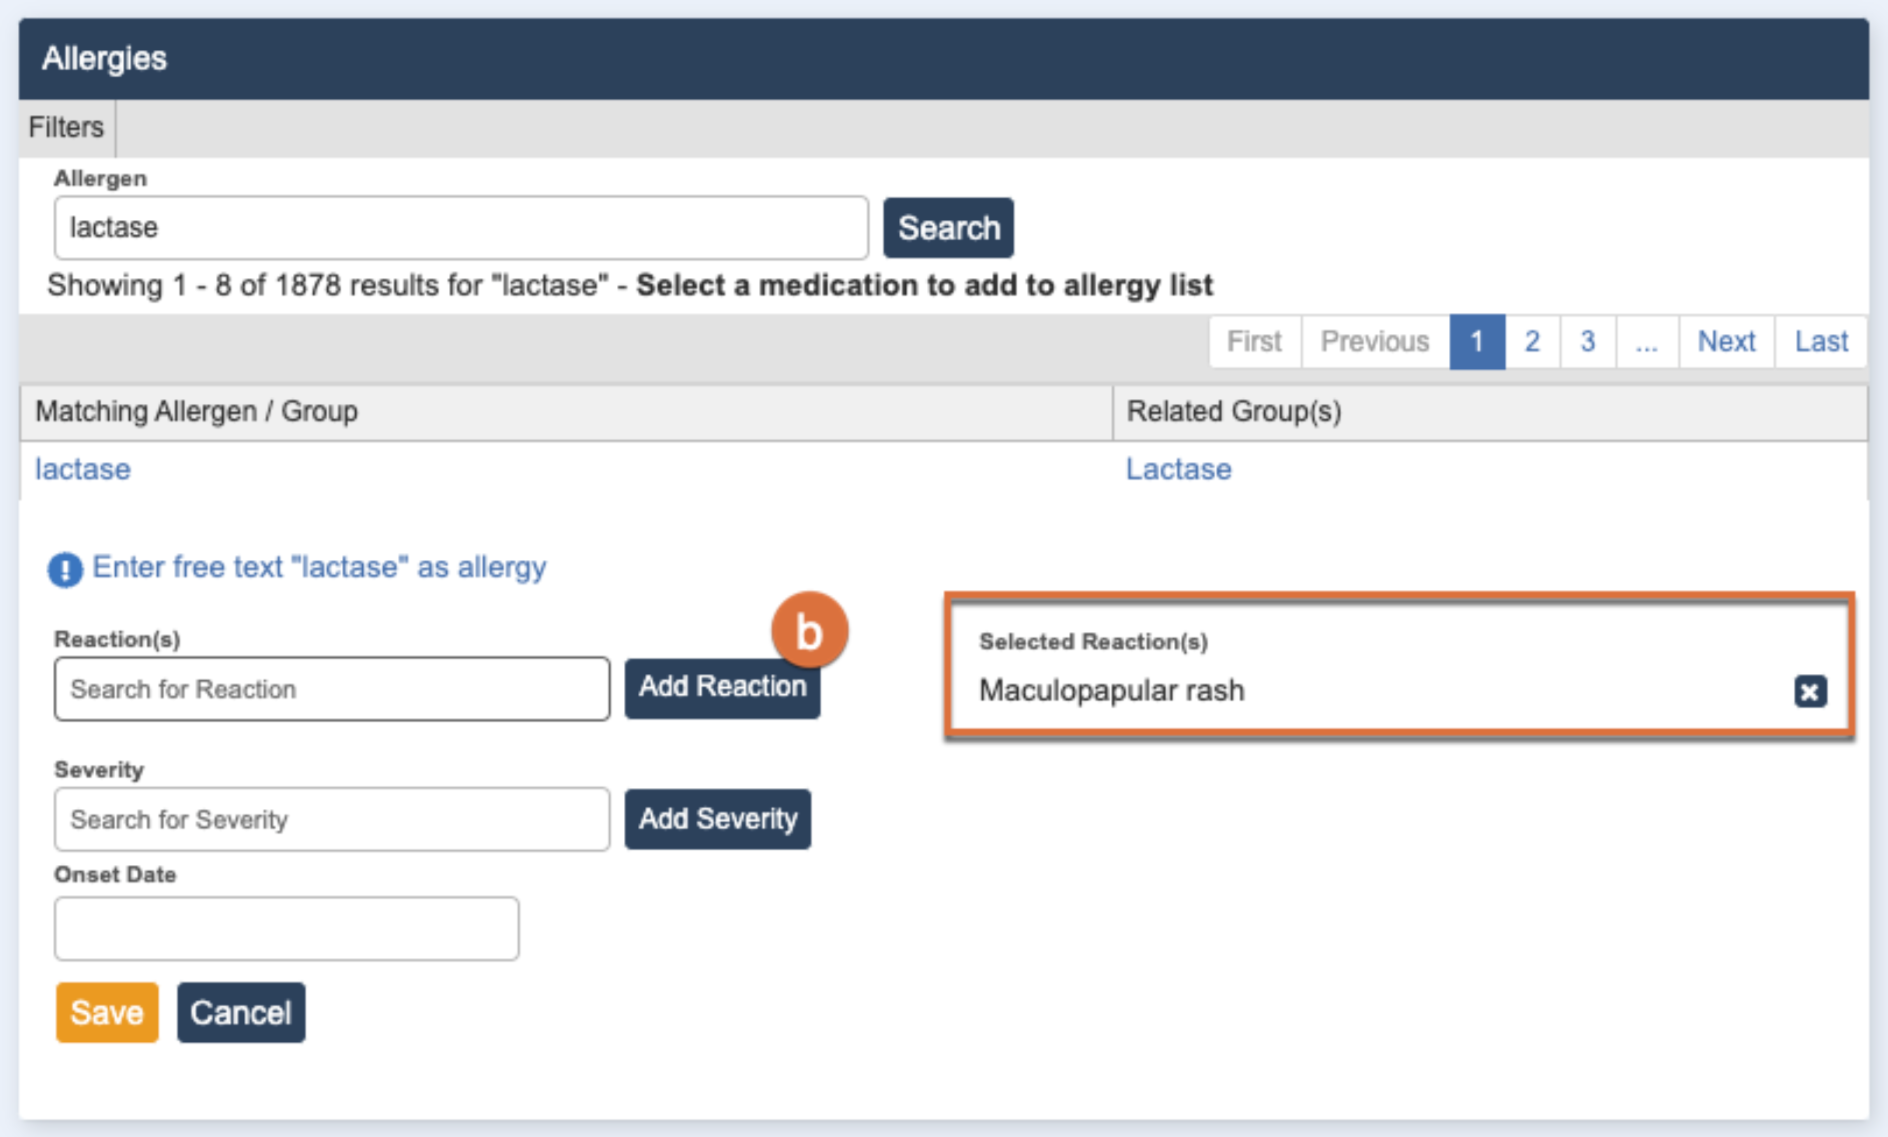
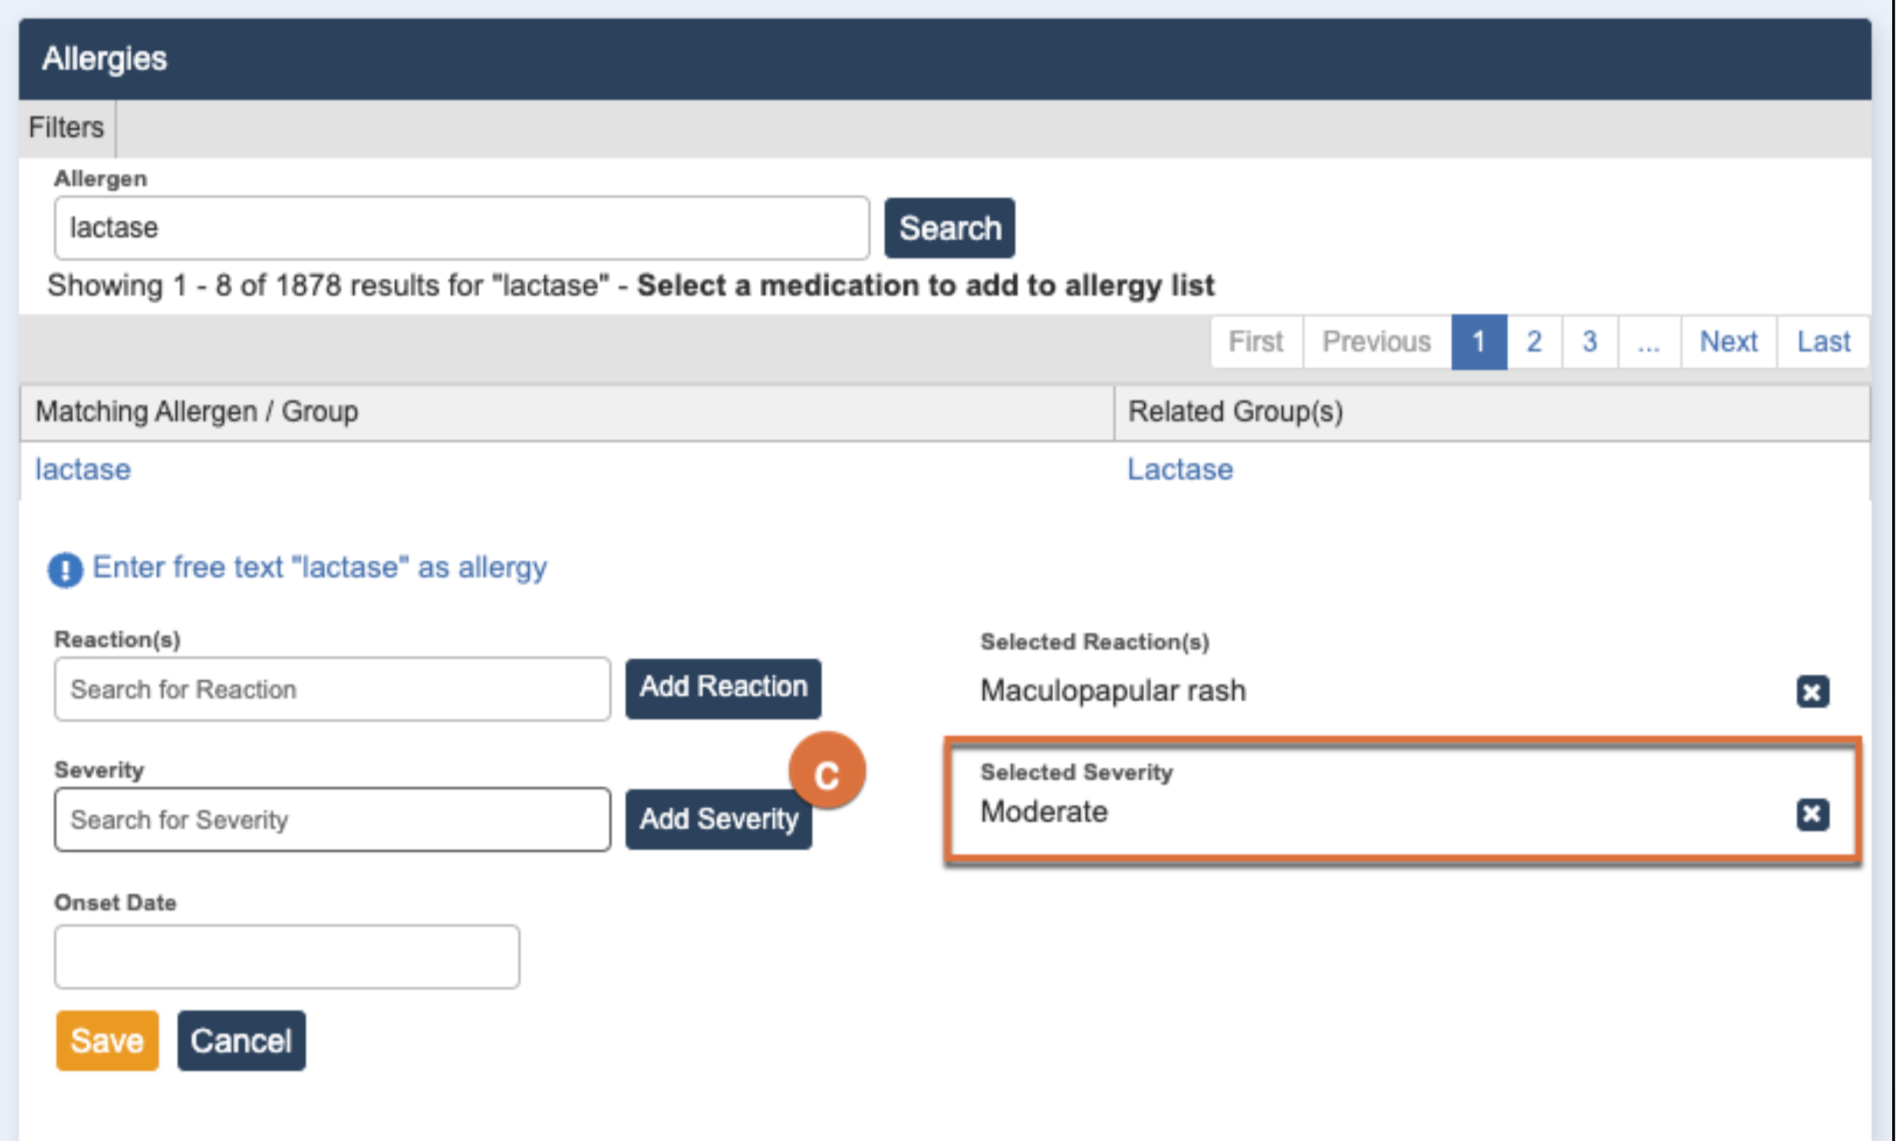
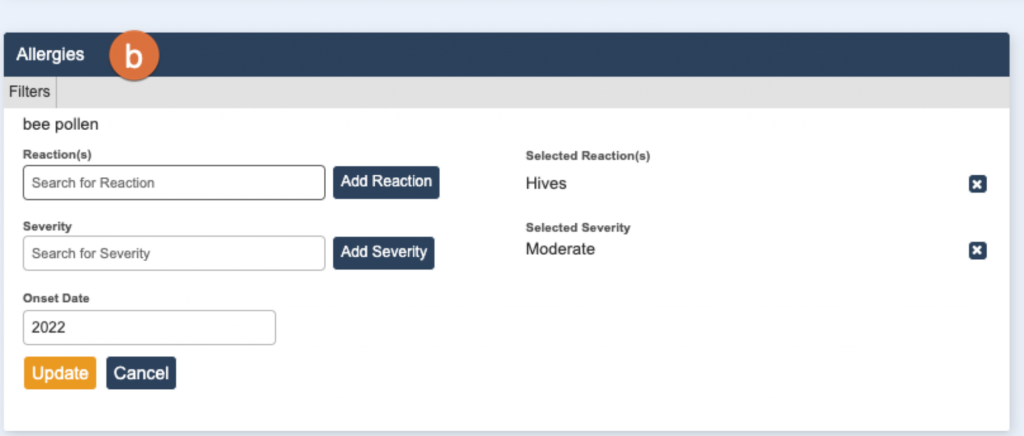
Add Reaction through Search for Reaction and Add Reaction button– Type in first 2 alphabets to give a list of dropdown form which the prescriber can choose the reaction. The reaction is added on right side of Reaction Bar as Selected Reaction(s) and multiple reactions can be added. The x option next to the Selected Reaction(s) added will result in removal of this reaction.
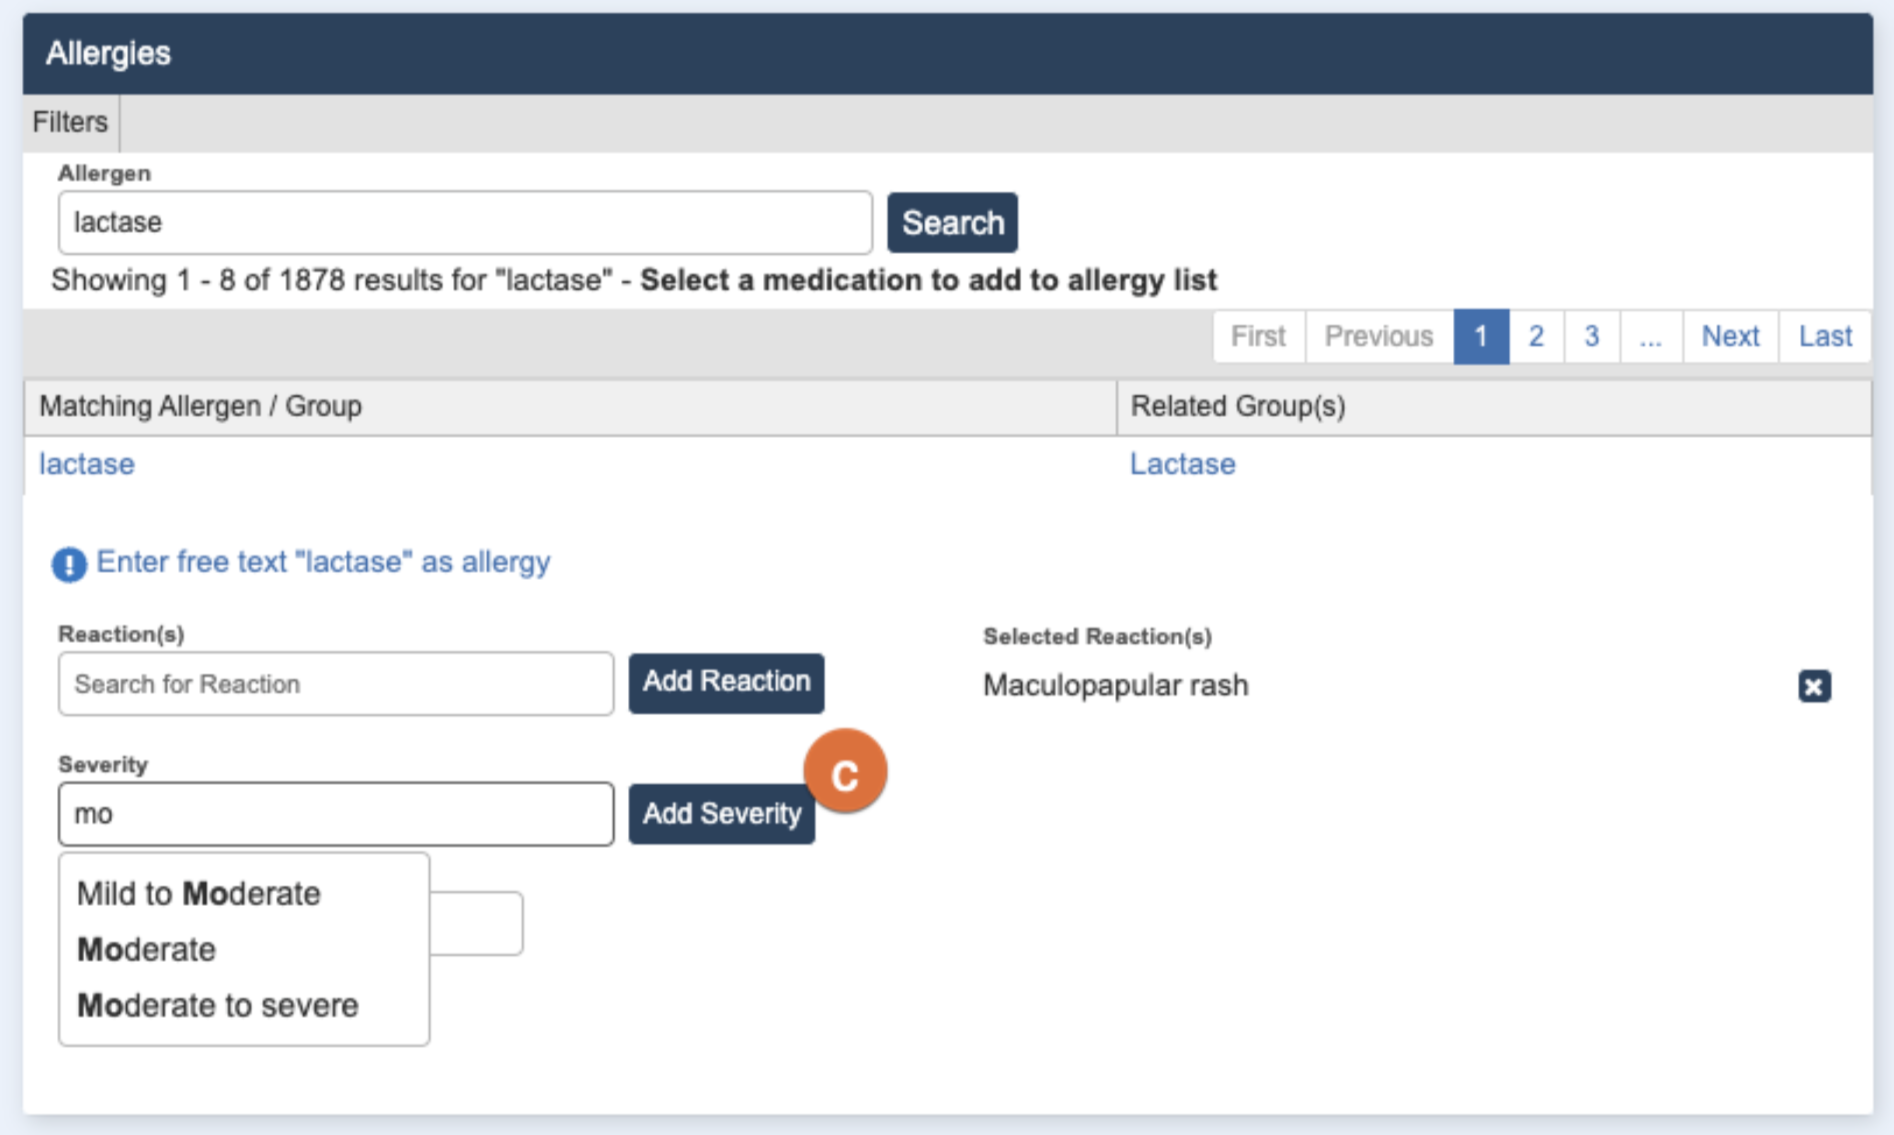
Add Severity through Search for Severity and Add Severity button – Type in first 2 alphabets of type of severity will result in dropdown and this can be chosen, as appropriate. The type of severity selected is added on right side of Reaction Bar as Selected Severity. The x option next to the Selected Severity added will result in removal of this Severity.
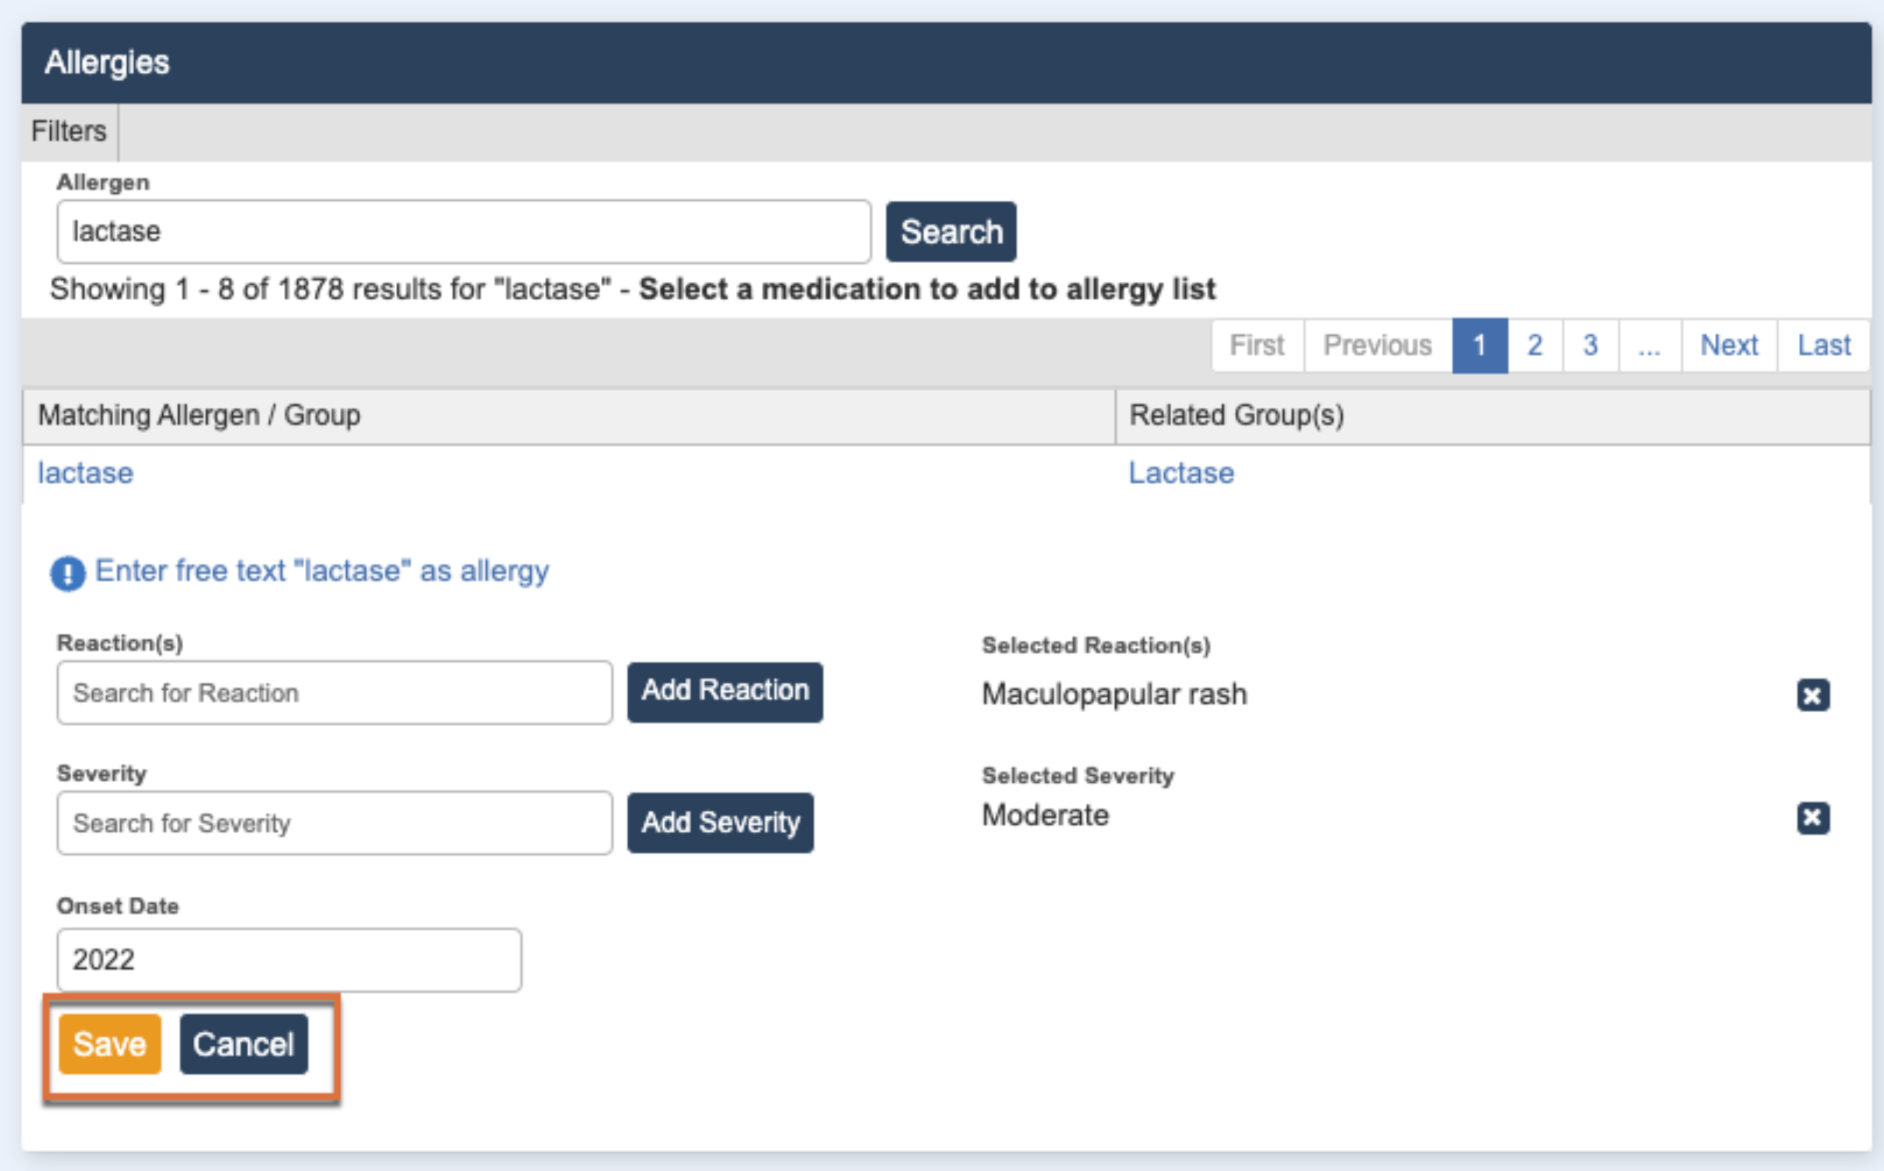
Add Onset Date – Partial dates allowed if entered as ‘mm/yyyy’ or ‘yyyy’.
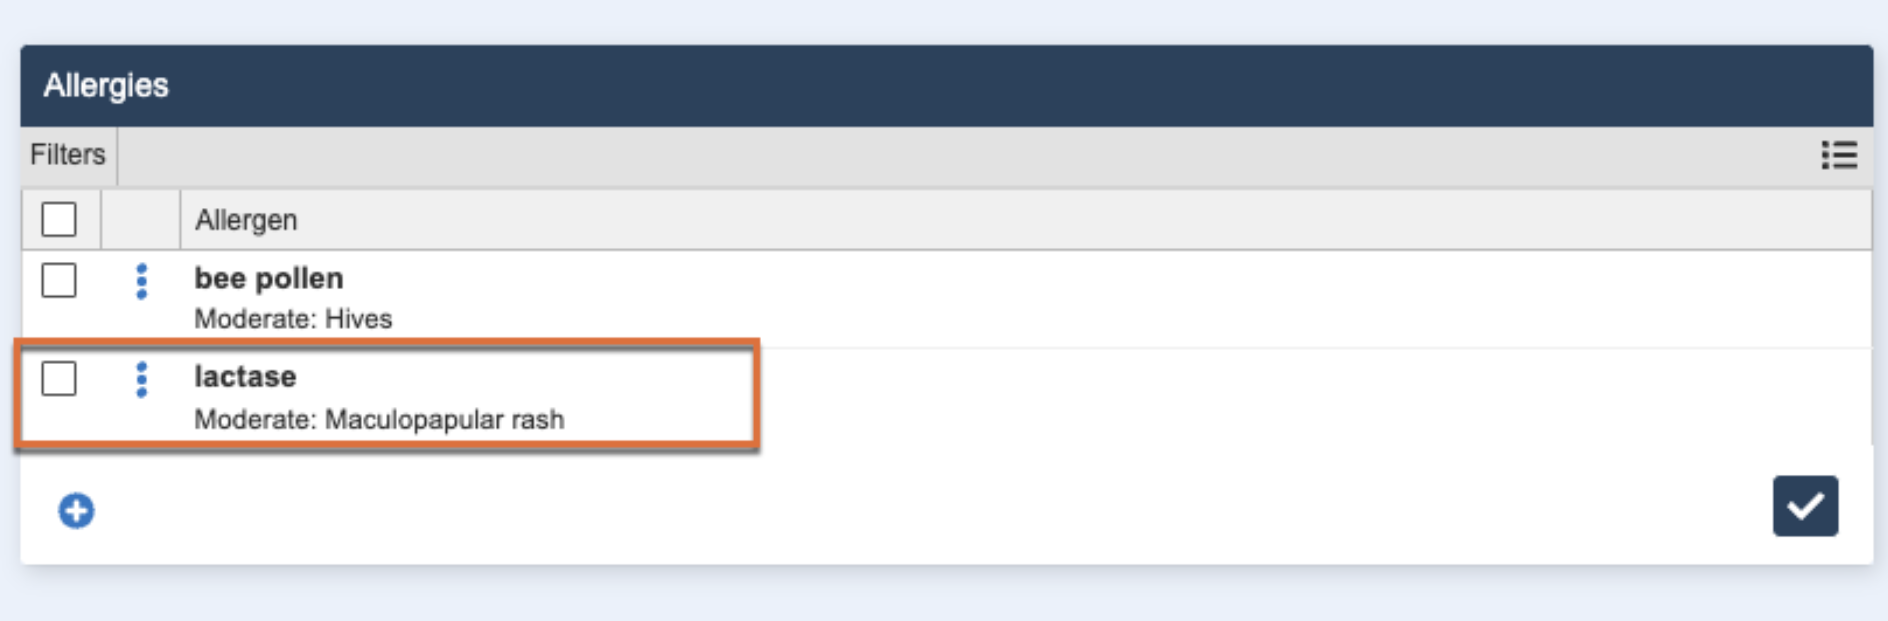
Save or Cancel, as appropriate. Clicking on Save, will allow allergen to be added in the list of allergens on mainAllergies Section.
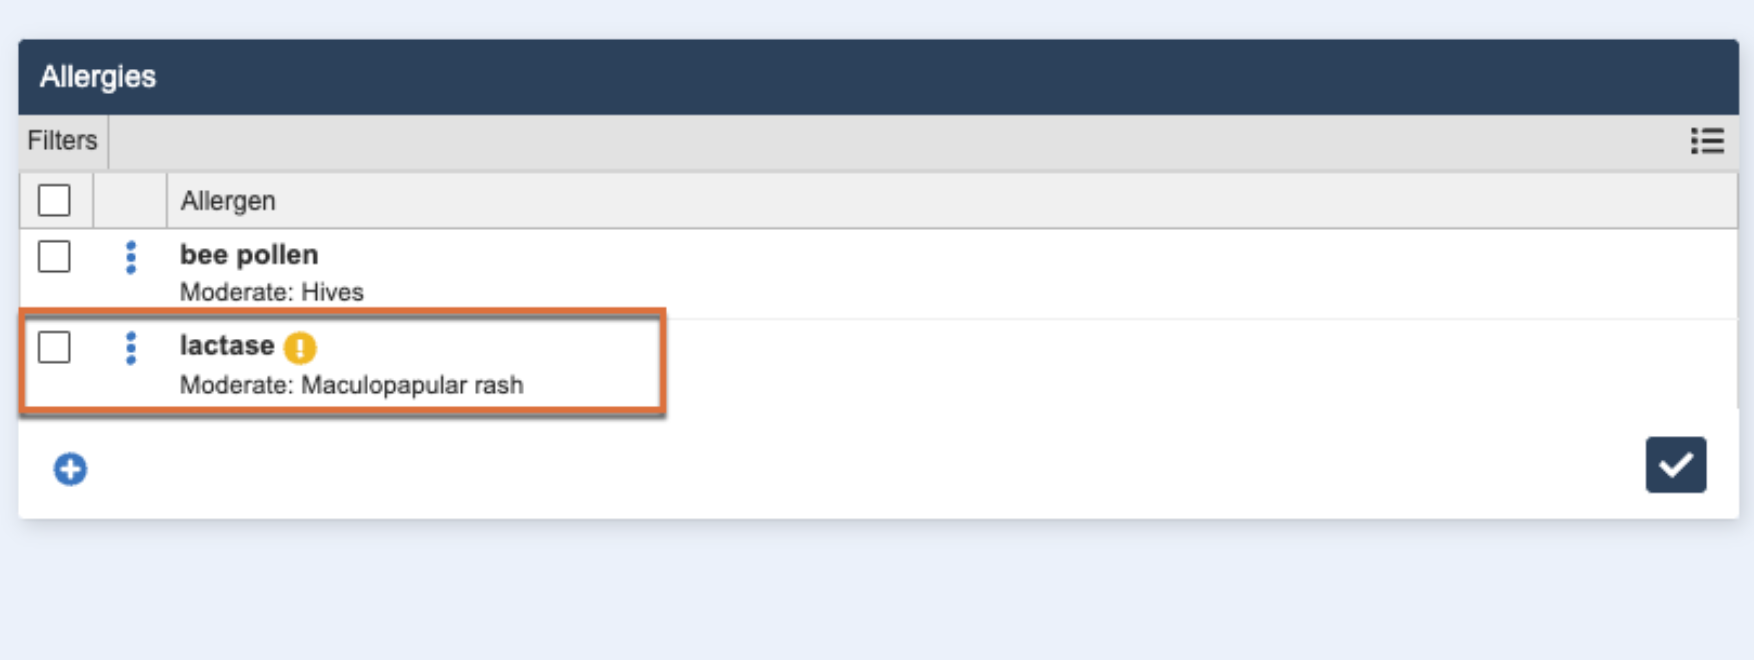
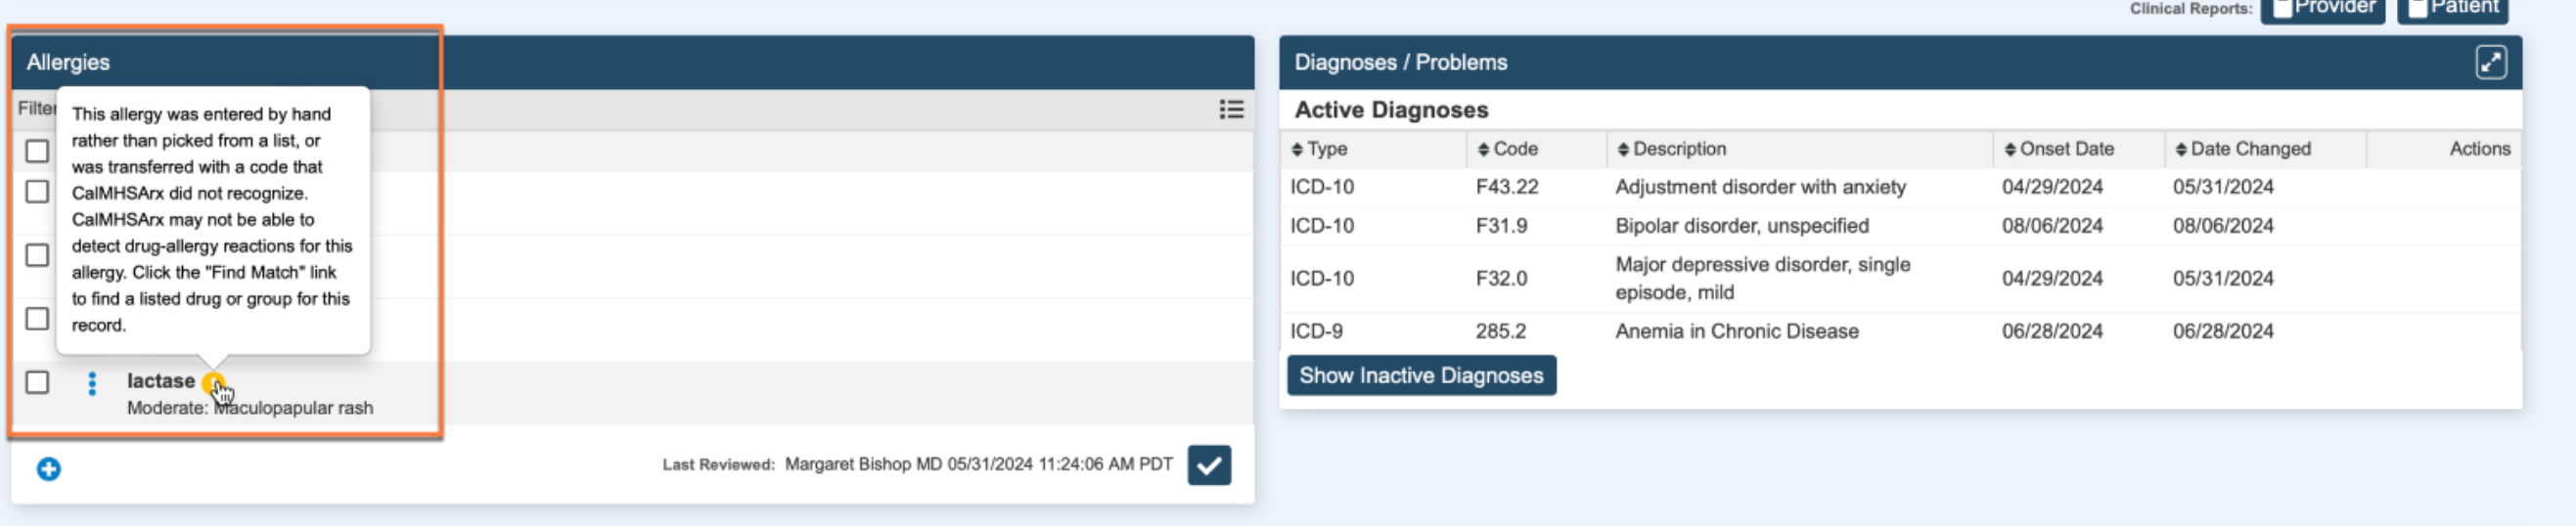
If the allergen was not chosen from the list of dropdown or search provided results, then there is option to enter the name of allergen as free text as in the example below -“Enter free text ‘’la” as allergy”. This would be reflected in the final Allergies Screen where there would be an exclamation sign. Hovering over this sign would result in alert popping up. The alert says that “This allergy was entered by hand rather than picked from a list, or was transferred with a code that CalMHSArx did not recognize. CalMHSArxc may not be able to detect drug-allergy reactions for this allergy. Click the “Find Match” link to find a listed drug or group for this record.”.
Hovering on the 3 dots on left hand side of existing allergen will show 3 options to choose from.
Make Inactive – this button makes this allergy inactive and removes it from the Allergies Section.
Modify– allows prescriber to modify the allergen, reaction, severity or onset date.
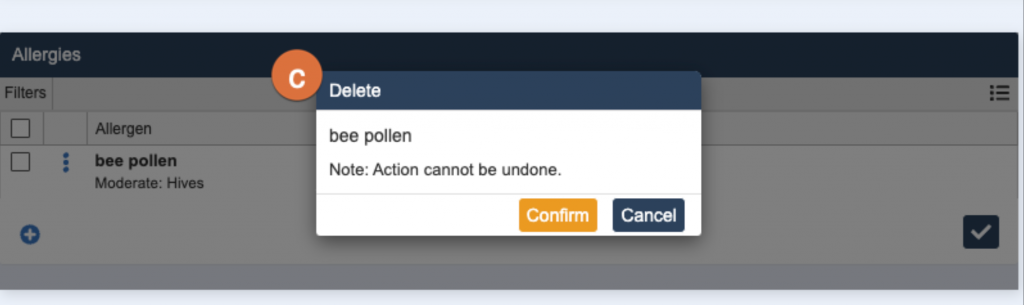
Delete– removes allergy with a warning box that asks prescriber to confirm/cancel delete – “Note: Action cannot be undone”.
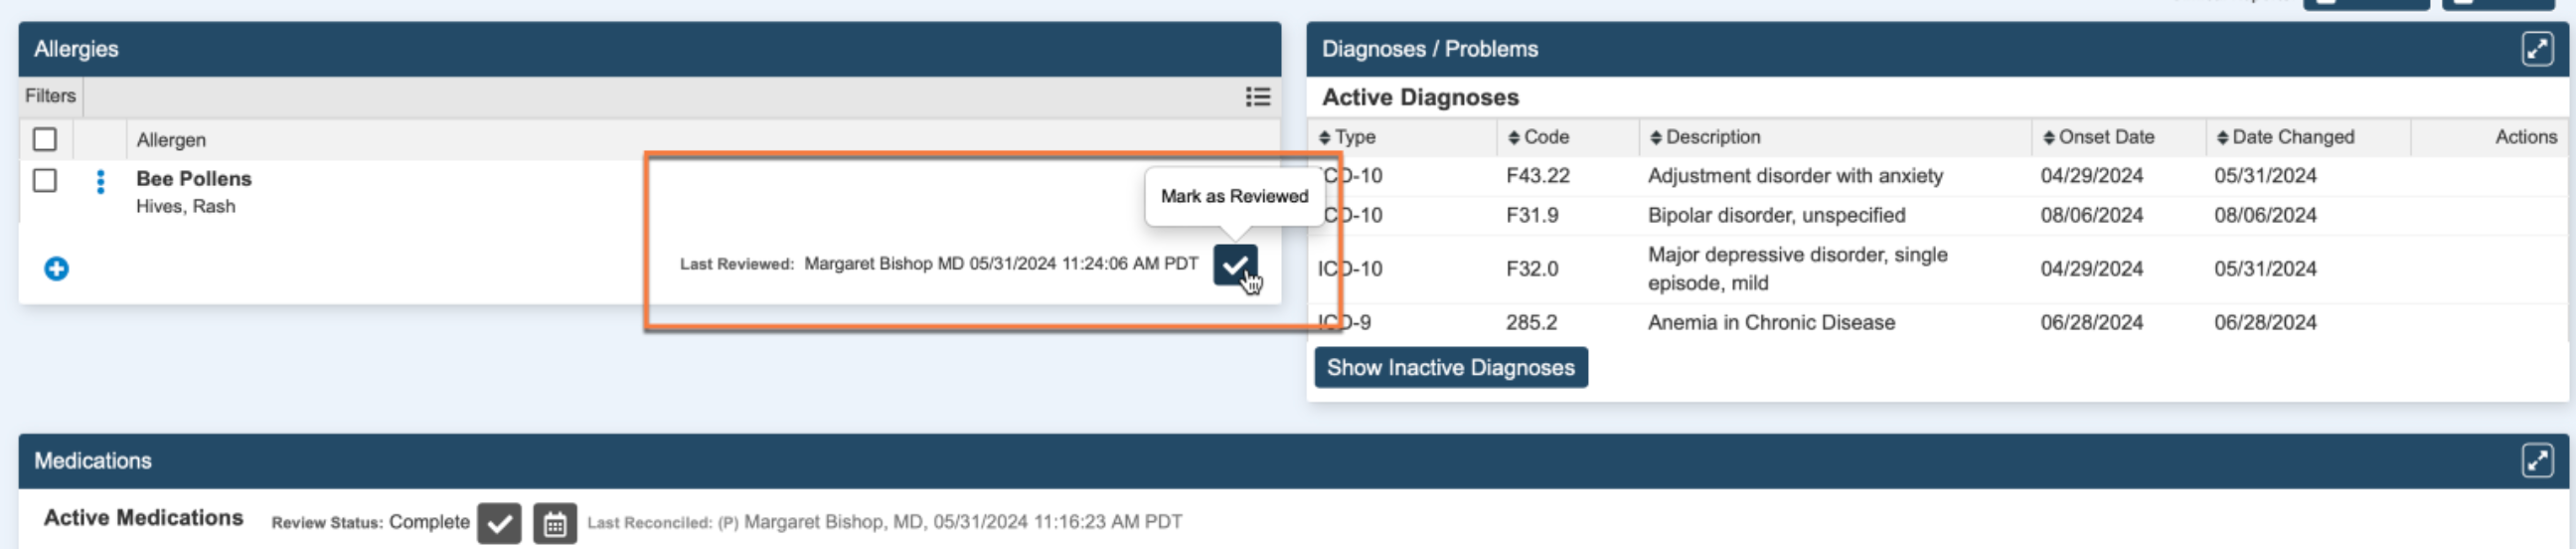
Mark as Reviewed from Allergies Section to complete and record allergy review.
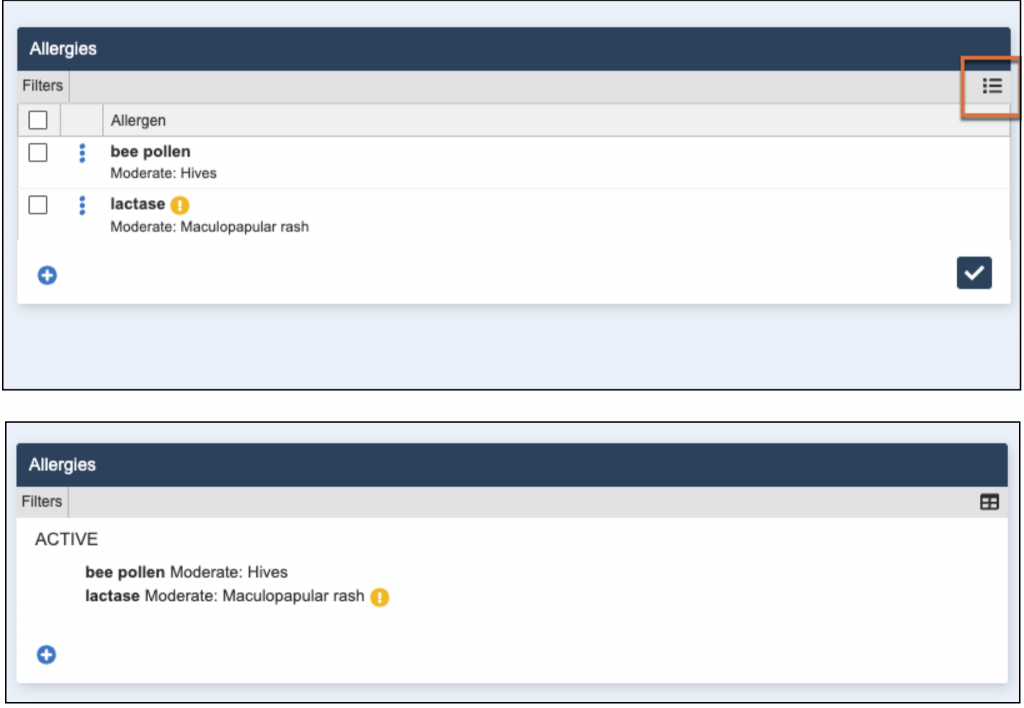
The 3 bars on right hand side top corner in Allergies allows prescriber to view all Active Allergies.
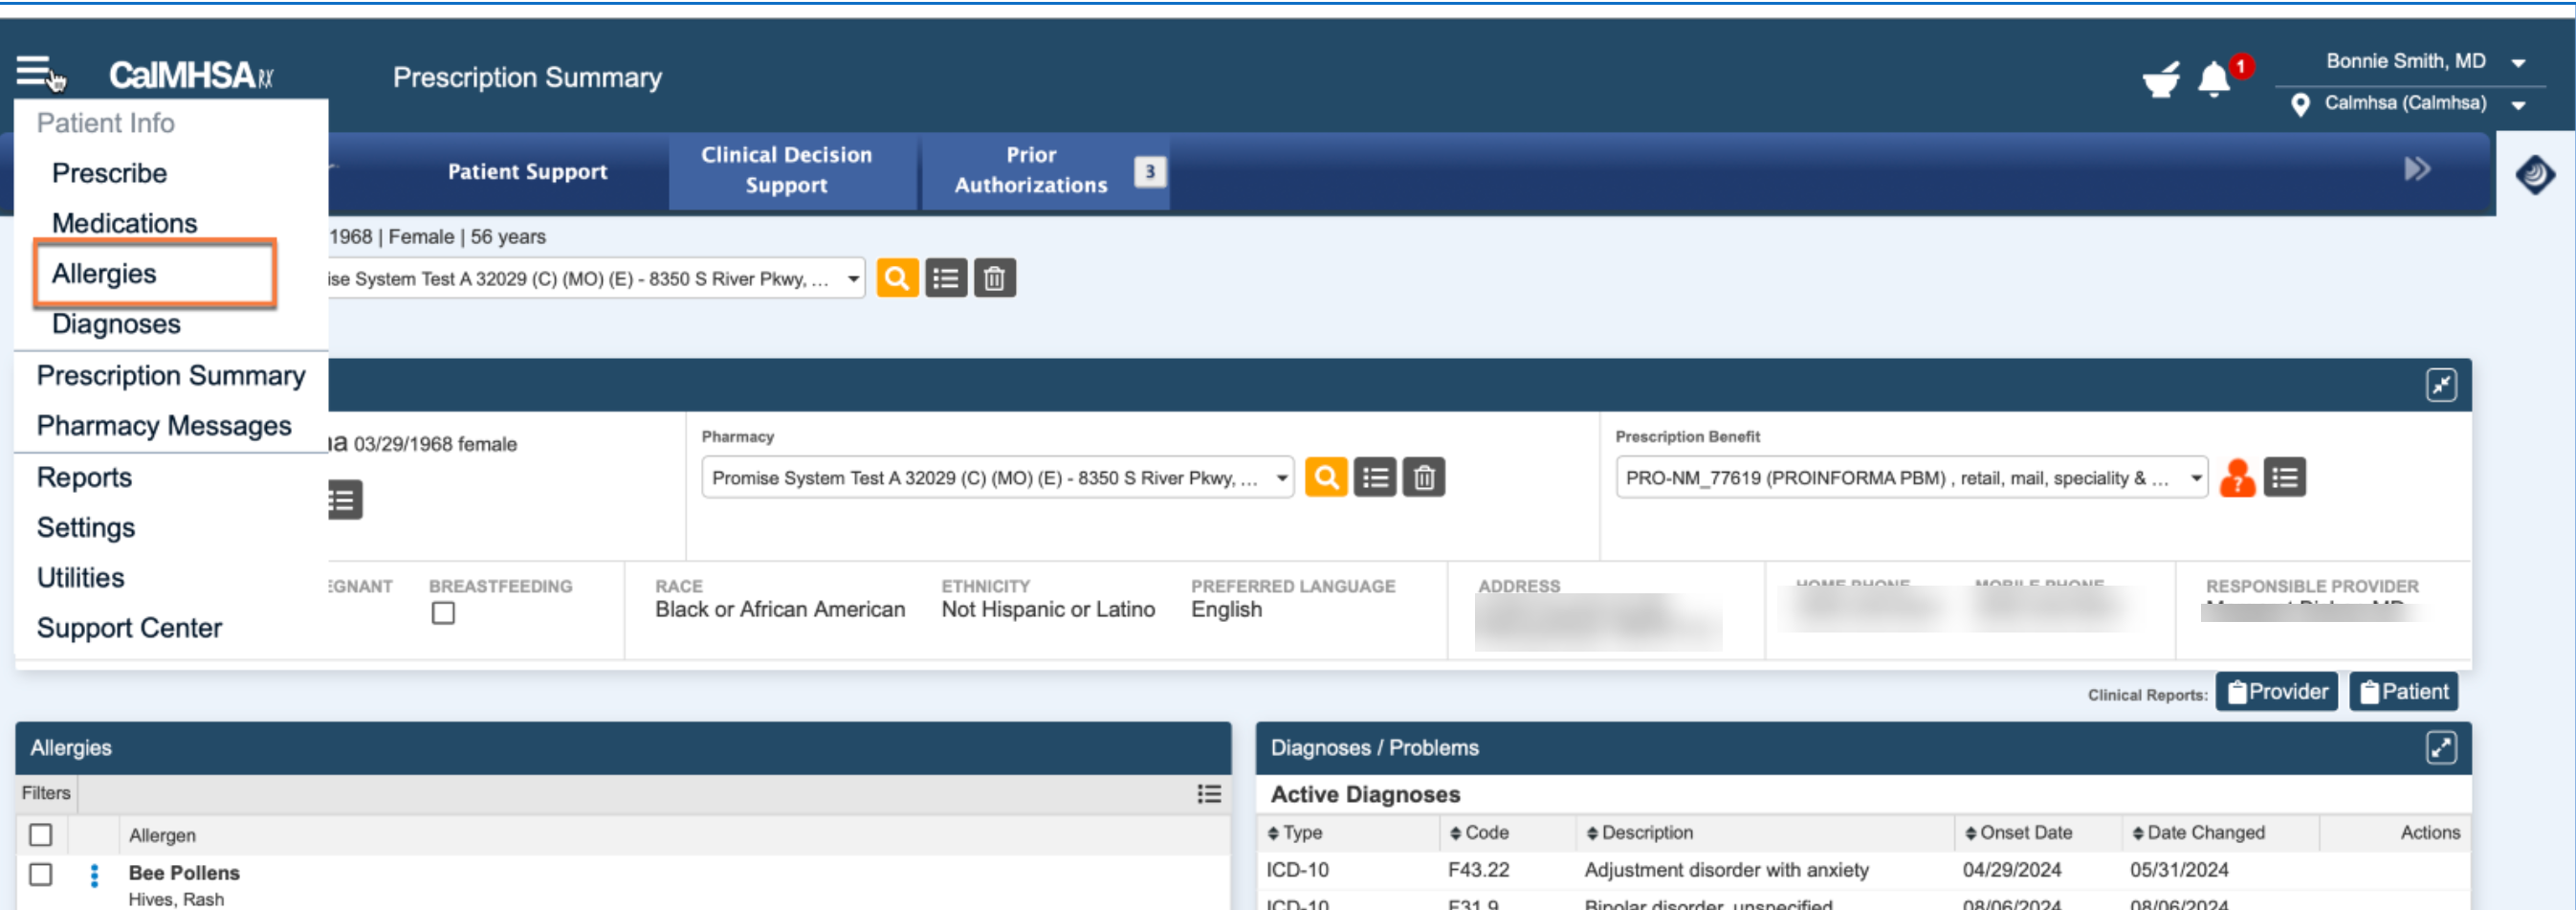
Add Allergies from the Top Bar in CalMHSA Rx Screen
Click on triple bar icon on left of CalMHSARx. It will display dropdown list. Click on Allergies. It will open section of Allergies from where rest of the steps remainsame (Refer previous section).