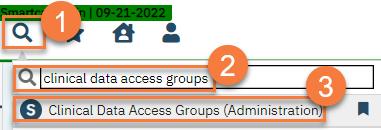
- Click the Search icon.
- Enter “Clinical Data Access Groups” in the search bar.
- Select “Clinical Data Access Groups (Administration)” from the search results.
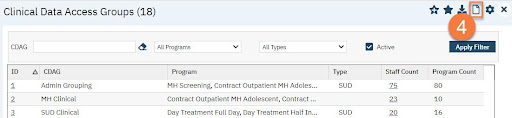
- This takes you to the Clinical Data Access Groups list Click the New icon.
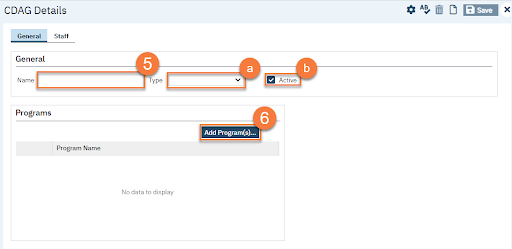
- This takes you to the CDAG Details Enter the name of your CDAG.
- If your CDAG will include SUD data that is subject to 42 CFR rules, select the CDAG type “SUD”. Otherwise you can leave this field blank.
- Make sure the Active box is checked.
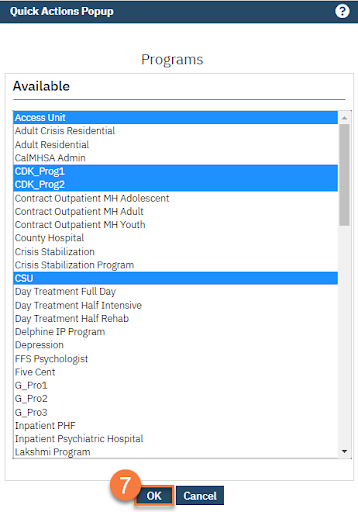
- Click on the Add Program(s) button.
- This brings up a popup window with all of your current programs. Select the program(s) you want to include in your CDAG and click OK. To select more than one program at a time, use the shift and/or control keys.
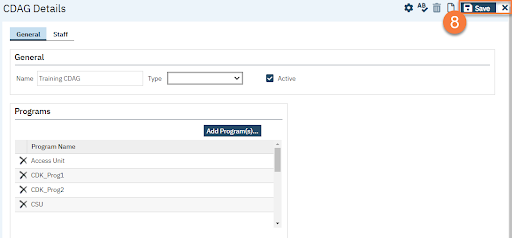
- This takes you back to the CDAG Details screen. You can see what programs are now associated with this CDAG. You can add additional programs by repeating step 7 You can also remove a program by clicking the delete (X) icon next to the erroneous program. Click Save and close.