How to Update the Interdisciplinary Treatment Plan
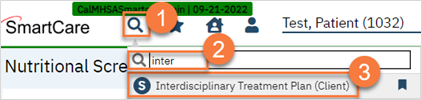
With the client open, click the search icon.
Type in “Interdisciplinary Treatment Plan” in the search bar.
Select “Interdisciplinary Treatment Plan (Client)” from the search results.
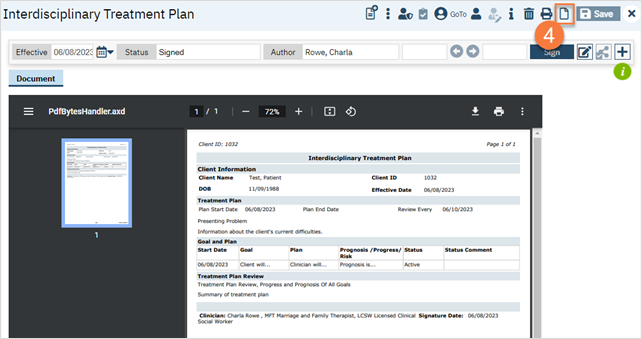
This opens the Interdisciplinary Treatment Plan screen. The current plan will show as a PDF. Click on the New icon.
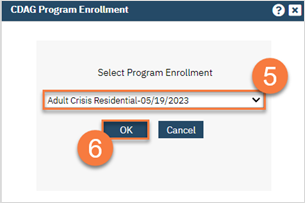
In the CDAG Program Enrollment window pop-up, click the drop down and click to select the appropriate program.
Click OK to continue
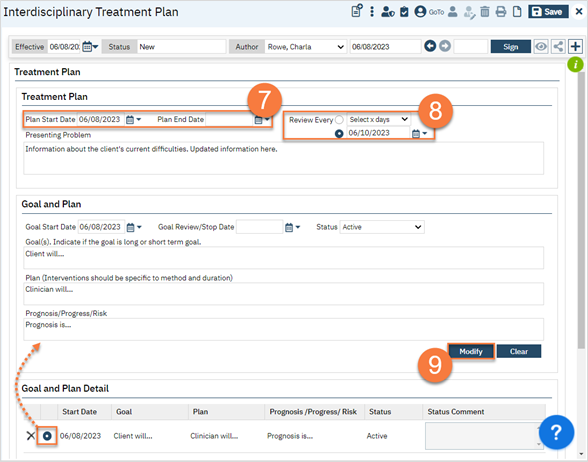
This will create a new treatment plan. The old plan’s information will have pulled forward. Enterthe start date of the new treatment plan. Enter the end date, if applicable.
Select when the treatment plan is due for review. You can select a specific date or can a relative number of days from the start date. Make updates to the Presenting Problem field as necessary.
To update a current goal, select the goal from the list at the bottom. This will bring the information to the Goal and Plan section. Make changes and then click Modify.
Complete the Treatment Plan Review section. This field does NOT pull forward. This is a summary of the overall prognosis of the client, as well as any progress the client has made.
Click Sign.
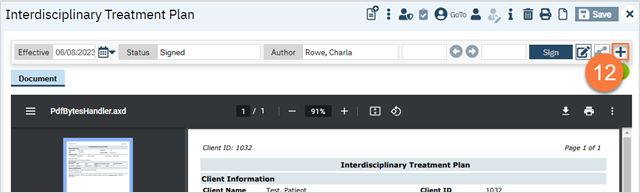
If you need to add co-signers, click on the Plus icon to expand the document ribbon.
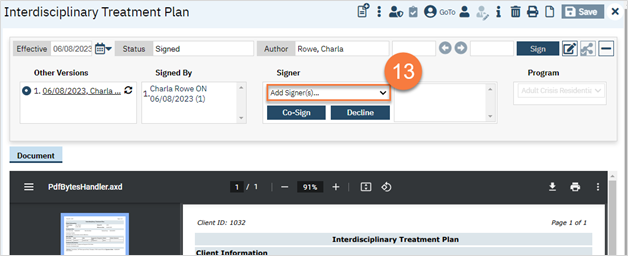
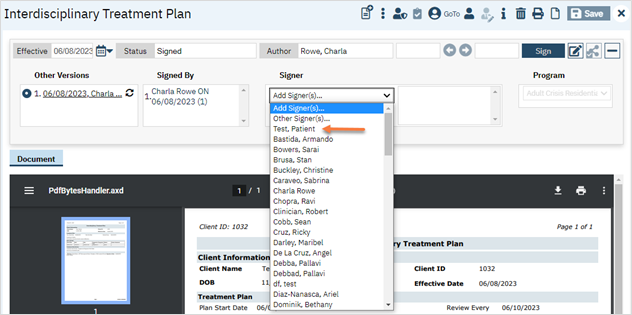
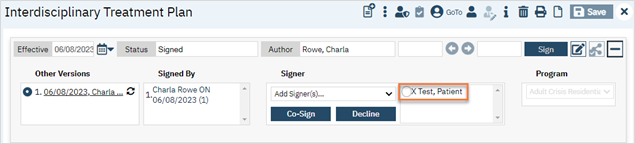
This expands the ribbon. Click on the dropdown to select a cosigner. You can also add staff or the client as a cosigner; the client will always show first if they’re not already listed as a cosigner. After selecting your cosigner it will show in the cosigner section. Once they’ve signed the document, the person will move to the Signed By section.