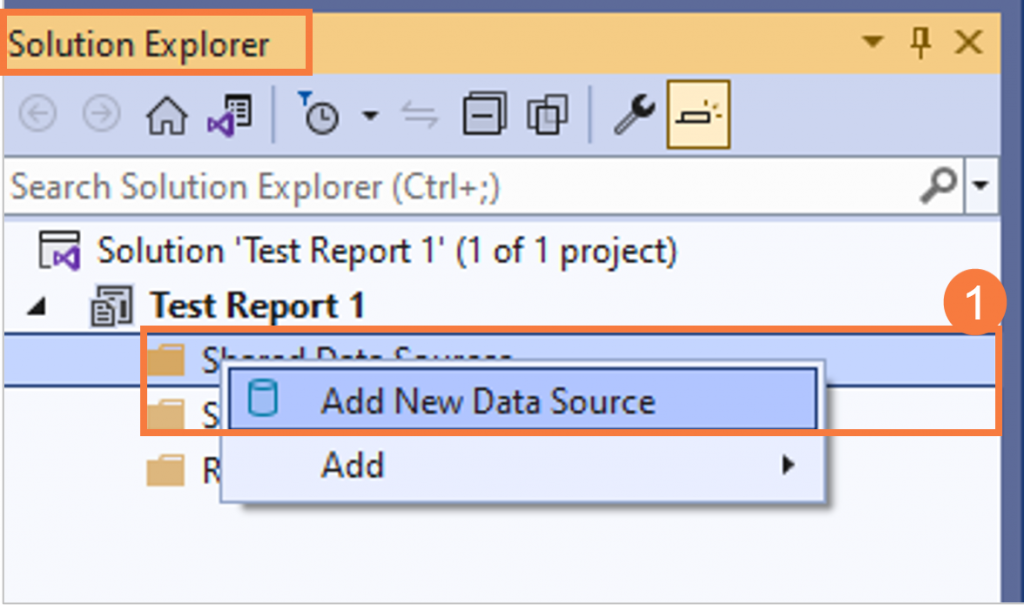
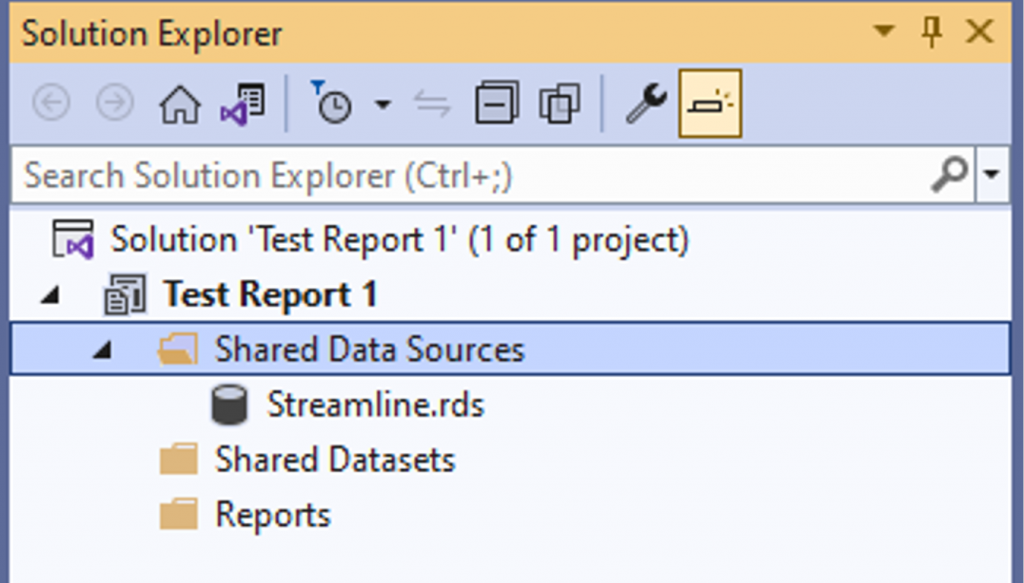
After the project has been successfully set up, find the Solution Explorer and right click on Shared Data Sources and choose Add New Data Source
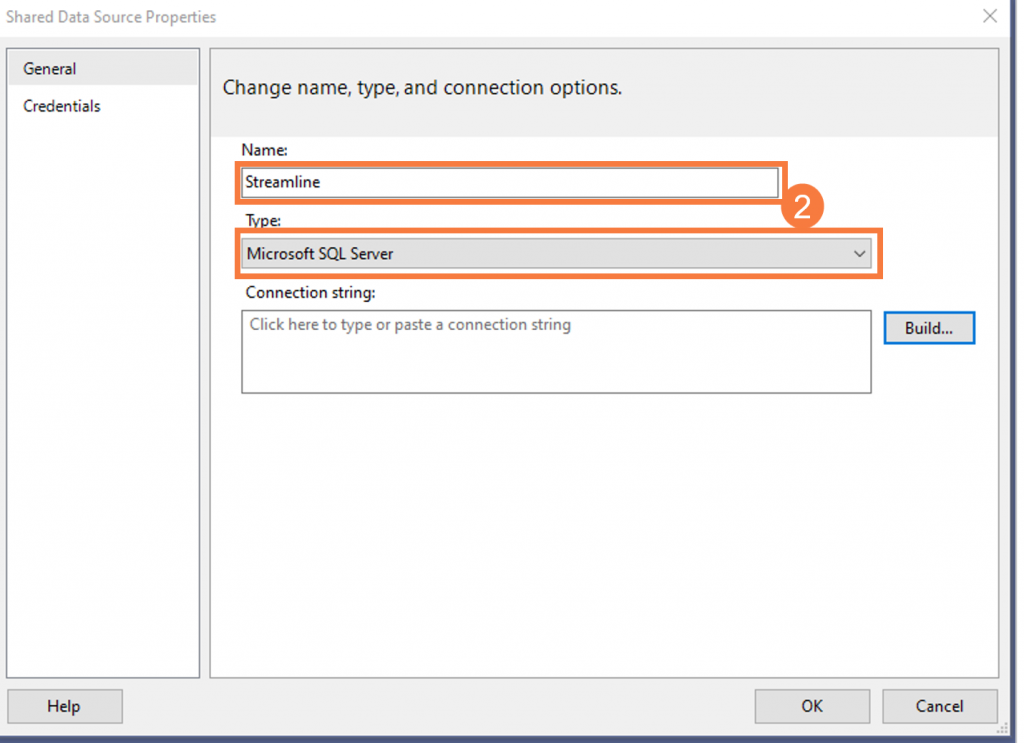
In the Shared Data Source Properties window, enter “Streamline” as the Name and choose Microsoft SQL Server for the Type
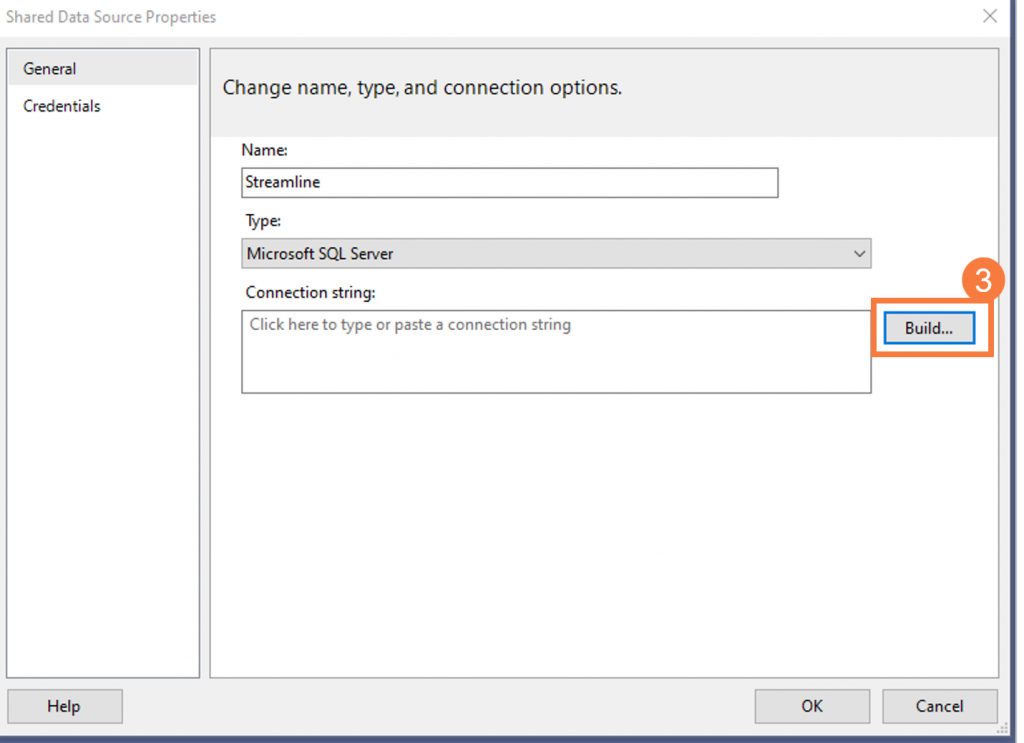
Next, click on the Build button to create the data source
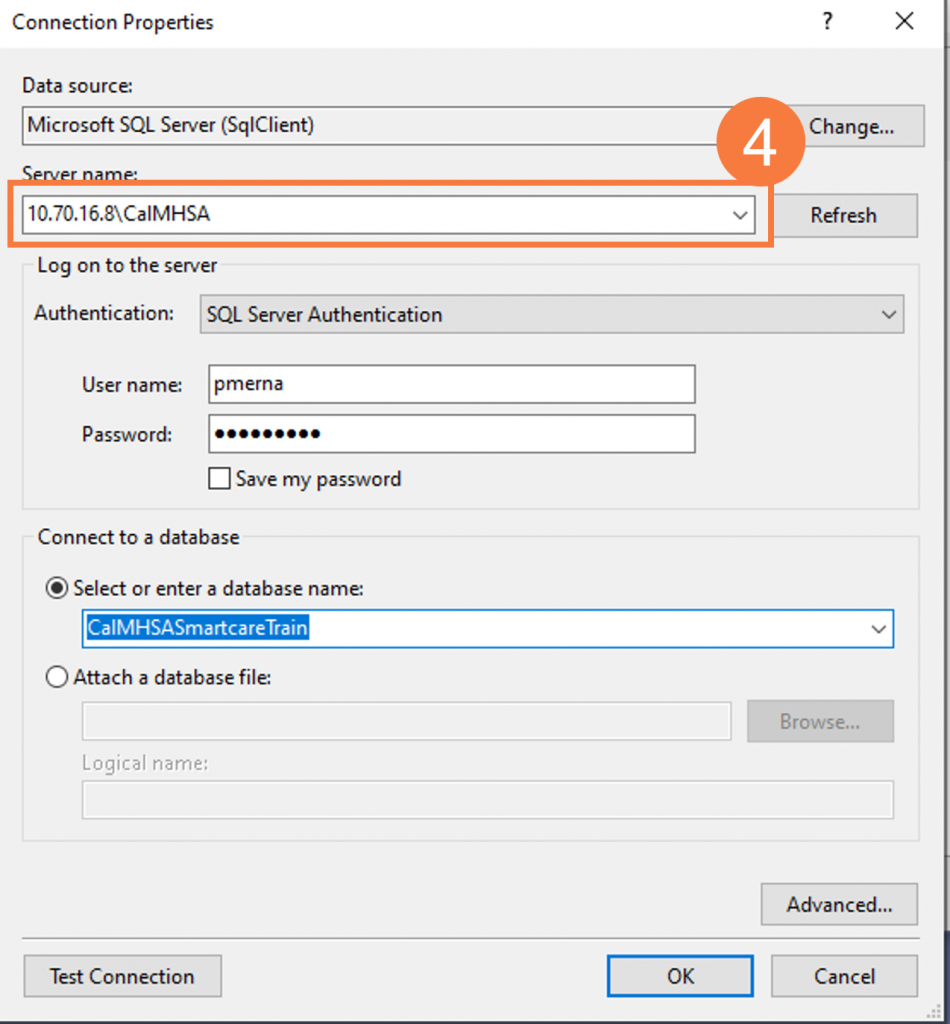
In the Connection Properties window, enter your county’s SQL Server IP Address in the Server Name field (do NOT click on Refresh)
Question – How do I know my county’s SQL Server IP Address for PROD and non PROD databases?
Answer – Please contact CalMHSA to get this information
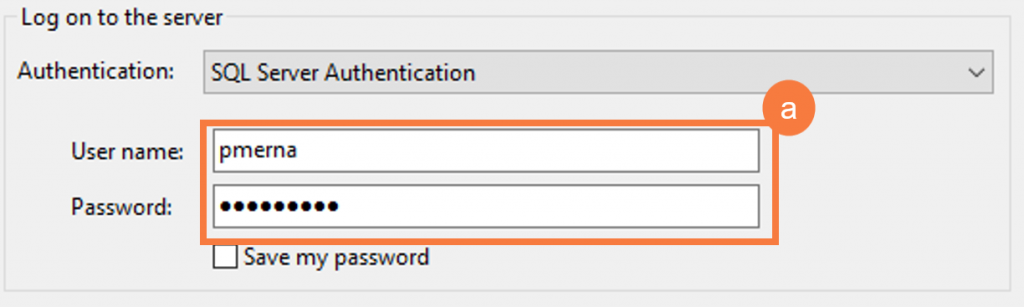
Enter the user name and password for the SQL Server account previously requested from Streamline
If the user name and password are correct, click on the Select or enter a database name field will display the list of databases that are available based on the permissions of the SQL Server user account
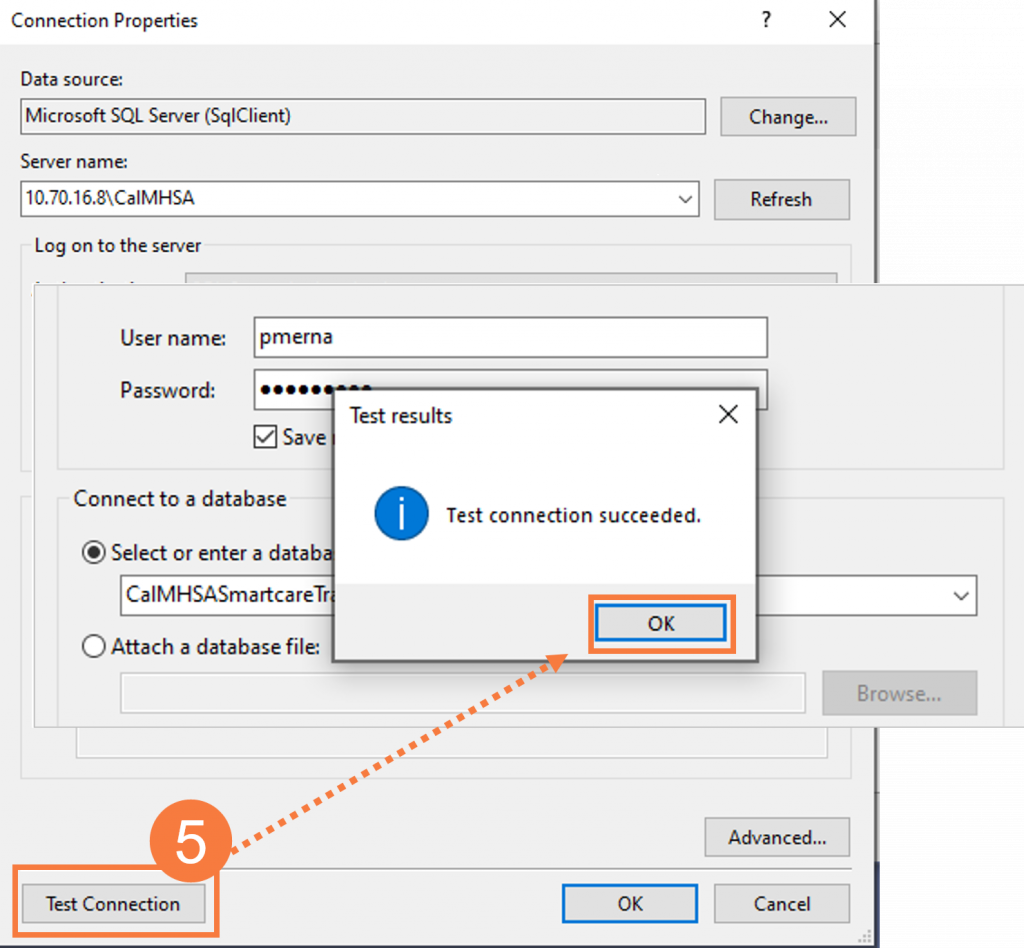
Click Test Connection to verify the connection is successful and click OK.
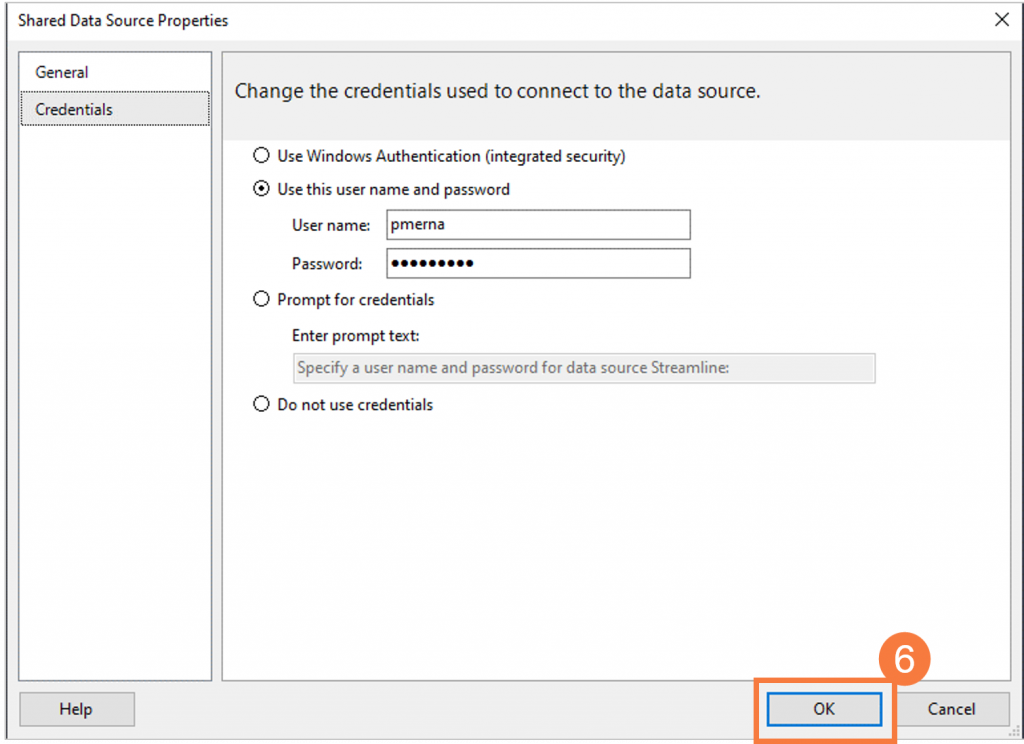
In the Credentials window, you should see the user name and password in the Use this user name and password prompt to avoid re-entering the user name and password when previewing data. Click OK.
Upon completion, there should be a new datasource called rds